To stencil a feature wall like a pro, start by choosing a design style and plan your pattern layout carefully, marking light pencil lines for alignment. Pick a bold or subtle color palette that complements your decor, and use quality brushes or sponges to apply paint in thin, even layers for crisp edges. Take your time lining up each stencil and fix any mistakes quickly. If you keep practicing, you’ll achieve stunning results—there’s more to learn to perfect your technique.
Key Takeaways
- Choose a suitable stencil design and plan your pattern layout before starting.
- Select bold or complementary colors to enhance the stencil pattern and match your decor.
- Use proper application tools like stenciling brushes or sponges for clean, crisp edges.
- Align stencils carefully and work patiently to avoid mistakes and ensure a professional finish.
- Seal the design with a protective topcoat to enhance durability and maintain the appearance.
Creating a stunning feature wall with stencils is easier than you might think, even if you’re new to DIY projects. The key is understanding how to use design techniques and selecting the right color palettes to make your wall stand out. When you approach stencil painting, think of it as an art form that combines creativity with precision. You don’t need to be an expert; with some basic planning, you can achieve professional-looking results.
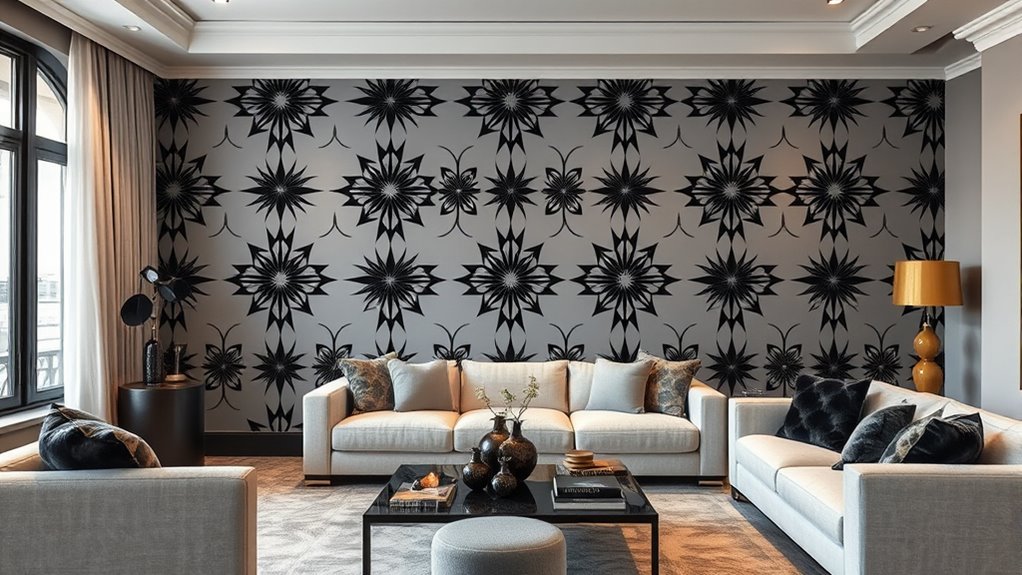
Start by choosing a design technique that suits your space and style. Do you want a bold geometric pattern or something more delicate like floral motifs? Your choice will influence how detailed your stencil should be and how much effort it takes. For a modern look, opt for clean lines and symmetrical shapes. If you prefer a vintage vibe, intricate patterns with more complex detailing work well. Once you’ve decided on the design, consider how you’ll space the stencils on your wall. You can create a continuous pattern or go for a more scattered, asymmetrical look for a relaxed feel. Marking your starting point with light pencil lines can help keep everything aligned during the process, ensuring a professional finish.
Choose your stencil design and plan your pattern spacing for a professional finish.
Next, focus on selecting a color palette that complements your interior. The right colors can transform your space dramatically. If your room has neutral tones, choose a bold color for the stencil to create contrast and visual interest. Conversely, soft pastels or monochromatic schemes work well for a subtle, elegant effect. Remember to think about the overall mood you want to set—bright colors energize a room, while muted tones add calmness. When applying paint, use stenciling brushes or sponges to dab the paint onto the wall, avoiding excess to prevent bleeding under the stencil. Work in thin layers, letting each dry slightly before moving on, to achieve crisp, clean edges.
Patience is essential. Take your time lining up each stencil and applying the paint carefully. If you make a mistake, don’t stress—small touch-ups or repainting a section is easy to fix. For a polished look, consider adding a protective topcoat after the paint dries to seal in your design and enhance durability. Remember, the goal is to make your feature wall a focal point, so choose a design technique and color palette that reflect your personality and style. With careful planning and a steady hand, you’ll be surprised how professional your finished wall can look. Just trust the process, and enjoy transforming your space into something uniquely yours. Additionally, understanding stenciling techniques can help you achieve more intricate and refined designs.
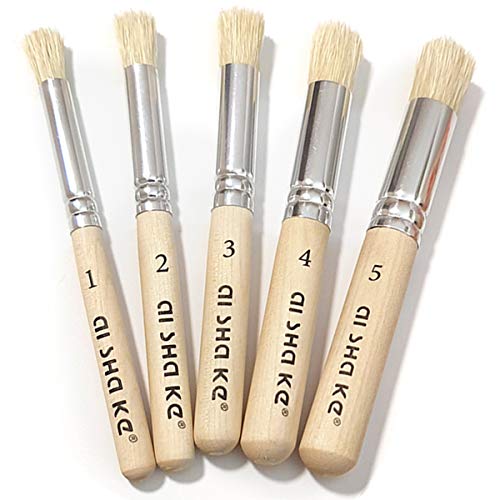
Auhoahsil Stencil Brushes Set, 5 Pcs Natural Bristle Wooden Handle Template Brushes for Wood Wall Model House Painting, Stencil Projects, Card Making, DIY, Crafts and Acrylic Oil Watercolor Painting
- Variety of Sizes: 5 versatile stencil brushes for different projects
- Multi-Purpose Use: Suitable for acrylic, watercolor, oil, and more
- High-Quality Craftsmanship: Durable wooden handles and natural bristles
As an affiliate, we earn on qualifying purchases.
As an affiliate, we earn on qualifying purchases.
Frequently Asked Questions
What Tools Are Essential for Stencil Wall Painting?
You’ll need essential tools like painter’s tape, a high-quality stencil, and various brushes for different techniques. Use a stencil brush or small foam roller for neat paint application, practicing brush techniques for clean edges. Keep your stencil well-maintained by cleaning it regularly to prevent paint buildup, ensuring crisp designs. A level and a pencil help with proper placement, making your stencil wall look professional and flawless.
How Do I Choose the Right Stencil Design?
Think of your wall as a blank canvas waiting for its story. To choose the right stencil design, consider your room’s vibe and color coordination—do you want bold patterns or subtle detail? Match pattern complexity to your skill level and the space’s scale; intricate designs suit larger walls, while simpler ones keep things breezy. Trust your instincts, and let your style shine through in every stroke.
Can I Reuse Stencils for Multiple Projects?
Yes, you can reuse stencils for multiple projects if you take proper care of them. To guarantee longevity, clean your stencil patterns thoroughly after each use with warm water and mild soap, and dry them completely to prevent warping. Store your stencils flat or rolled carefully. Proper stencil maintenance keeps your patterns crisp and ready for your next creative project, saving you time and money in the long run.
How Do I Fix Mistakes or Uneven Paint?
Think of fixing mistakes or uneven paint like tending a garden; gentle touch and patience matter. To correct uneven paint, use light touch-up techniques with a small brush, blending carefully. For mistakes, lightly sand the area, then apply a fresh coat of primer if needed before re-stenciling or repainting. Proper primer application guarantees a smooth surface, making touch-ups seamless and helping you achieve a professional-looking feature wall.
What Are the Best Paint Types for Stenciling?
For stenciling, you want paint with a smooth, medium consistency—not too thick or thin—to guarantee clean edges. Use acrylic or latex paints, as they dry quickly and are easy to work with. Keep your paint consistent throughout, and confirm stencil placement is precise to avoid smudges. Test your paint on scrap material first, so you can adjust the paint consistency and avoid bleeding under the stencil.
Conclusion
Now, with your newfound stencil skills, you’re ready to channel your inner artist and transform your wall into a masterpiece. Think of it as your personal David and Goliath moment—turning a blank canvas into a stunning work of art. Remember, every stroke brings you closer to that gallery-worthy finish. So, step back, admire your handiwork, and enjoy the satisfaction of creating something truly unique—because even the greatest artists started with a simple idea.