Decor
Repurpose Canopy Frame: Creative Ideas
Journey into innovative possibilities by repurposing a canopy frame with creative ideas that will transform your space.

Repurposing a canopy frame offers a range of creative options for transformation. It can become outdoor seating or a garden trellis, adding comfort and style to your space. Transform it into a DIY play area or an event booth, providing safety and imaginative opportunities. Enhance brand visibility with cost-effective marketing using the canopy frame. Utilize it for plant support in your garden or as a base for art installations. The possibilities are endless, allowing for innovation and sustainability in your projects. Find out more about the versatile ways to repurpose a canopy frame for functional and aesthetic enhancements.
Key Takeaways
- Transform into outdoor seating or garden trellis for style and functionality.
- Repurpose as a DIY play area or event booth for versatile use.
- Enhance brand visibility with cost-effective marketing solutions.
- Provide easy assembly, display options, and plant support versatility.
- Upcycle as a base for art installations, showcasing creativity and sustainability.
Repurposed Canopy Frame as Outdoor Seating
Repurpose your Old Gazebo canopy frame as outdoor seating by adding cushions or a bench for a cozy hangout spot. This transformation not only gives new life to your canopy frame but also provides a comfortable seating area for you and your guests to enjoy the outdoors.
By repurposing the canopy frame in this way, you can create a relaxing space where you can unwind after a long day or entertain friends and family during gatherings.
The sturdy structure of the canopy frame makes it an ideal base for seating arrangements, ensuring durability and stability. With the addition of cushions or a bench, you can turn your canopy frame into a stylish and functional seating option that blends seamlessly with your outdoor decor.
Whether you prefer a casual lounge area or a more formal seating arrangement, repurposing your canopy frame as outdoor seating offers versatility and comfort for any outdoor setting.
Canopy Frame Transformed Into Garden Trellis

The transformation of a canopy frame into a garden trellis offers sturdy support for climbing plants like roses. The robust structure of the canopy frame makes it an excellent choice for creating a durable and visually appealing trellis in outdoor spaces. This repurposing idea not only adds a charming element to gardens but also serves a practical purpose by providing a framework for climbing plants to thrive. By utilizing a canopy frame as a garden trellis, individuals can enhance the beauty of their outdoor areas in a creative and sustainable manner.
| Advantages of Using Canopy Frame as Garden Trellis | ||
|---|---|---|
| Sturdy Support | Decorative Element | Sustainable Option |
| Ideal for Climbing Plants like Roses | Adds Charm to Outdoor Spaces | Repurposes Existing Structure for New Purpose |
| Durable Structure for Long-Term Use | Enhances Visual Appeal of Gardens | Eco-Friendly Approach to Garden Design |
| Provides Framework for Plants to Grow | Creates a Functional and Aesthetic Garden Feature | Reduces Waste by Repurposing Materials |
| Easy to Install and Maintain | Supports Plant Growth and Adds Vertical Interest to Garden Spaces | Adds a Unique Touch to Garden Design |
DIY Canopy Frame Play Area

Let's explore the versatility of repurposing a canopy frame into a DIY play area for children.
From creating a whimsical canopy play space to constructing a frame fort for endless fun, the possibilities are boundless.
With a bit of creativity and some added accessories, turning a canopy frame into a kids' hideout is a fantastic way to provide a safe and imaginative environment for little ones to enjoy.
Canopy Play Space
Transforming a repurposed canopy frame into a DIY play space offers endless possibilities for outdoor fun and creativity. By repurposing the canopy frame, parents can create a unique and engaging play area for their children right in their backyard. Adding fabric or decorations to the canopy frame can transform it into a magical play space where kids can let their imaginations run wild. Incorporating swings, slides, or other play equipment into the canopy play space can further enhance the fun and excitement.
Here is a table showcasing some creative ideas for repurposing a canopy frame into a play space:
| Play Space Idea | Description |
|---|---|
| Fabric Canopy Castle | Create a royal castle by draping colorful fabric over the canopy frame. |
| Swing Set Addition | Attach swings to the canopy frame for a fun swinging experience. |
| Art Station | Hang a chalkboard or whiteboard for artistic activities under the canopy. |
These ideas can help parents design a safe and enjoyable environment for their children to play outdoors.
Frame Fort Fun
We can easily create a cozy and imaginative frame fort by repurposing a canopy frame in our backyard. Transforming the canopy frame into a DIY play area offers a creative space for kids to enjoy.
By utilizing blankets and cushions, the frame fort becomes a comfortable and inviting retreat for children to play in. To enhance the magical ambiance, consider adding fairy lights or other decorations to the canopy frame fort.
Encouraging imaginative play and outdoor fun, the frame fort serves as a versatile space for children to explore and let their creativity soar. With the canopy frame as the foundation, the possibilities for designing a unique play area are endless.
This frame fort not only provides entertainment but also fosters a sense of adventure and excitement for kids. Embrace the opportunity to repurpose the canopy frame into a fun and engaging play space right in your own backyard.
DIY Kids Hideout
Crafting a DIY kids hideout using a repurposed canopy frame allows for endless opportunities for imaginative play and outdoor fun. By repurposing the canopy frame into a creative play area, children can engage in a world of make-believe adventures right in their backyard.
Utilizing the canopy frame as the foundation, parents can transform it into a cozy and safe space where kids can let their imaginations run wild.
Customizing the DIY canopy frame play area with decorations and accessories adds to the excitement and fun. From hanging curtains to adding fairy lights, there are numerous ways to make the hideout unique and inviting for kids. Encouraging creativity and play, this repurposed canopy frame hideout provides a special space for children to explore and enjoy the outdoors.
With a little creativity and some simple materials, a repurposed canopy frame can become the centerpiece of a DIY kids hideout that sparks endless hours of imaginative play and adventure.
Canopy Frame Turned Into Event Booth

When repurposing a canopy frame into an event booth, it's essential to consider the booth design inspiration that aligns with your brand image and goals.
The marketing potential benefit of a visually appealing booth can't be overstated. A well-designed booth can draw in potential customers and leave a lasting impression.
Proper assembly and effective display of products or services are pivotal elements to maximize the impact of the transformed canopy frame booth.
Booth Design Inspiration
Utilizing a repurposed canopy frame can transform an ordinary event space into an eye-catching and professional booth design. By repurposing a canopy frame, it's possible to create a stylish event booth that stands out at trade shows, fairs, and outdoor events.
Here are five key ideas to inspire your booth design:
- Custom Branding and Signage: Personalize the canopy booth with your logo, colors, and messaging to enhance brand visibility.
- Versatile Structure: Use the canopy frame as a flexible foundation to adapt to different event settings and layouts.
- Professional Touch: Add sidewalls, banners, and lighting to give the booth a polished and inviting look.
- Functional Layout: Incorporate shelves, counters, and display racks to organize products effectively and attract visitors' attention.
- Engagement Elements: Enhance the booth with flooring, seating, and interactive features to create a memorable experience for attendees.
Marketing Potential Benefit
Repurposing a canopy frame into an event booth offers businesses a unique and cost-effective marketing solution that enhances brand visibility and attracts customers with a professional display.
The versatility of canopy frames allows for easy customization to align with branding and promotional needs, making them an ideal choice for businesses looking to create a memorable presence at events.
By utilizing a canopy frame as an event booth, companies can benefit from portable and quick setup options, perfect for various marketing opportunities such as trade shows or fairs.
This repurposing strategy not only provides a cost-effective marketing solution but also enhances brand visibility, drawing the attention of potential customers with an eye-catching and professional display.
The adaptability of canopy frames makes them a valuable asset for businesses seeking to make a lasting impression and stand out in competitive event environments.
Assembly and Display
Turning a canopy frame into an event booth involves assembling a stable structure for showcasing products or services in a professional and attractive manner. The sturdy frame provides a reliable foundation for displaying signage and promotional materials, guaranteeing a polished presentation. Here are some key aspects to ponder when repurposing a canopy frame for an event booth:
- Portability: Canopy frames offer a convenient solution for creating a booth that can be easily transported to different events.
- Versatility: The customizable features of canopy frames, such as sidewalls and banners, allow for flexibility in adapting the booth to specific branding needs.
- Quick Assembly: The ease and speed of setting up a canopy frame booth make it an efficient choice for creating a professional display space.
- Stability: The durable construction of canopy frames ensures a secure and steadfast booth structure that can withstand various weather conditions.
- Professionalism: Utilizing a canopy frame for an event booth helps project a professional image that attracts potential customers and enhances brand visibility.
Creative Canopy Frame Plant Support

To create a unique plant support structure, consider repurposing a canopy frame with lattice or trellis panels for climbing plants. By utilizing the frame in this manner, you can establish a vertical garden that optimizes space and offers a visually striking display. Attach pots or planters to the frame to cultivate a green oasis that adds depth and dimension to your garden design.
The canopy frame serves as a sturdy foundation for vines and tall plants, providing essential structural support while enhancing the overall aesthetic appeal of the space.
Moreover, transform the canopy frame into a distinctive plant display area by hanging baskets or arranging pots at varying heights. This arrangement not only adds a dynamic element to your garden but also allows for the creation of a multi-dimensional plant showcase.
Additionally, the frame can be repurposed as a decorative archway, allowing plants to climb and creating an eye-catching focal point in your outdoor space.
Canopy Frame Upcycled as Art Installation

We transformed an old canopy frame into a visually engaging art installation, utilizing repurposed materials and creative elements to enhance its aesthetic appeal. The canopy frame served as the structural base for our art piece, allowing us to build upon its existing framework to create a captivating visual display.
By incorporating various repurposed materials, we were able to infuse unique textures and colors into the installation, adding depth and interest to the overall composition. Our use of creative elements such as lighting effects and interactive components further heightened the impact of the artwork, engaging viewers on multiple sensory levels.
This project not only showcased the versatility of repurposing canopy frames for artistic endeavors but also demonstrated the potential for upcycling such structures into one-of-a-kind and visually striking artworks.
- Structural Base: The canopy frame provided a sturdy foundation for building the art installation.
- Repurposed Materials: Incorporating reclaimed materials added a sustainable and eclectic touch to the piece.
- Creative Elements: Lighting effects and interactive features enhanced the overall aesthetic and engagement with the artwork.
- Versatility Demonstration: The project illustrated the diverse uses of repurposed canopy frames in artistic projects.
- Upcycling Potential: Highlighted how old canopy frames can be transformed into unique and visually appealing artworks.
Frequently Asked Questions
How to Upcycle a Gazebo?
When considering how to upcycle a gazebo, various creative ideas can be implemented.
Repurposing the gazebo frame offers a sustainable approach to enhancing outdoor spaces. By adding features like lattice, climbing roses, or seating, the gazebo frame can be transformed into a functional and decorative structure.
This upcycling method contributes to sustainable living practices by reducing waste and extending the product's lifespan.
DIY projects involving repurposed gazebo frames are cost-effective and provide a creative outlet for outdoor enhancement.
How Do You Strengthen a Canopy Frame?
To strengthen a canopy frame, we recommend adding weights to the legs for stability in windy conditions. Opting for durable materials like steel or reinforced aluminum enhances overall strength.
Secure the frame to the ground using anchor kits or tie-downs to prevent tipping. Reinforce the structure with cross-bracing or extra support beams.
Regular maintenance and inspections are essential to detect wear or damage early, ensuring the canopy frame remains sturdy and safe.
Conclusion
To sum up, repurposing a canopy frame can provide endless opportunities for creativity and functionality. Just like a blank canvas waiting to be transformed, a canopy frame can be repurposed into outdoor seating, garden trellises, play areas, event booths, plant supports, or even art installations.
The possibilities are as vast as the imagination, making repurposing a canopy frame a truly versatile and exciting project. So why not give it a try and see where your creativity takes you?
- About the Author
- Latest Posts
Introducing Ron, the home decor aficionado at ByRetreat, whose passion for creating beautiful and inviting spaces is at the heart of his work. With his deep knowledge of home decor and his innate sense of style, Ron brings a wealth of expertise and a keen eye for detail to the ByRetreat team.
Ron’s love for home decor goes beyond aesthetics; he understands that our surroundings play a significant role in our overall well-being and productivity. With this in mind, Ron is dedicated to transforming remote workspaces into havens of comfort, functionality, and beauty.
Mardi Gras Decoration
How Do You Make a Cheap Wreath Look Expensive?
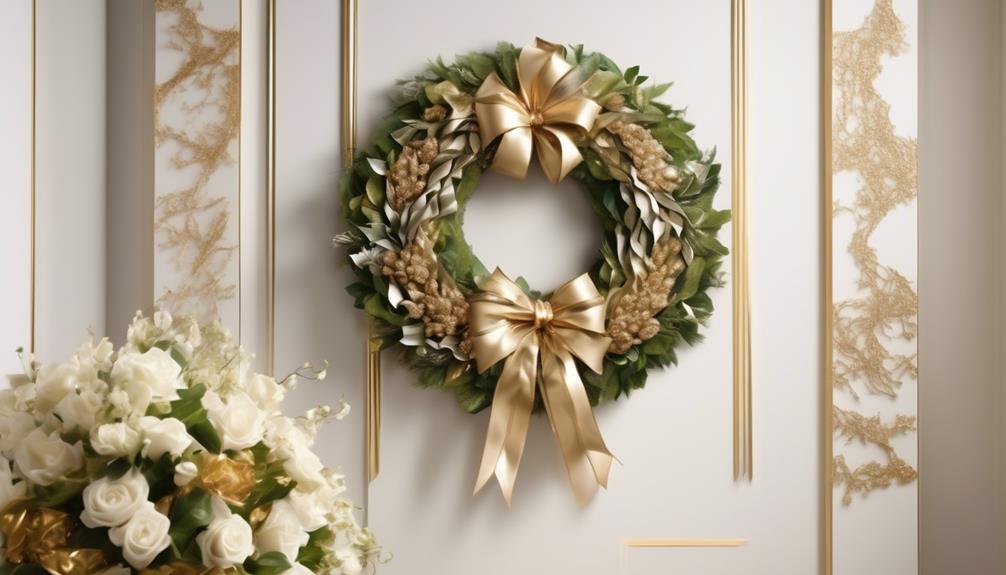
When it comes to elevating the appearance of an affordable wreath to make it look more luxurious, there is a secret technique that can work wonders.
You might be surprised to learn that with just a few simple adjustments, you can elevate a basic, inexpensive wreath into a stunning, high-end decoration that exudes luxury and style.
But how exactly can you achieve this? Well, let's just say that it involves some strategic choices and creative embellishments that can easily deceive the eye and make your wreath appear far more lavish than its actual cost.
Key Takeaways
- Choose a base wreath with lush and full foliage for a luxurious appearance.
- Incorporate natural elements like pinecones and berries for an organic touch.
- Select fresh eucalyptus, magnolia leaves, or noble fir for a lush base.
- Enhance the wreath with metallic finishes, such as gold, silver, or rose gold, for an upscale look.
Choosing the Right Base Wreath
When selecting the perfect base wreath for your project, consider the lushness and fullness of the foliage to ensure a luxurious and high-end appearance.
Upcycling old wreaths can be a creative and sustainable approach, breathing new life into worn-out pieces. Look for wreaths with a dense and rich greenery, providing a lavish canvas for your design.
Natural elements for wreaths, such as pinecones, berries, or dried flowers, add an organic touch that elevates the overall aesthetic. These elements not only contribute to the visual appeal but also infuse the wreath with a delightful fragrance, welcoming anyone who approaches.
When scouting for a base wreath, inspect the quality of the materials and the construction. Opt for sturdy bases that can withstand the weight of additional adornments and ensure durability.
A well-crafted base sets the stage for a remarkable transformation, allowing you to indulge in the creative process and craft a stunning, upscale wreath that exudes sophistication and charm.
Adding Luxurious Foliage and Accents
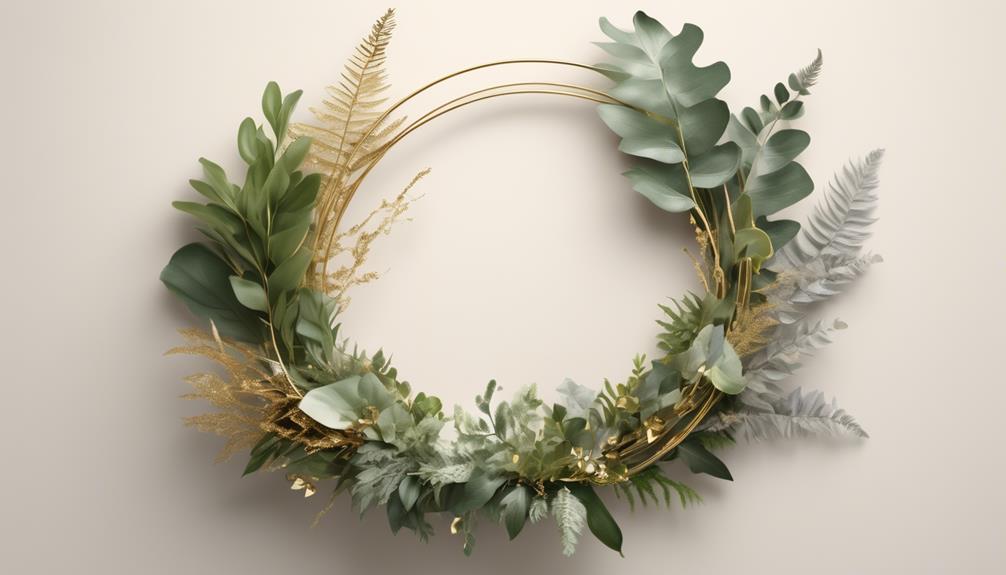
Carefully selecting sumptuous greenery and opulent accents is essential for transforming a simple wreath into a luxurious and sophisticated masterpiece. When it comes to luxurious greenery, consider using fresh eucalyptus, magnolia leaves, or even noble fir for a lush and opulent base. These rich and full-bodied greens add depth and texture to the wreath, elevating its overall appearance.
To further enhance the opulence, incorporate dazzling accents such as metallic berries, gilded pinecones, or even miniature ornaments. These opulent adornments bring a touch of glamour and extravagance to the wreath, making it exude an air of luxury.
For an added element of sophistication, intertwine strands of shimmering ribbon or velvet for a lavish finishing touch. The interplay of textures and colors will captivate the eye and exude an aura of elegance.
Harmonizing the sumptuous greenery with opulent accents creates a wreath that exudes luxury without breaking the bank. With these carefully chosen elements, your wreath will radiate a sense of refinement and opulence, making it the epitome of affordable extravagance.
Incorporating Elegant Embellishments
Incorporating elegant embellishments into our wreath design elevates its opulence, adding a final touch of luxury and sophistication. To achieve this, we can intertwine elegant floral accents throughout the wreath. Delicate blooms such as roses, peonies, or lilies can bring a sense of refinement to the overall look. These floral additions not only impart a fragrant aroma but also lend an air of timeless elegance to the design.
Another way to elevate the wreath's allure is by incorporating sparkling crystals. These dazzling adornments can be strategically placed to catch the light, casting a mesmerizing glimmer that captivates the eye. Whether it's a few strategically placed crystals or a lavish scattering throughout the wreath, the shimmering effect will undoubtedly add a touch of opulence.
Enhancing With Metallic Finishes
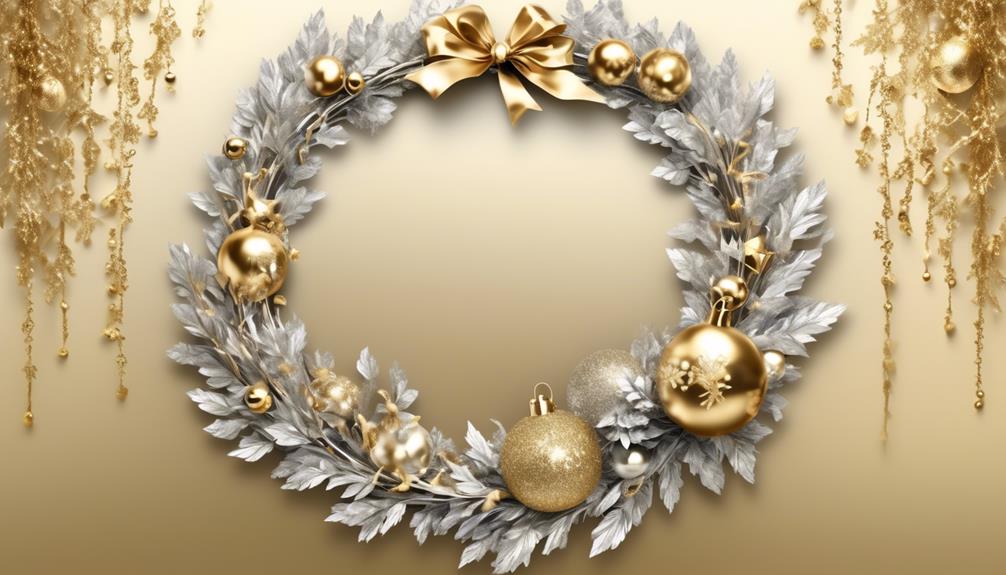
To enhance the wreath with an air of sophistication, we carefully incorporate metallic finishes, infusing a touch of glamour and luxury into the design. Gilded accents add a regal touch, elevating the overall aesthetic and making the wreath appear more opulent. Whether it's gold, silver, or rose gold, these metallic tones exude elegance and refinement, instantly transforming a simple wreath into a statement piece.
Shiny finishes further contribute to the upscale look, catching the light and drawing attention to the intricate details of the wreath. Consider incorporating metallic ribbons, ornaments, or even small metallic figurines to create visual interest and add a luxurious sheen to the arrangement. These reflective surfaces not only elevate the aesthetic appeal but also create a sense of grandeur and sophistication.
Styling With Sophisticated Ribbon and Bows
With sophisticated ribbons and bows, we can elevate the wreath's appearance to exude elegance and style. When we adorn a wreath with luxurious silk ribbon, it adds a touch of opulence that instantly captivates the eye. The smooth, lustrous texture of silk ribbon not only speaks of sophistication but also evokes a sense of refinement and grace.
Furthermore, incorporating sumptuous velvet bows lends an air of timeless elegance to the wreath, creating a feeling of nostalgia and warmth that resonates with the heart. The soft, plush velvet exudes a sense of luxury and comfort, making the wreath not only visually stunning but also emotionally evocative.
- Picture the delicate sheen of silk ribbon catching the light, casting a gentle glow that infuses the wreath with an aura of allure and charm.
- Imagine the tactile pleasure of running your fingers over the velvety bows, feeling a sense of comfort and indulgence that brings a smile to your face.
- Consider the way these sophisticated ribbons and bows transform a simple wreath into a captivating work of art, exuding an irresistible appeal that draws admiration and appreciation.
Frequently Asked Questions
How Do I Store My Wreath When It's Not in Use?
When we're not using our wreaths, we want to make sure they stay in top condition for the next season. Storing wreaths properly is key to preserving their beauty.
We recommend using a wreath storage bag or box to protect it from dust and damage. Adding a moisture absorber or silica gel packet can help control humidity and prevent mold.
This simple step ensures our seasonal decorations stay stunning year after year.
Can I Use Artificial Flowers and Greenery for My Wreath?
Yes, you can use artificial flowers and greenery for your wreath. It's a fantastic way to create a stunning flower arrangement for home decor.
Artificial flowers offer versatility and lasting beauty, adding an elegant touch to any space. When arranging them, consider color combinations and textures to achieve a sophisticated look.
Embracing artificial greenery allows for creativity and longevity in design, providing a timeless and luxurious appeal to your wreath.
What Are Some Creative Ways to Hang My Wreath?
When it comes to creative displays, we love exploring unique materials and unconventional hooks.
One elegant option is to showcase your wreath on a stylish wreath stand, adding a touch of sophistication to your space.
For a more intimate feel, consider using unconventional hooks like decorative ribbons or vintage doorknobs to hang your wreath.
These thoughtful touches can elevate your wreath display and make it truly stand out.
How Can I Protect My Wreath From the Elements if I Want to Use It Outdoors?
When it comes to protecting our wreath from the elements outdoors, we've found that using weatherproofing techniques is a game-changer.
One simple yet effective method is to spray the wreath with a clear acrylic sealer. This not only shields it from moisture and UV rays but also extends its lifespan.
Additionally, storing the wreath in a covered area during harsh weather conditions can further safeguard its beauty.
Are There Any Alternative Ways to Use a Wreath Besides Hanging It on a Door?
When it comes to wreaths, there are countless ways to showcase their beauty beyond the traditional door hanging.
A wreath centerpiece can add a touch of elegance to any table setting, while wreath wall art can bring a stylish and creative flair to your home decor.
Whether adorning a dining table or becoming a stunning focal point on a blank wall, wreaths offer versatile and intimate ways to elevate your space.
Conclusion
In the world of wreath-making, even the most humble base can be transformed into a luxurious masterpiece with the right techniques. Just as a plain caterpillar emerges as a beautiful butterfly, a cheap wreath can be elevated to elegance with the right touches.
By choosing the right base, adding lush foliage, incorporating elegant embellishments, enhancing with metallic finishes, and styling with sophisticated ribbon, you can turn any wreath into a symbol of opulence and beauty.
- About the Author
- Latest Posts
Introducing Ron, the home decor aficionado at ByRetreat, whose passion for creating beautiful and inviting spaces is at the heart of his work. With his deep knowledge of home decor and his innate sense of style, Ron brings a wealth of expertise and a keen eye for detail to the ByRetreat team.
Ron’s love for home decor goes beyond aesthetics; he understands that our surroundings play a significant role in our overall well-being and productivity. With this in mind, Ron is dedicated to transforming remote workspaces into havens of comfort, functionality, and beauty.
Mardi Gras Decoration
How Much Ribbon Is Needed to Make a Wreath?
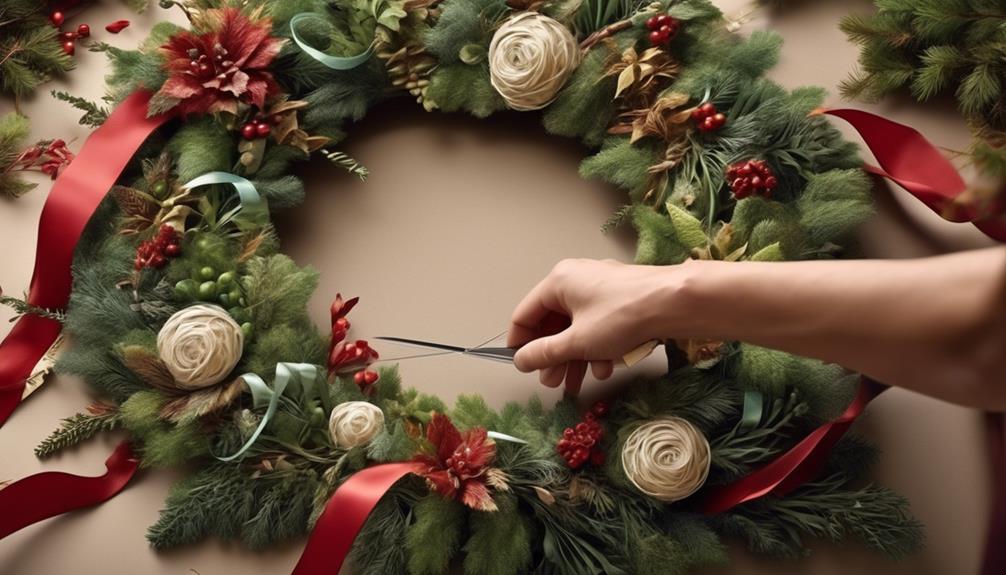
When it comes to creating a wreath, it can often seem like we require a never-ending supply of ribbon to achieve the ideal, lush appearance. But exactly how much ribbon is necessary?
Understanding the right amount of ribbon for different wreath sizes and styles can be a bit of a mystery. However, with a few simple tips and calculations, we can ensure that we never run out of ribbon or end up with excess that goes to waste.
Key Takeaways
- Consider the size and design of the wreath when choosing ribbon length and type
- Coordinate ribbon color with the wreath's design and theme
- Differentiate between wired ribbon and satin/silk ribbon for different styles and effects
- Measure the wreath frame accurately to determine the exact length and width of ribbon needed
Understanding Ribbon Lengths
When determining ribbon lengths for a wreath, it's essential to consider the size and design of the wreath, as well as the desired style and placement of the ribbon. Understanding ribbon texture is crucial in achieving the desired look. A wired ribbon holds its shape well, making it perfect for creating voluminous bows and accentuating the overall design of the wreath. On the other hand, a satin or silk ribbon provides a softer, more elegant look, ideal for adding a touch of sophistication to the wreath.
Color coordination is another vital aspect to consider when determining ribbon lengths. The ribbon should complement the color scheme of the wreath and the surrounding environment. If the wreath features bold and vibrant colors, a complementary or contrasting ribbon can add visual interest. For a more understated wreath, a ribbon that matches the existing color palette can enhance the overall elegance.
With a keen understanding of ribbon texture and color coordination, we can ensure that the ribbon lengths aren't only visually appealing but also harmonize with the overall design of the wreath.
Types of Wreaths and Ribbon Usage
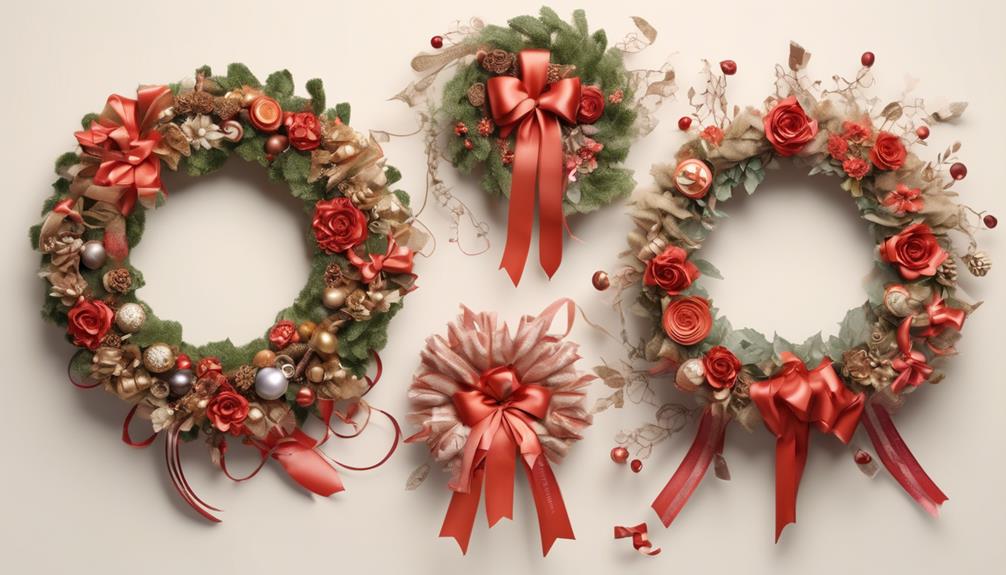
Let's explore the different types of wreaths and how ribbon usage varies for each style.
From traditional evergreen wreaths to modern floral designs, the choice of wreath can significantly impact the amount and type of ribbon needed for a stunning finish.
Understanding the specific characteristics of each wreath style will help us determine the most suitable ribbon lengths and types to achieve the desired look.
Wreath Styles
Exploring wreath styles offers a delightful opportunity to experiment with various ribbon usages, adding a touch of personality to each unique creation. When it comes to wreath materials, consider using natural elements like branches, flowers, and foliage for a rustic, earthy feel. Incorporating burlap or twine ribbon can enhance this organic look, tying in perfectly with the natural elements.
On the other hand, for a more elegant and sophisticated style, opt for silk flowers and glossy leaves paired with satin or velvet ribbon. This combination exudes a luxurious charm and elevates the overall aesthetic.
Ribbon Lengths
Crafting wreaths with the perfect ribbon lengths requires a keen understanding of the different types of wreaths and how to best utilize ribbon in their design.
When it comes to understanding ribbon materials, it's essential to consider the texture, width, and flexibility of the ribbon. For example, wired ribbon is great for creating voluminous bows and maintaining their shape, while satin ribbon adds an elegant touch to any wreath.
Additionally, mastering cutting techniques is crucial for achieving clean and professional-looking wreaths. Whether it's curling the ends of the ribbon for a whimsical effect or creating precise, angled cuts for a tailored finish, the right cutting techniques can elevate the overall appearance of the wreath.
Measuring Your Wreath Frame
When measuring our wreath frame, we need to consider the size of the frame, the width of the ribbon, and the technique used for overlapping. These points will help ensure that we've enough ribbon to cover the entire frame without running out or having excess.
Frame Size
To determine the size of your wreath frame, measure the diameter across the widest point of the frame using a flexible measuring tape. This measurement is crucial for frame size analysis and ribbon usage. Once you have this measurement, you can calculate the exact length of ribbon needed for your wreath design.
Here's a step-by-step guide:
- Frame Size Analysis and Ribbon Usage
- Measure the diameter of the frame from edge to edge, passing through the center.
- This measurement will help determine the amount of ribbon required to cover the frame adequately.
Understanding the frame size and its correlation to ribbon length is essential for creating a visually appealing wreath. With this information, you can confidently proceed to calculate the precise amount of ribbon needed for your unique wreath design.
Ribbon Width
Understanding the diameter of the wreath frame is crucial for determining the appropriate ribbon width to ensure full coverage and a visually appealing design. When choosing ribbon width, it's essential to consider the size of the wreath frame to achieve the desired look. A wider frame may require a broader ribbon to cover it adequately, while a smaller frame might be overwhelmed by a wide ribbon. Additionally, consider the ribbon color and texture to complement the overall aesthetic of the wreath. Here's a handy guide to help you match ribbon width with wreath frame size:
| Wreath Frame Diameter | Recommended Ribbon Width |
|---|---|
| Up to 12 inches | 1 to 1.5 inches |
| 12 to 24 inches | 1.5 to 2.5 inches |
| Over 24 inches | 2.5 to 4 inches |
Overlapping Technique
Using a flexible measuring tape, carefully wrap it around the wreath frame, overlapping the starting point to determine the circumference accurately. This ensures that the ribbon is cut to the correct length and prevents any wastage.
When layering the ribbon on the wreath, consider the following:
- Ribbon layering
- Start by securing the end of the ribbon at the back of the wreath frame with a small piece of wire or hot glue.
- Then, carefully overlap the ribbon as you wrap it around the wreath, ensuring that each layer slightly overlaps the previous one for a fuller look.
When choosing ribbon colors, keep in mind the principles of color theory:
- Ribbon color theory
- Consider using a combination of complementary colors to create visual interest and balance on your wreath.
- Alternatively, for a more harmonious look, opt for analogous colors that are next to each other on the color wheel.
Calculating Ribbon for Different Wreath Sizes
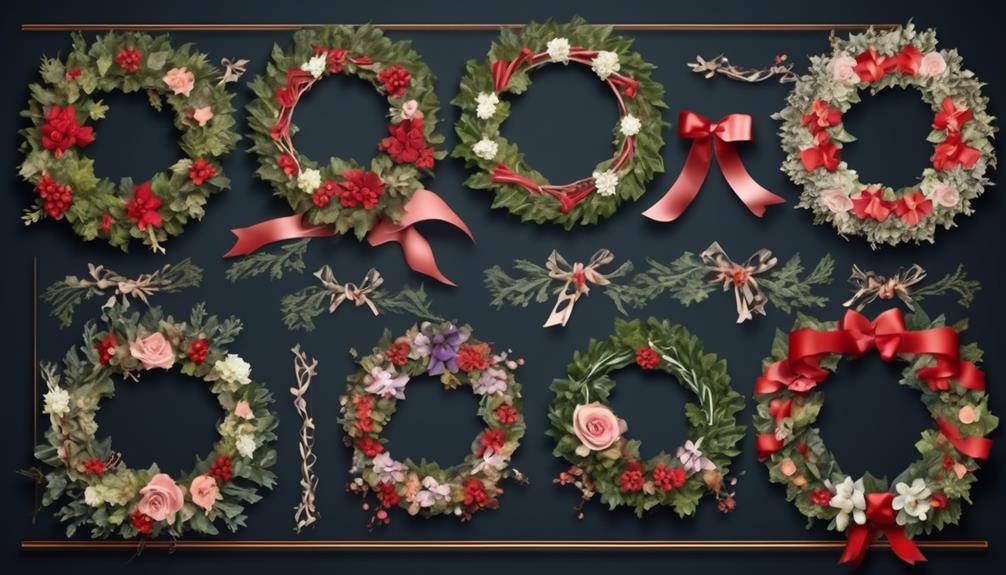
Considering the size of the wreath, we calculate the amount of ribbon needed to ensure a perfect fit. Ribbon measurement plays a crucial role in determining the quantity required for a specific wreath size. When dealing with larger wreaths, it's essential to account for the increased ribbon length needed to wrap around the entire circumference. For smaller wreaths, the ribbon quantity may be less, but the design complexity could require additional ribbon to accommodate intricate patterns or bows.
To calculate the ribbon needed for different wreath sizes, we take into account the circumference of the wreath and the desired style. A simple formula can be used to estimate the ribbon length required based on the wreath's size. Additionally, considering the design complexity is vital. More intricate designs may call for extra ribbon to weave through the wreath or create elaborate patterns.
Understanding the relationship between wreath size, ribbon quantity, and design complexity allows for a more precise estimation of the ribbon needed. By tailoring the ribbon calculation to the specific wreath dimensions and design, we ensure that the final result is visually appealing and well-proportioned.
Factors Affecting Ribbon Quantity

As we consider the factors that affect the quantity of ribbon needed for a wreath, we must first take into account the impact of ribbon width.
The size of the wreath also plays a crucial role in determining how much ribbon is required.
Additionally, the complexity of the design will influence the amount of ribbon needed to achieve the desired look.
Ribbon Width Impact
Ribbon width significantly impacts the quantity needed for a wreath, influencing both the visual impact and the practicality of the design.
- Visual Impact
Wide ribbon creates a bold, eye-catching look with fewer loops needed, while narrow ribbon offers a delicate, intricate appearance but requires more loops to achieve fullness.
- Practicality of Design
Wider ribbon covers more surface area with each loop, reducing the overall length needed, whereas narrower ribbon may require double the length to achieve the same fullness.
Considering ribbon texture contrast alongside varying widths can further enhance the overall aesthetic. By combining different widths and textures, one can create a visually dynamic and appealing wreath while optimizing the ribbon quantity.
Wreath Size Consideration
When determining the ribbon quantity needed for a wreath, the size of the wreath plays a crucial role, impacting both the visual appeal and practicality of the design.
The larger the wreath, the more ribbon will be required to cover its surface adequately. An expansive wreath with a diameter exceeding 24 inches will demand a more substantial amount of ribbon compared to a smaller one.
Not only does the wreath size affect the quantity of ribbon needed, but it also influences the overall look and feel of the finished product. A larger wreath may require a more intricate pattern or a wider ribbon to maintain visual balance, while a smaller wreath can be adorned with a more delicate touch.
Considering the wreath size is essential in accurately determining the ribbon quantity to achieve the desired design.
Design Complexity Factor
- Overall density of the ribbon pattern
- Size and shape of the wreath
- Specific design elements such as bows, twists, or braids
Understanding these elements is essential for accurately estimating the ribbon quantity required to create a visually appealing wreath.
Ribbon Width Considerations

Consider the width of the ribbon to ensure it complements the overall aesthetic of the wreath while providing enough visual impact. When selecting the ribbon width, it's essential to consider the layering technique and the ribbon color to achieve the desired effect.
For a more intricate and detailed wreath design, using a variety of ribbon widths can add depth and dimension. A broader ribbon can serve as a base layer, providing a solid foundation and background for the rest of the ribbon elements. Thinner ribbons can then be layered on top to add intricate details and create visual interest.
When it comes to ribbon color, a wider ribbon allows for a more prominent display of the chosen color, making it perfect for showcasing bold or vibrant hues. On the other hand, narrower ribbons can be used to accent or highlight specific colors within the wreath design.
Creating a Ribbon Plan
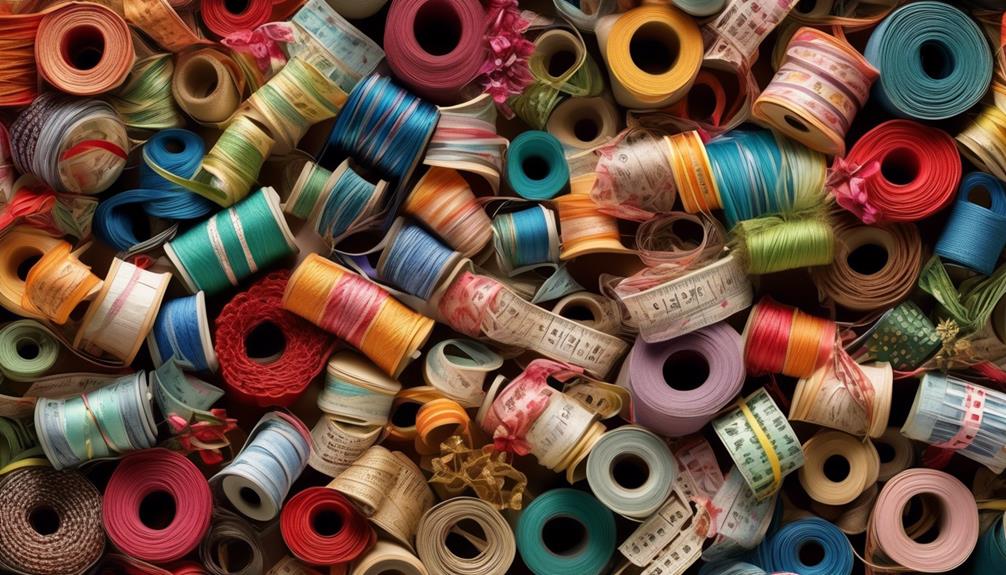
After carefully considering the ribbon width and color for the wreath design, now we can establish a plan for incorporating the ribbons to enhance the overall aesthetic and visual appeal of the wreath.
- Ribbon Arrangement
- Layering: We'll begin by layering the ribbons, starting with the widest at the bottom and gradually using narrower ribbons on top to create depth and dimension. This technique will add visual interest and fullness to the wreath.
- Twisting and Tying: To add texture and movement, we'll twist and tie the ribbons around the wreath form, creating loops and curls for a whimsical and playful look.
- Wreath Embellishments
- Focal Point: Select a focal point on the wreath, such as the bottom center or off to one side, to create a striking visual impact. We'll use a combination of ribbons in coordinating colors and patterns to draw attention to this area.
- Subtle Accents: To maintain balance, we'll strategically place smaller ribbon accents throughout the wreath, ensuring that the overall design feels cohesive and harmonious.
Tips for Layering Ribbon
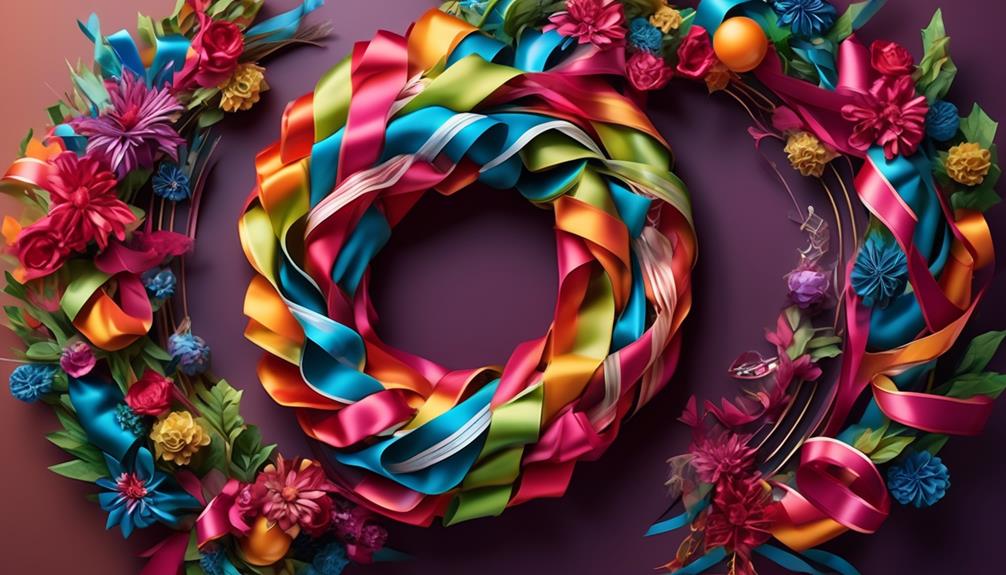
When layering ribbon for a wreath, we consider three key points: ribbon color selection, ribbon width variation, and ribbon texture contrast.
By carefully choosing colors that complement each other, varying ribbon widths for visual interest, and contrasting textures for added depth, we can create a dynamic and eye-catching wreath.
These tips will help us achieve a beautifully layered and visually appealing ribbon design for our wreaths.
Ribbon Color Selection
We can create a dynamic and visually appealing wreath by layering ribbons with complementary colors and textures. When choosing complementary colors, consider using a color wheel to find hues opposite each other. This creates a striking contrast and adds visual interest to the wreath.
Additionally, experiment with ribbon material options such as velvet, satin, or burlap to introduce varying textures. Layering a sheer ribbon over a solid one can add depth and dimension to the overall design.
For a cohesive look, select ribbons that share a common color or theme. By carefully selecting and layering ribbons with complementary colors and textures, we can craft a wreath that isn't only visually stunning but also uniquely personalized.
Ribbon Width Variation
To achieve an aesthetically pleasing layered ribbon effect, consider incorporating a variety of ribbon widths within the wreath design.
When layering ribbon, mixing different ribbon width options can add depth and visual interest to your wreath. For example, start with a wider ribbon as the base layer, then add a thinner ribbon on top to create a beautiful contrast.
Experimenting with ribbon color choices can further enhance the overall look. For instance, using a wider ribbon in a solid color as the base, and then layering a narrower ribbon with a complementary or contrasting pattern can create a striking visual impact.
Ribbon Texture Contrast
Layering ribbon textures can further elevate the visual appeal of the wreath by adding depth and tactile interest, building upon the captivating ribbon width variation previously explored.
When considering ribbon texture contrast, it's essential to choose complementary textures that enhance each other. Here are some tips for achieving effective texture contrast:
- Color Coordination: Select ribbons in coordinating colors but differing textures to create visual interest.
- Pair a smooth satin ribbon with a rough burlap ribbon for an intriguing contrast.
- Combine a sheer, translucent ribbon with a solid, opaque ribbon to add depth and complexity to the wreath's design.
Securing Ribbon on the Wreath

Carefully wrapping the ribbon around the wreath and securing it with a knot will ensure a beautiful and long-lasting decoration. When it comes to securing ribbon on a wreath, there are various techniques and methods to consider.
One popular method is to use floral wire to secure the ribbon in place. Simply wrap the wire around the ribbon and the wreath frame, twisting it tightly to hold the ribbon securely.
Another effective way is to use hot glue to attach the ends of the ribbon to the wreath, ensuring that it's firmly in place.
As for ribbon bow styles and decorative arrangements, the possibilities are endless. Whether you opt for a classic bow, a whimsical cascade, or a simple knot, the key is to ensure that the ribbon is neatly arranged and securely fastened.
Adding decorative elements such as faux flowers, pine cones, or ornaments can further enhance the wreath's overall appeal.
Utilizing Ribbon in Wreath Design
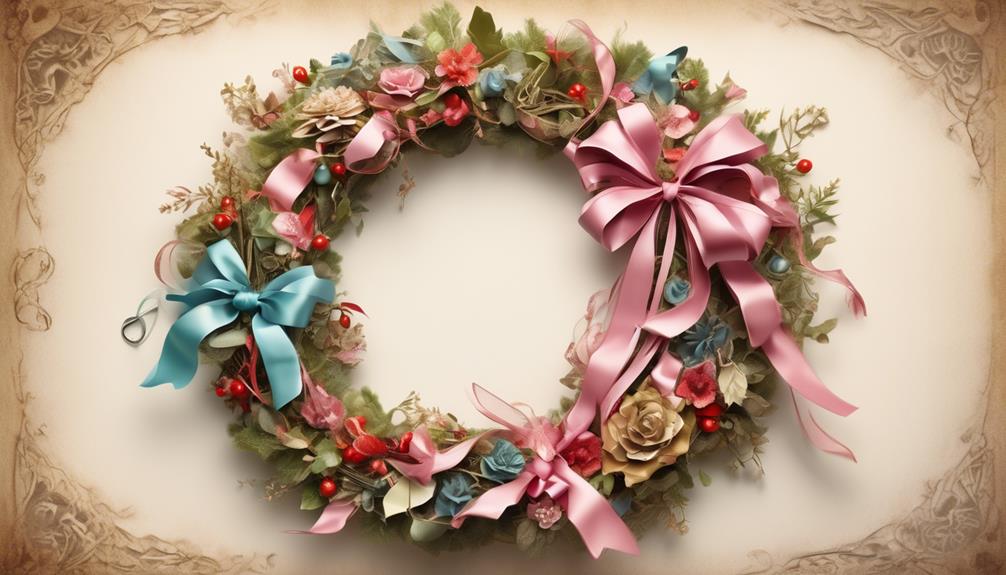
Incorporating ribbon into wreath design adds a touch of elegance and charm, elevating the overall aesthetic of the decoration.
When using ribbon in wreath design, we can employ layering techniques to create depth and visual interest. By layering ribbons of different widths and textures, we can achieve a multidimensional look that captivates the eye and enhances the overall appeal of the wreath.
Additionally, color coordination is crucial when utilizing ribbon in wreath design. By carefully selecting ribbons that complement the color scheme of the wreath, we can create a harmonious and cohesive design that exudes sophistication.
Whether it's through matching the ribbon to the flowers and foliage or using complementary tones to add a pop of color, thoughtful color coordination can elevate the entire look of the wreath.
Adding Embellishments With Ribbon
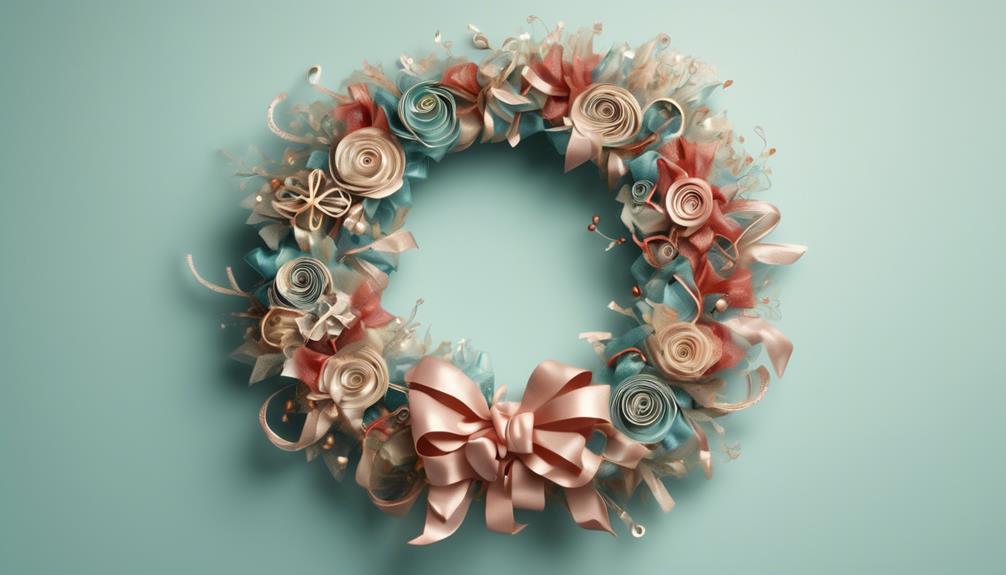
To enhance the visual appeal of a wreath, consider adding embellishments with ribbon, such as bows, loops, or streamers, to create a charming and elegant decorative touch. When it comes to ribbon tying techniques, the possibilities are endless.
You can use the classic loop-and-tie method to create simple bows, or try your hand at more intricate styles like the florist bow or the pom-pom bow. Experimenting with different ribbon textures and widths can also add depth and visual interest to your wreath.
For a rustic feel, consider using burlap or twine-style ribbon, and for a more luxurious look, opt for satin or velvet ribbon in rich, jewel-toned colors. When it comes to ribbon bow styles, think about the overall aesthetic you want to achieve.
A voluminous, dramatic bow can be a focal point, while multiple small, delicate bows can create a sense of whimsy and playfulness. No matter which style you choose, adding embellishments with ribbon is a wonderful way to customize your wreath and make it truly unique.
Adjusting Ribbon for Seasonal Wreaths
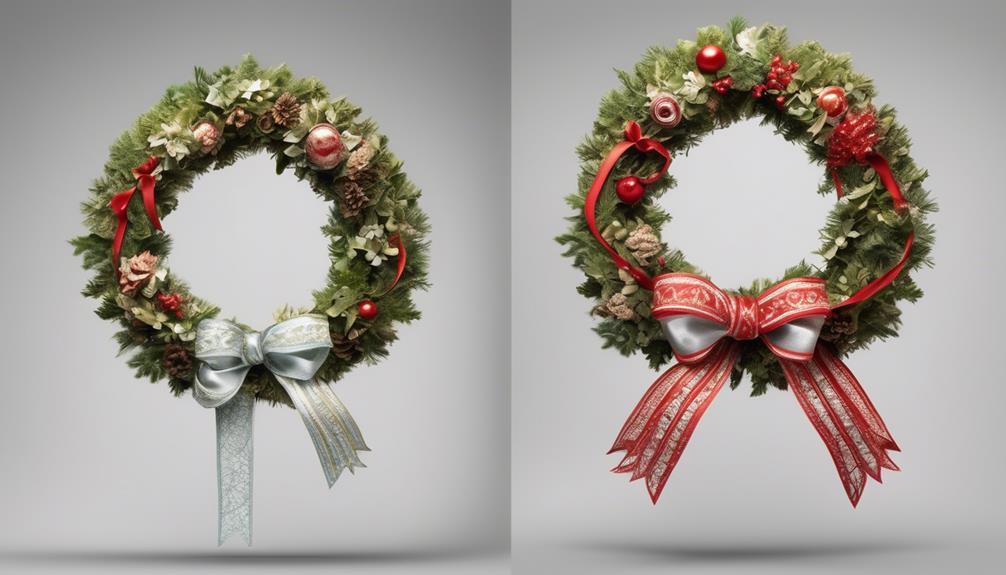
For seasonal wreaths, adjusting the ribbon to reflect the colors and themes of the current season can instantly refresh the look and feel of your decorative arrangement. It's amazing how a simple change in ribbon can breathe new life into a wreath, making it perfectly suited for any time of the year.
Here are a few tips for adjusting ribbon for seasonal wreaths:
- Consider Ribbon Color Psychology
- Utilize warm, vibrant colors like red, orange, and yellow for a lively and inviting look in the fall.
- Opt for cool, serene hues such as blue, silver, and white to evoke the tranquil ambiance of winter.
Reusing Ribbon for Multiple Wreaths

Reusing ribbon for multiple wreaths can be an economical and sustainable way to enhance the visual appeal of your seasonal decorations. Not only does it save money, but it also allows for design creativity and reduces waste. By repurposing ribbon from previous projects, you can give your wreaths a unique and cohesive look while being environmentally conscious.
| Ribbon Color | Ribbon Width |
|---|---|
| Red | 2 inches |
| Gold | 1.5 inches |
| Green | 1 inch |
When reusing ribbon for multiple wreaths, it's important to consider the color and width of the ribbon. By keeping a variety of ribbon colors and widths on hand, you can mix and match to create different designs for each wreath. For example, using red ribbon for the base of one wreath, then incorporating gold and green ribbon for the next, adds diversity while utilizing the same materials. This not only showcases your design creativity but also ensures that no ribbon goes to waste. With a little imagination, reusing ribbon can bring new life to your seasonal decorations.
Storing Excess Ribbon
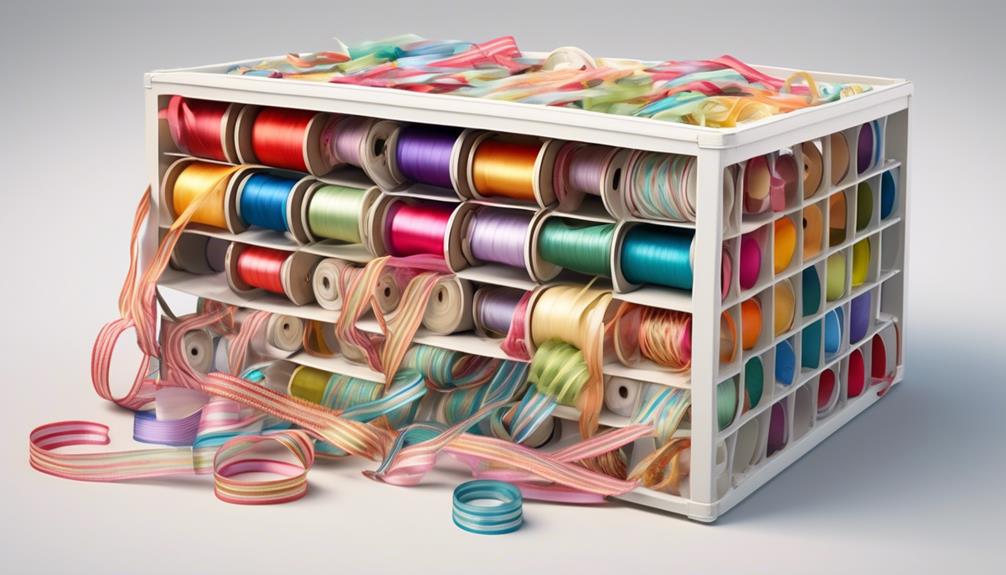
After incorporating a variety of ribbon colors and widths into multiple wreaths, it's important to organize and store any excess ribbon to maintain a tidy and efficient crafting space. Here are some tips for storing techniques and managing leftovers:
- Organizing by Length:
- Group the leftover ribbon by length to easily identify the pieces that can be used for future projects without having to measure them again.
- Use clear containers or zip-top bags to store the organized ribbons, making it easier to see the colors and patterns at a glance.
- Preventing Tangles:
- For spools of ribbon, use small clips or clothespins to secure the loose end to the spool to prevent unravelling and tangling.
- Consider investing in a ribbon organizer or creating a DIY solution using tension rods or PVC pipes to keep the spools neatly organized and easily accessible.
Frequently Asked Questions
Can I Use Different Types of Ribbon for the Same Wreath?
Yes, we can absolutely use different types of ribbon for the same wreath. It's a wonderful way to incorporate different textures, colors, and patterns.
Mixing various materials creates contrast and adds depth to the design, while still maintaining overall cohesion.
How Do I Keep the Ribbon From Fraying When I Cut It?
When cutting ribbon, preventing fraying is essential. To keep it neat, try using sharp scissors and sealing the edges with a bit of heat, like a lighter or a candle flame.
This technique not only prevents fraying but also gives a professional look to your wreath. It's a simple and effective method that ensures your ribbon stays beautiful and intact for your wreath-making project.
Can I Use Leftover Ribbon From One Wreath for Another Wreath?
Absolutely! Reusing ribbon for another wreath is a fantastic way to add a unique touch. Mixing different colors and textures can create a stunning, one-of-a-kind design. Plus, it's an eco-friendly choice.
We love repurposing leftover ribbon to give each wreath its own charm. It's a budget-friendly and creative way to breathe new life into your crafting supplies.
Let's get creative and see what beautiful combinations we can come up with!
What Is the Best Way to Store Excess Ribbon?
When it comes to organizing supplies like ribbon, finding creative storage solutions is key.
We've discovered that preserving excess ribbon is essential for future projects.
One of the best ways we've found for storing excess ribbon is to roll it neatly and secure it with a clip or tie.
This not only keeps the ribbon organized but also prevents it from getting tangled or damaged.
How Do I Prevent the Ribbon From Slipping or Coming Undone on the Wreath?
To prevent slipping and ensure secure tying, we've found that using a small dab of hot glue or clear adhesive at the start and end of the ribbon can work wonders.
This technique helps keep the ribbon in place and prevents it from unraveling. Additionally, double knotting the ribbon at key points can also provide extra security.
These simple tricks have helped us create beautifully adorned wreaths that stay put.
Conclusion
So, next time you want to make a wreath, remember to measure your frame and calculate the ribbon needed.
With the right amount of ribbon, you can create a beautiful and eye-catching wreath that will impress your guests.
And who knows, maybe you'll even start a new holiday tradition with your stunning wreath creations!
- About the Author
- Latest Posts
Introducing Ron, the home decor aficionado at ByRetreat, whose passion for creating beautiful and inviting spaces is at the heart of his work. With his deep knowledge of home decor and his innate sense of style, Ron brings a wealth of expertise and a keen eye for detail to the ByRetreat team.
Ron’s love for home decor goes beyond aesthetics; he understands that our surroundings play a significant role in our overall well-being and productivity. With this in mind, Ron is dedicated to transforming remote workspaces into havens of comfort, functionality, and beauty.
Mardi Gras Decoration
How Do You Make a Hanging Wine Bottle Lantern?
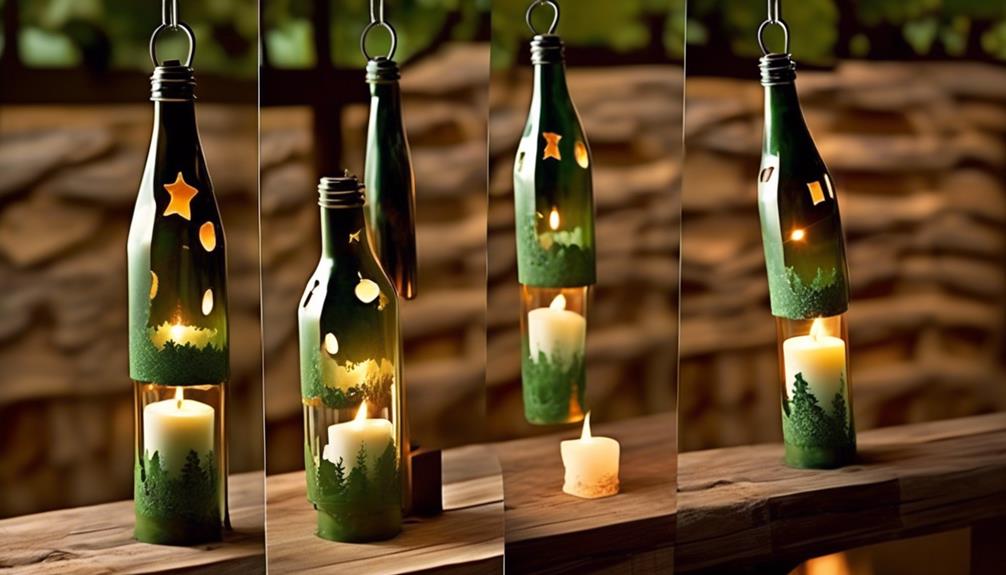
When creating a hanging wine bottle lantern, it’s akin to starting a creative adventure with a specific goal in sight. There is a certain fulfillment in transforming a wine bottle into a delightful, glowing decoration.
The process involves a few key steps, each contributing to the transformation of an ordinary bottle into a unique and eye-catching lantern. From gathering the materials to adding the final decorative touches, every stage of the process offers an opportunity for personalization and creativity.
Join us as we explore the art of crafting a beautiful and functional hanging wine bottle lantern.
Key Takeaways
- Preparing the wine bottle by removing labels and considering alternative upcycling ideas
- Creating a sturdy wire hanger for hanging the lantern
- Inserting LED lights strategically for optimal illumination
- Decorating the bottle with paint, embellishments, and spray painting for customization and personalization
Gather Materials and Tools
First, gather the materials and tools needed to create a hanging wine bottle lantern.
For glass cutting, you'll require safety goggles, a glass cutter, and a roll of masking tape. The safety goggles are crucial to protect your eyes from any glass shards, and the glass cutter will allow you to score the bottle accurately. The masking tape will act as a guide for a clean break.
Next, for wire bending, grab a pair of needle-nose pliers and some sturdy wire. The pliers will aid in bending the wire precisely, while the sturdy wire will provide the necessary support for hanging the lantern.
Gathering these materials and tools is a crucial first step in crafting your hanging wine bottle lantern. Ensuring you have everything on hand will make the process smoother and more enjoyable. Additionally, having all the necessary items readily available will allow you to focus on the creative aspect of the project, leading to a more satisfying outcome.
Prepare the Wine Bottle
Let's begin by removing any labels from the wine bottle using warm, soapy water and a scrubbing brush. Once the bottle is clean and dry, it's time to address the glass cutting techniques. When cutting glass, safety precautions are paramount. We need to wear protective gloves and safety glasses to prevent any potential injuries. There are a few different glass cutting techniques that we can explore, such as using a glass cutter tool or a glass etching cream to score the bottle. It's important to follow the instructions carefully and take our time to ensure a clean cut.
Now, when it comes to upcycling ideas and creative alternatives, we can think outside the box. Instead of cutting the bottle, we could repurpose it as a vase or a decorative centerpiece. We could also consider using LED string lights inside the bottle instead of cutting it, creating a beautiful glowing effect without the need for glass cutting. There are endless possibilities for upcycling wine bottles, so let's get creative and explore different ways to repurpose them.
Create a Wire Hanger
Using sturdy wire, we fashioned a simple loop at the top for hanging. When creating a wire hanger for a hanging wine bottle lantern, it's essential to consider the wire bending techniques and creative designs that will best suit your outdoor lighting needs. We found that using pliers to bend the wire into intricate shapes added a unique touch to our lantern. By bending the wire in different ways, we were able to create stunning patterns and designs that cast beautiful shadows when the lantern was lit.
In addition to the creative aspect, we also focused on ensuring that the wire hanger provided a sturdy hanging solution for the wine bottle lantern. This involved carefully shaping the wire to securely hold the weight of the bottle while also allowing for easy hanging and removal.
As outdoor lighting options continue to evolve, the wire hanger serves as a versatile and customizable element in creating unique hanging lanterns. Whether you prefer a sleek, modern design or a more whimsical, rustic look, the wire hanger can be tailored to complement various styles and settings, making it a valuable component in the creation of hanging wine bottle lanterns.
Insert the LED Lights
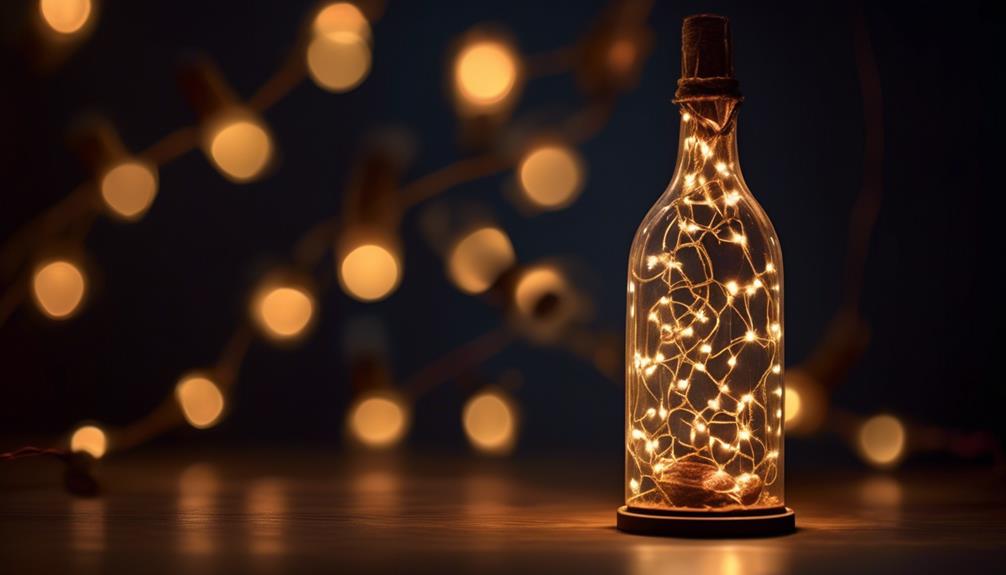
Once we've prepared the wire hanger, the next step is to carefully insert the LED lights into the wine bottle.
When choosing LED light options for our hanging wine bottle lantern, it's essential to consider the color choices available. Warm white LEDs can create a cozy and intimate ambiance, while colored LEDs can add a playful or festive touch to the lantern.
As we carefully place the LED lights into the bottle, we also need to consider the battery life and power source. It's important to select LED lights that have a long battery life, especially if we plan to hang the lantern in a location where it's challenging to replace the batteries frequently. Additionally, choosing LED lights that are compatible with rechargeable batteries can be a sustainable and cost-effective option.
Decorate the Bottle
Let's talk about how to decorate the bottle for our hanging wine bottle lantern.
We can either paint or etch the bottle to add a personal touch.
Additionally, we can also consider adding embellishments like ribbons, beads, or decorative wire to further enhance the lantern's aesthetic appeal.
Paint or Etch
We can enhance the appearance of the bottle by painting or etching it to add a personal touch and create a unique lantern.
Here are some ways to decorate the bottle:
- Glass Etching: This technique allows for intricate and creative designs to be etched onto the surface of the bottle. Using stencils or freehand designs, you can create beautiful patterns and images that will be illuminated when the lantern is lit.
- Spray Painting: With spray painting, you have a wide range of color options to choose from. Whether you prefer bold and vibrant hues or subtle, earthy tones, spray painting allows you to customize the bottle to match your personal style and the ambiance of the space where it will be displayed.
Both glass etching and spray painting offer endless possibilities for personalizing your wine bottle lantern and making it a stunning centerpiece in any setting.
Add Embellishments
After enhancing the appearance of the bottle through glass etching or spray painting, we can further personalize and beautify the lantern by adding embellishments to create a truly unique and captivating design.
When it comes to embellishment inspiration, the possibilities are endless. Consider incorporating design elements such as twine or rope to add a rustic touch, or experiment with decorative touches like charms, beads, or faux flowers for a more whimsical feel.
Another creative idea is to use metallic accents like gold or silver leaf to give the lantern an elegant and opulent look. You can also explore the option of decoupage with tissue paper or fabric to add intricate patterns and textures.
These embellishments not only add visual interest but also reflect your personal style, making the lantern a reflection of your creativity and individuality.
Hang and Enjoy
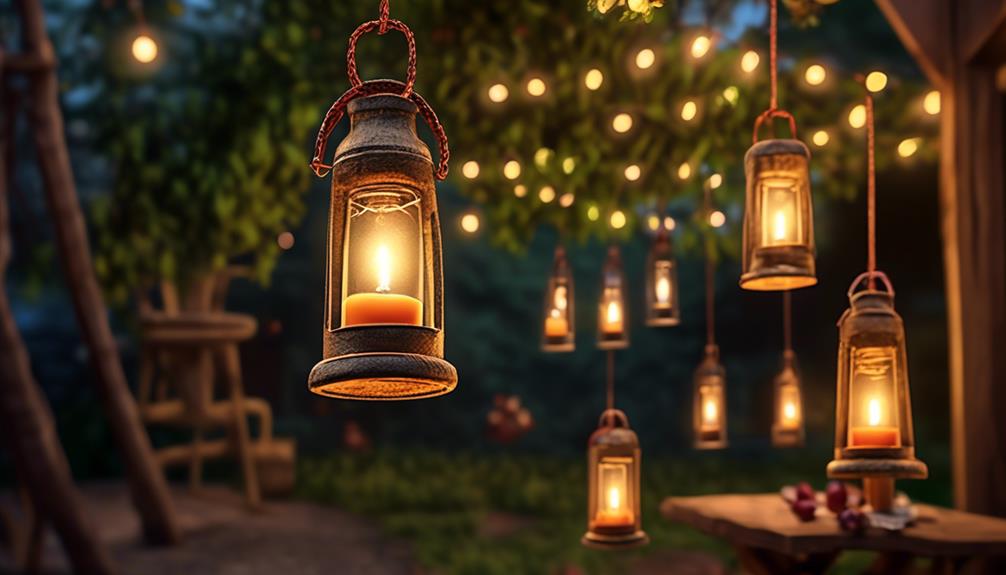
To hang and enjoy the hanging wine bottle lantern, find a sturdy hook or branch and securely suspend it in a desired location. Once in place, bask in the warm glow of your creation and let the ambiance set the mood for your outdoor space.
Here's how to make the most of your new wine bottle lantern:
- Create an Outdoor Oasis: Position your wine bottle lantern in a cozy nook of your outdoor space, such as near a seating area or along a garden pathway. The soft, flickering light will add a touch of magic to your evenings, creating an inviting and enchanting atmosphere.
- Host Charming Gatherings: Whether it's an intimate dinner for two or a small gathering with friends, the wine bottle lantern will infuse your outdoor space with a delightful glow. Hang several lanterns at varying heights to create a captivating display that will surely impress your guests.
- Enhance DIY Décor: The wine bottle lantern not only provides beautiful outdoor lighting but also serves as a stunning piece of DIY home decor. Embrace the satisfaction of creating a unique and elegant lighting feature that reflects your personal style and creativity.
With the wine bottle lantern casting a gentle illumination, you and your loved ones can relish the enchanting ambiance it brings to your outdoor haven.
Safety Tips and Considerations

When hanging the wine bottle lantern, ensure that the hook or branch is strong enough to support the weight and securely fastened to prevent any accidental falls. We want to prioritize safety, so be sure to choose a sturdy location.
Additionally, consider the weight distribution of the lantern. A balanced distribution will prevent unnecessary strain on the hanging mechanism and reduce the risk of it falling.
Be mindful of fire hazards when using candles or tea lights inside the lantern. Keep the flame away from flammable materials and never leave it unattended. It's important to place the lantern in a clear, open area to minimize the risk of accidental fires.
Always extinguish the candle before leaving the lantern unattended. By taking these safety tips into consideration, we can ensure that our hanging wine bottle lantern not only looks beautiful, but also remains a safe and enjoyable addition to our surroundings.
Frequently Asked Questions
Can I Use a Regular Light Bulb Instead of LED Lights?
Yes, you can use a regular light bulb instead of LED lights.
However, keep in mind that regular light bulbs consume more energy compared to LED lights.
So, if energy consumption is a concern for you, then LED lights might be a better option.
But if you prefer the warmth and ambiance of a regular light bulb, it's definitely an option for your hanging wine bottle lantern.
How Long Will the Battery in the LED Lights Last Before Needing to Be Replaced?
We've found that the battery in the LED lights can last quite a while before needing replacement. With energy efficiency and solar power, the battery longevity is impressive.
Our experience has shown that the LED lights can last for several months before needing a new set of batteries. It's great to have the option of solar power for extended use and minimal maintenance.
Can I Use a Different Type of Bottle Besides a Wine Bottle for This Project?
Yes, you can definitely use a different type of bottle for the lantern project. We've found that various bottle alternatives like whiskey or vodka bottles work beautifully.
When it comes to lighting options, we've also experimented with fairy lights, LED candles, and even solar-powered lights for a sustainable touch.
The key is to choose a bottle that resonates with you and complements your space, and then get creative with the lighting to set the perfect ambiance.
What Are Some Creative Ways to Decorate the Bottle Besides Painting or Adding Glitter?
When we want to get creative with our upcycling techniques, we often turn to sustainable alternatives and unique designs.
One of the best ways to decorate a bottle, besides painting or adding glitter, is by using decoupage or fabric wrapping. These techniques allow for endless possibilities and can give your hanging wine bottle lantern a distinct and personalized look.
It's all about finding those creative embellishments that speak to your style and personality.
Are There Any Specific Safety Precautions I Should Take When Hanging the Lantern?
When hanging lanterns, safety precautions are crucial. Always consider the weight limit of the hanging mechanism and ensure it's securely fastened.
To minimize the fire hazard, use LED candles or battery-operated lights instead of open flames.
When handling glass bottles, wear protective gloves to avoid injury.
We want to make sure everyone stays safe while enjoying the ambiance of our hanging wine bottle lanterns.
Conclusion
As we hang up our wine bottle lantern, we're reminded of the warmth and joy that comes with gathering around good company and good wine.
The soft glow of the LED lights symbolizes the warmth of friendship and the beauty of shared moments.
So, as you hang your own wine bottle lantern, may it bring light and joy to your gatherings, and may it remind you of the simple pleasure of good company and good wine.
Cheers!
- About the Author
- Latest Posts
Introducing Ron, the home decor aficionado at ByRetreat, whose passion for creating beautiful and inviting spaces is at the heart of his work. With his deep knowledge of home decor and his innate sense of style, Ron brings a wealth of expertise and a keen eye for detail to the ByRetreat team.
Ron’s love for home decor goes beyond aesthetics; he understands that our surroundings play a significant role in our overall well-being and productivity. With this in mind, Ron is dedicated to transforming remote workspaces into havens of comfort, functionality, and beauty.
-

 Vetted4 weeks ago
15 Best Contact Paper for Kitchen Cabinets to Elevate Your Home Decor
-

 Vetted2 weeks ago
15 Best Poe Cameras for Home Security – Reviews & Buying Guide
-

 Vetted4 weeks ago
15 Best Drain Snakes to Unclog Your Pipes Like a Pro
-

 Beginners Guides6 days ago
I Inhaled Vinegar Fumes
-

 Vetted4 weeks ago
14 Best Stationery Brands for Your Next Writing Adventure
-

 Beginners Guides2 weeks ago
Swinger Porch Light Color
-
 Mardi Gras Decoration4 weeks ago
Why Does Hobby Lobby Not Do Mardi Gras?
-

 Vetted2 weeks ago
15 Best Blinds for Bathroom Windows to Enhance Privacy and Style


![Best Puerto Rican Christmas Decorations: Traditional and Festive Ornaments to Deck the Halls [2024] 234 91Dg93uApyL](https://byretreat.com/wp-content/uploads/2023/11/91Dg93uApyL-400x240.jpg)
![Best Puerto Rican Christmas Decorations: Traditional and Festive Ornaments to Deck the Halls [2024] 235 91Dg93uApyL](https://byretreat.com/wp-content/uploads/2023/11/91Dg93uApyL-80x80.jpg)
