Decor
Transform Ugly Patio Furniture With These 7 Tips
Turn your tired patio furniture into a stylish outdoor haven with these 7 transformative tips – ready for a stunning makeover!
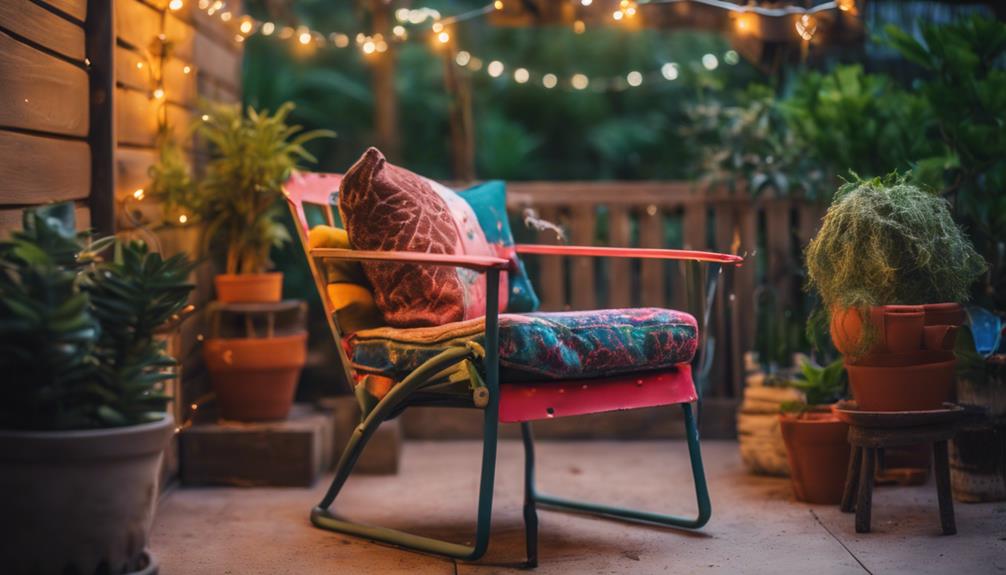
Transform your tired patio furniture effortlessly with expert tips. First, assess wear and tear, repair or replace as needed, and clean with suitable methods. Then, opt for a new color palette that complements your space. Upgrade comfort with quality cushions and pillows. Enhance the look with unique decor like planters, rugs, and lighting. Add a personal touch with DIY projects. Master these steps for a stunning outdoor oasis.
Key Takeaways
- Assess furniture condition and repair costs for cost-effective decisions.
- Select a fresh color scheme to revamp and harmonize outdoor space.
- Upgrade comfort with UV-protected cushions and stylish pillow accents.
- Enhance decor with unique planters, rugs, lights, and DIY projects.
- Salvage and transform furniture with cleaning, repairs, and personal style touches.
Evaluate Current Furniture Condition
Let's start by thoroughly examining the current state of our patio furniture to identify any damage or wear that may require attention. It's vital to assess the condition of the patio furniture to determine if there are any signs of rust, peeling paint, or broken parts that need repair. By carefully inspecting each piece, we can decide whether the furniture is salvageable or if it requires replacement.
When evaluating the furniture, we should consider the cost of repairing versus buying new pieces. This financial aspect will help us make an informed decision on the best course of action. Additionally, it's important to evaluate the potential for transformation through painting, cushion replacement, or other updates.
Choose Appropriate Cleaning Methods
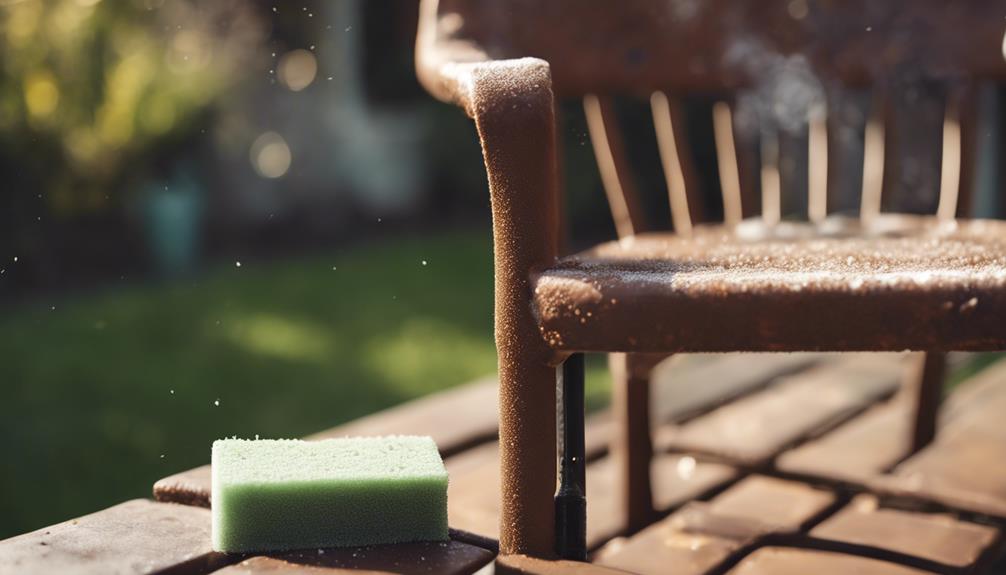
After evaluating the current condition of our patio furniture, the next step is to select appropriate cleaning methods to revitalize the pieces and enhance their appearance.
Power washing proves effective in removing dirt, grime, and mold from various materials. A mild detergent and water solution work well for gently cleaning cushions and fabric covers. Metal furniture can be cleaned using a mixture of vinegar and water without causing any damage. When dealing with wooden furniture, a combination of soap and water followed by a wood cleaner is recommended to maintain its quality.
By incorporating these cleaning methods into a regular maintenance routine, the patio furniture won't only look nice but also last longer. Remember that thorough cleaning can often revive items that initially seemed beyond repair, saving you the need to throw away and replace them.
With proper care and attention, your patio furniture can be transformed to look as good as new without the need for expensive replacements or professional services.
Repair or Replace Broken Parts

When evaluating damaged patio furniture, it's important to assess the severity of issues like broken frames and worn cushions. Repairing broken frames can involve reinforcing weak spots or replacing damaged sections to guarantee structural integrity.
Upgrading worn cushions may include replacing foam inserts or investing in new fabric covers for a fresh look and enhanced comfort.
Fixing Broken Frames
When addressing broken frames on patio furniture, assess the extent of damage to determine whether repair or replacement is necessary. DIY repairs can often be done using wood glue, metal brackets, or replacement parts for broken frames. However, for more complex damage, seeking professional help is advisable to guarantee the structural integrity of the furniture.
Using weather-resistant materials for repairs is essential to prevent future damage from outdoor elements. Regular maintenance and inspections are key to identifying issues early on and preventing severe damage to patio furniture frames.
- Consider DIY repairs using wood glue, metal brackets, or replacement parts for broken frames.
- Seek professional help for complex repairs or replacements to guarantee structural integrity.
- Use weather-resistant materials for repairs to prevent future damage from outdoor elements.
- Regular maintenance and inspections can help prevent severe damage to patio furniture frames.
Upgrading Worn Cushions
Let's enhance the comfort and appearance of your patio furniture by upgrading worn cushions and repairing or replacing any broken parts. Repairing broken parts, such as loose screws or wobbly legs, can greatly extend the lifespan of your outdoor furniture.
When it comes to worn-out cushions, replacing them with new ones made of durable outdoor fabric not only improves comfort but also enhances the overall look of your patio set. DIY cushion covers offer a vital touch to match your style preferences. It's important to look for cushion replacement options that offer UV protection to prevent fading due to sun exposure.
Upgrading cushion inserts with high-quality foam or padding ensures better support and longevity, making your outdoor seating more enjoyable and durable for years to come. By taking these steps, you can revamp your patio furniture and create a cozy outdoor retreat for relaxation and entertainment.
Select a Fresh Color Scheme
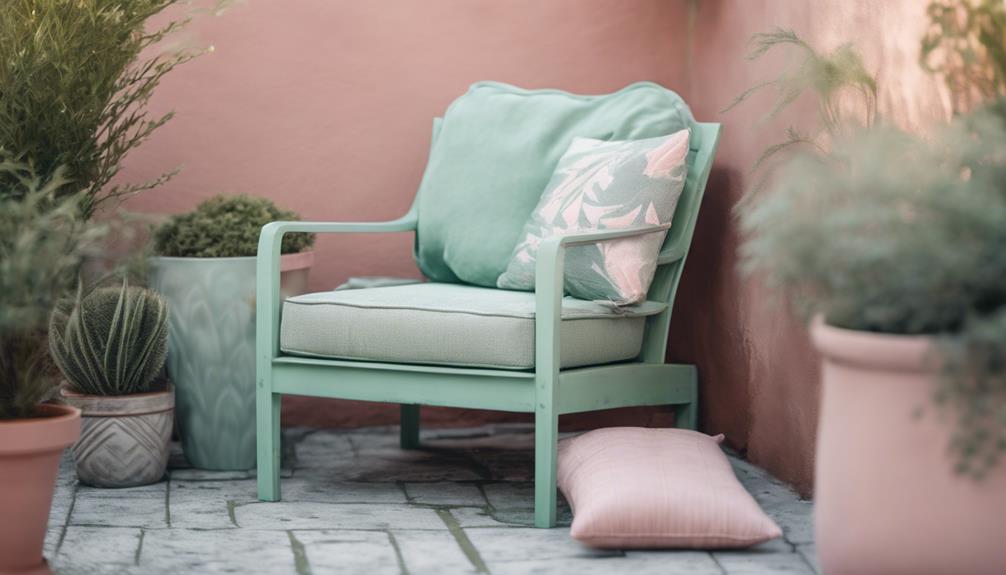
To revamp your patio furniture, we should carefully choose a fresh color scheme that complements the outdoor space and existing decor. Consider popular outdoor color trends such as neutral tones, blues, greens, or earthy hues to create a cohesive and inviting atmosphere.
Bright colors can add a fun and vibrant touch to your patio furniture, injecting energy into the outdoor space. Utilizing color psychology, you can evoke specific emotions or set a particular mood in your outdoor area by selecting the right color palette.
- Harmonize with Outdoor Space: Guarantee the chosen colors blend seamlessly with the natural elements and surroundings of your patio.
- Reflect Your Style: Pick colors that resonate with your personal taste and reflect the overall aesthetic you wish to achieve.
- Complement Existing Decor: Coordinate the new color scheme with your outdoor cushions, pillows, and other decorative elements for a unified look.
- Experiment with Accents: Introduce pops of color through accessories or accent pieces to add visual interest and depth to your patio furniture.
Add Comfortable Cushions and Pillows
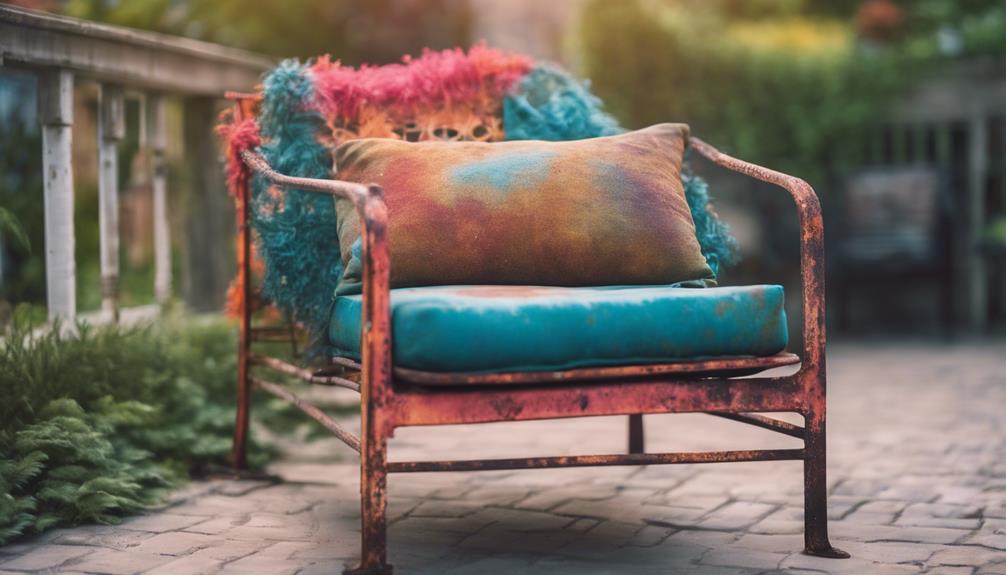
When it comes to enhancing the comfort and appeal of your outdoor space, adding cushions and pillows to your patio furniture is a game-changer. Not only do they provide a soft and cozy seating experience, but they also inject a pop of color and style into your patio decor.
Cushion Selection Tips
Select outdoor cushions made from UV-resistant and water-repellent fabrics to guarantee durability and longevity in your patio furniture ensemble.
When choosing cushions, opt for those with quick-drying capabilities to withstand outdoor elements and ensure they maintain their shape and quality over time.
Consider the thickness and firmness of the cushions to provide maximum comfort and support for extended periods of lounging.
Look for removable and washable cushion covers to facilitate easy maintenance and cleaning, keeping your outdoor space looking fresh and inviting.
Finally, coordinate the colors and patterns of the cushions with your existing patio decor to create a cohesive and visually appealing outdoor setting.
Pillow Styling Ideas
Let's explore some creative ways to style your patio with comfortable cushions and pillows. Outdoor pillows not only provide comfort but also add a touch of style to your outdoor space, elevating the overall ambiance.
By mixing and matching different pillow patterns and colors, you can create a visually appealing and personalized design scheme on your patio. Opt for weather-resistant and easy-to-clean outdoor pillows to guarantee they withstand various weather conditions, maintaining their longevity and durability.
DIY outdoor pillows offer a cost-effective solution for customizing your patio decor to align with your unique preferences and style. Incorporating these pillows into your patio furniture can instantly transform a dull outdoor area into a cozy and inviting space for relaxation and entertainment.
Whether you prefer vibrant hues or subtle tones, the right selection of pillows can enhance the aesthetic appeal of your patio while providing a comfortable setting for you and your guests to enjoy.
Incorporate Creative Decor Elements
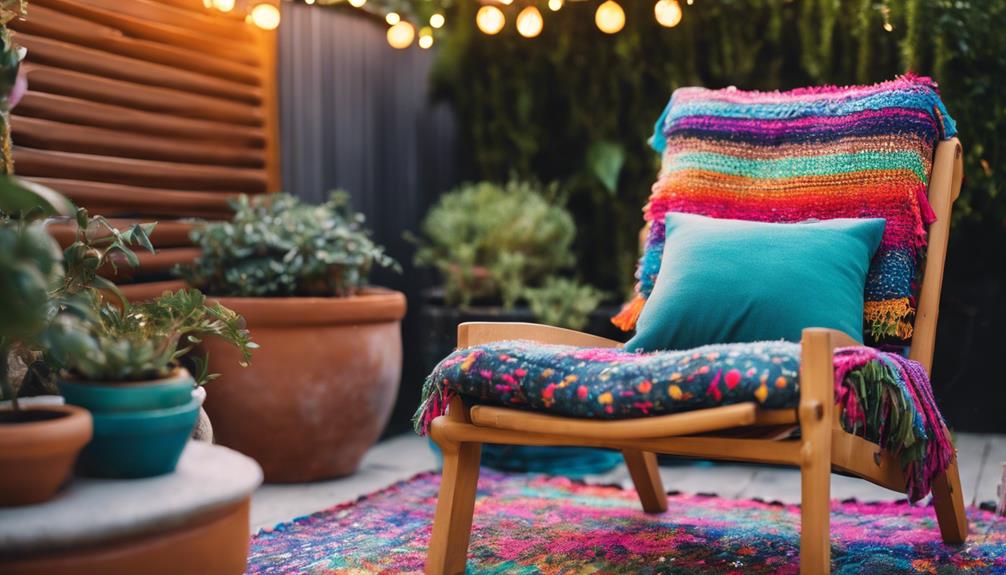
Enhance your patio's aesthetic by incorporating creative decor elements such as unique planters, outdoor rugs, string lights, water features, and decorative items.
When it comes to planters, think outside the box by using repurposed containers or hanging baskets to add visual interest and a touch of originality to your outdoor space.
Outdoor rugs with bold patterns or vibrant colors not only define different areas but also inject a burst of style into your patio.
Unique Planters: Repurpose containers or hanging baskets for visual interest.
Outdoor Rugs: Define areas with bold patterns or colors for added style.
String Lights: Hang lights or lanterns to create a cozy ambiance for evening use.
Water Features: Install small fountains or birdbaths to introduce a calming element and attract wildlife.
Additionally, consider incorporating string lights or lanterns to create a cozy ambiance, extending the usability of your patio into the evening.
Adding a water feature like a small fountain or birdbath can introduce a calming element and attract wildlife to your outdoor oasis.
Personalize With DIY Projects
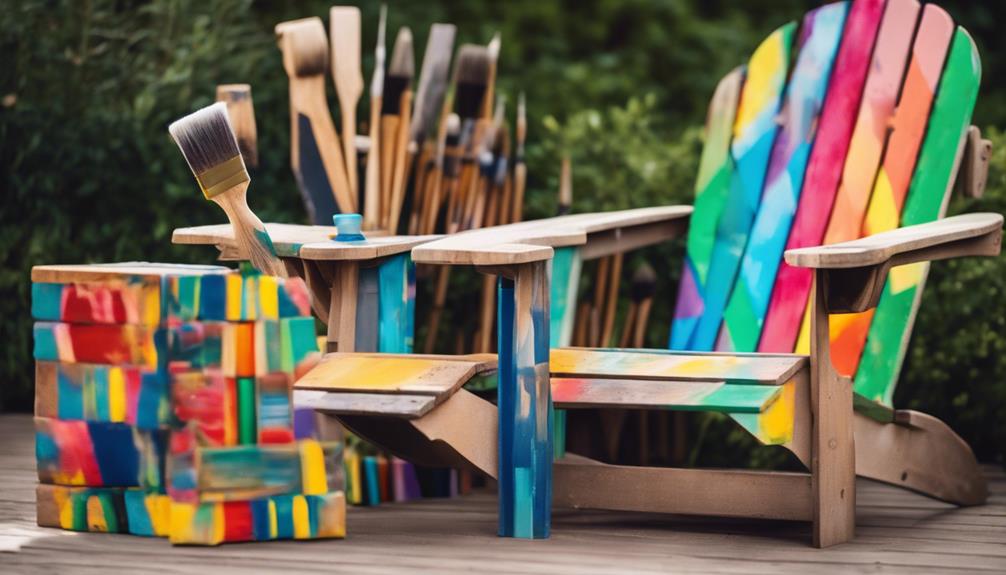
To undertake a personal touch to our patio furniture, we can engage in DIY projects that offer a creative and budget-friendly way to customize our outdoor space. DIY projects provide an avenue for expressing individuality through unique and innovative designs, allowing us to tailor our patio furniture to match our preferences perfectly.
By incorporating personal touches like custom paint jobs, handcrafted cushions, or decorative accents, we can elevate the overall aesthetic of our outdoor living area. These projects not only add a personalized charm but also serve as a satisfying creative outlet where we can showcase our style and creativity.
The process of engaging in DIY projects for patio furniture can be both enjoyable and fulfilling, offering a sense of accomplishment as we transform ordinary pieces into personalized works of art. Whether it's upcycling old furniture or creating new pieces from scratch, DIY projects present endless possibilities for enhancing our outdoor decor with a personal touch.
Frequently Asked Questions
How Can I Make My Old Outdoor Furniture Look Better?
To make old outdoor furniture look better, we suggest starting with a fresh coat of outdoor quality spray paint for an instant transformation.
Consider recovering cushions in durable outdoor fabrics or painting them for a modern touch.
Add weather-resistant outdoor pillows in coordinating colors and patterns to enhance comfort and style.
For tables, replacing glass tops with wooden ones can offer a more functional and visually appealing solution.
Explore DIY projects for further inspiration.
How to Spruce up an Ugly Patio?
To spruce up an ugly patio, we recommend starting with a thorough cleaning using a mild soap and water solution.
Next, consider repainting or refinishing any worn or faded furniture pieces to give them a fresh look.
Adding colorful outdoor cushions, pillows, and rugs can instantly elevate the space.
Don't forget to incorporate potted plants, outdoor lighting, and decorative accents to create a welcoming outdoor oasis for relaxation and entertainment.
How to Make Cheap Outdoor Furniture Look Expensive?
To make cheap outdoor furniture look expensive, consider incorporating decorative elements like throw pillows or outdoor rugs for added elegance.
Upgrading hardware such as drawer pulls or hinges can enhance the overall appearance.
Investing in high-quality outdoor cushions and covers will provide a more luxurious feel.
Faux stone spray paint can transform plastic or resin furniture into a sophisticated stone-like finish.
Additional lighting options like string lights or lanterns can create an upscale ambiance on a budget.
How to Make Ugly Furniture Look Good?
When faced with the challenge of making ugly furniture look good, we suggest starting with a thorough cleaning to remove dirt and grime.
Next, consider strategic placement of decorative elements like vibrant cushions or cozy pillows to divert attention from flaws.
Additionally, utilizing clever color coordination can work wonders in enhancing the overall appearance.
Conclusion
To sum up, transforming unappealing patio furniture doesn't have to be a challenging task. By assessing the current condition, selecting appropriate cleaning methods, repairing or replacing broken parts, choosing a new color scheme, adding cozy cushions and pillows, incorporating imaginative decor elements, and personalizing with DIY projects, you can breathe new life into your outdoor space.
Remember, with a little time and effort, you can turn your patio into a stylish and welcoming oasis for relaxation and entertainment.
- About the Author
- Latest Posts
Introducing Ron, the home decor aficionado at ByRetreat, whose passion for creating beautiful and inviting spaces is at the heart of his work. With his deep knowledge of home decor and his innate sense of style, Ron brings a wealth of expertise and a keen eye for detail to the ByRetreat team.
Ron’s love for home decor goes beyond aesthetics; he understands that our surroundings play a significant role in our overall well-being and productivity. With this in mind, Ron is dedicated to transforming remote workspaces into havens of comfort, functionality, and beauty.
Decor
Step-by-Step DIY Nest Creation
Take your crafting skills to the next level with this step-by-step guide on creating a stunning DIY nest – the perfect decorative touch!
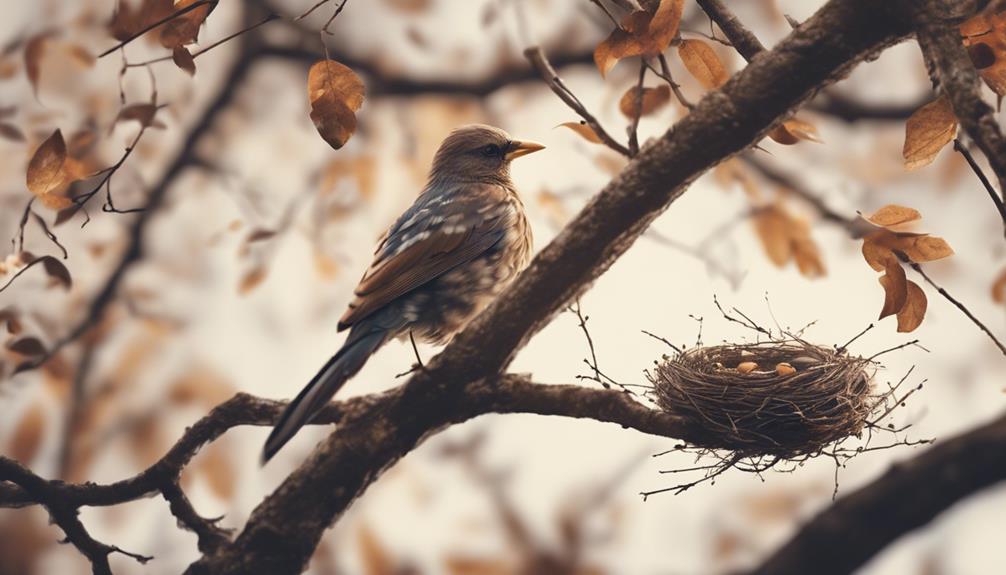
To create a DIY nest, gather Spanish moss, twigs, and pine straw. Cut and layer the moss over twigs, securing with a glue gun. Add sticks and green moss for structure and aesthetics. Weave pine straw in a circular pattern for support. Shape the nest with glue for stability. Complete drying guarantees durability. Display creatively for a decorative touch. Achieve authenticity by crafting a sturdy and comfortable nest. Mastering the art of weaving materials meticulously will lead to a beautiful result worth the effort.
Key Takeaways
- Use Spanish moss and twigs for flexibility and authenticity.
- Layer moss over twigs, secure with glue for durability.
- Incorporate sticks and green moss for structural integrity.
- Weave pine straw in a circular pattern for support.
- Shape nest, dry glue for stability, display creatively.
Gather Essential Materials
Let's begin by gathering the essential materials needed for creating a DIY nest. To craft a cozy nest, we'll require Spanish moss, twigs, a glue gun, and wire cutters.
The Spanish moss, available in shades of grey and green, will add a natural touch to our nest. Twigs will provide structure and authenticity to mimic a real bird's nest.
The glue gun is essential for securely attaching the materials together, ensuring our nest stays intact. Wire cutters will help shape the wire for the nest's structure, allowing us to customize the size and shape as needed.
When selecting the materials, it's important to choose moss colors that complement each other to create a visually appealing nest. Using a bowl as a mold for shaping the nest will give it a defined structure.
Safety is paramount when working with hot glue and moss to prevent burns, so caution should be exercised throughout the crafting process. By gathering these materials, we're ready to commence the journey of creating our DIY nest.
Prepare the Base With Spanish Moss
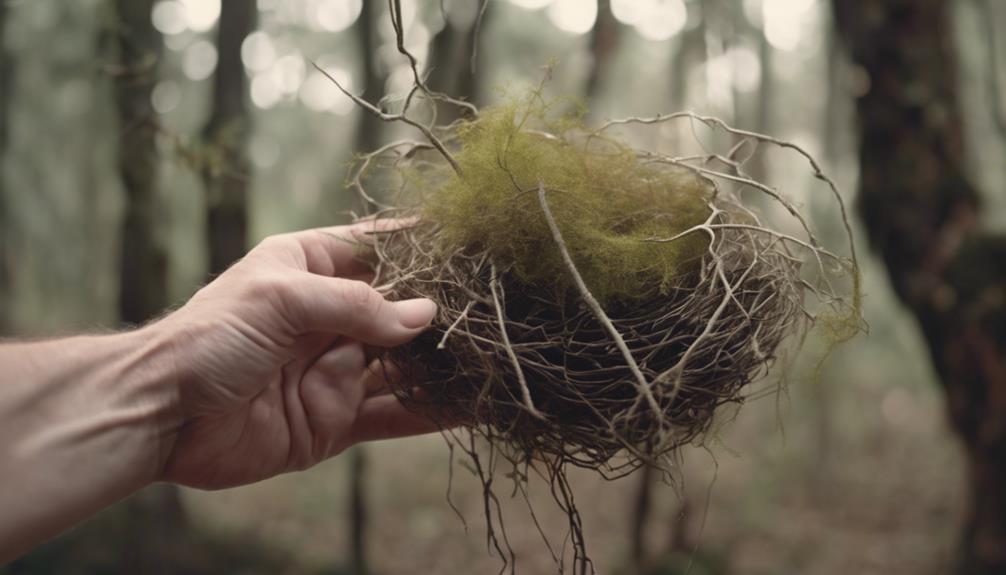
To create a sturdy foundation for our DIY nest, we'll prepare the base using Spanish moss. Spanish moss is a popular choice for creating the base of DIY nests due to its flexibility and natural appearance. By cutting the Spanish moss into small, manageable pieces, we can easily shape and layer it to form a solid base for our nest.
Layering the Spanish moss over twigs not only adds to the natural look but also provides a strong foundation for the nest structure.
Securing the Spanish moss in place is vital for the nest's durability. Using a glue gun to attach the Spanish moss ensures that the base remains intact and well-formed, preventing it from unraveling or shifting. This method of securing the moss allows for a more stable and long-lasting DIY nest construction.
Weave in Sticks and Green Moss
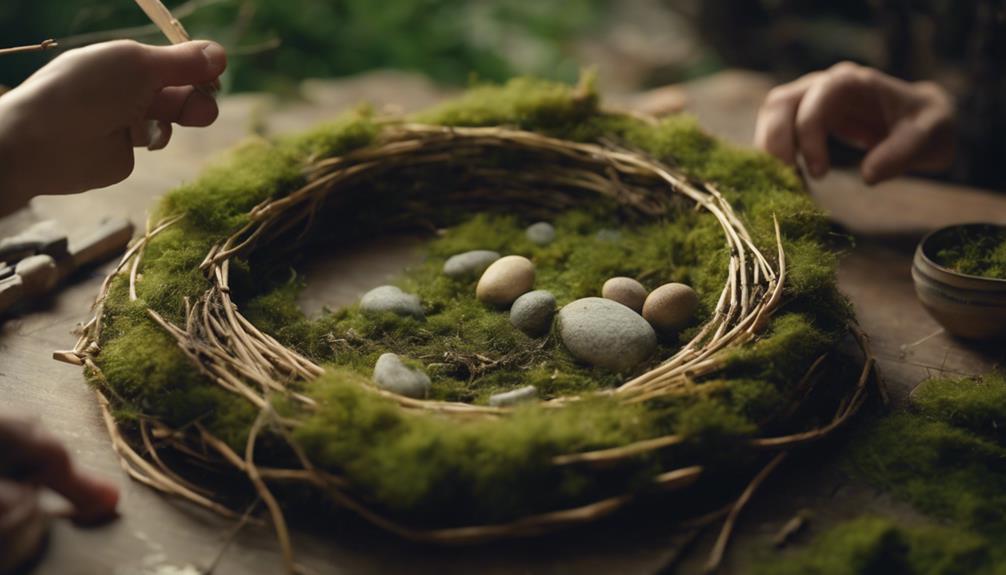
Weaving sticks into the nest enhances its structural integrity and imbues it with a natural charm. Sticks provide a solid framework for the nest, making it sturdy and reliable for the bird's habitation. Green moss, on the other hand, adds a touch of nature's beauty, creating a lush and realistic appearance. By strategically weaving sticks and incorporating green moss, we make the nest not only functional but visually appealing.
To get a better idea of how sticks and green moss can be used to create a beautiful nest, refer to the table below:
| Aspect | Description |
|---|---|
| Sticks | Provide structural support |
| Green Moss | Enhances visual appeal |
As you weave in the sticks and green moss, remember that the combination of these elements will not only make the nest more authentic but also visually appealing. This step is essential in achieving a well-crafted and inviting bird nest.
Add Pine Straw in Circular Pattern
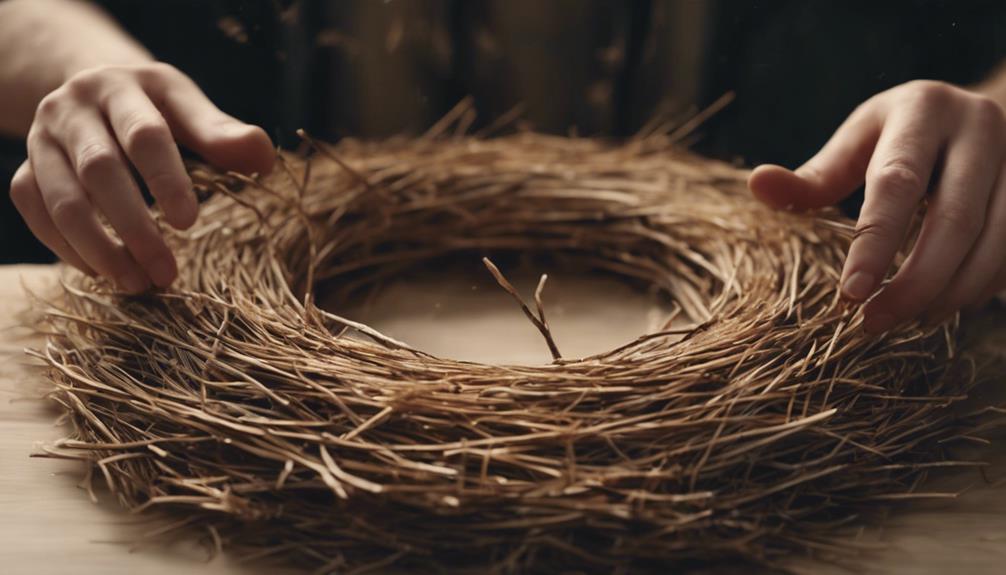
Adding pine straw in a circular pattern serves as a foundational step in creating a robust and visually appealing bird nest. Here are some key points to keep in mind when incorporating pine straw into your DIY bird nest:
- Weave pine straw in a circular pattern to provide a sturdy base for the nest, ensuring stability and structural integrity.
- Pine straw brings a natural and rustic element to the nest's design, enhancing its overall aesthetic appeal.
- Layer the pine straw evenly to offer support and structure to the nest, making it a comfortable and secure environment for birds.
- The circular weaving technique helps in shaping and defining the form of the nest, creating a well-defined structure.
- Make sure to securely weave the pine straw to prevent unraveling during the nest-making process, ensuring durability and longevity for the nest.
Shape the Nest and Dry Glue
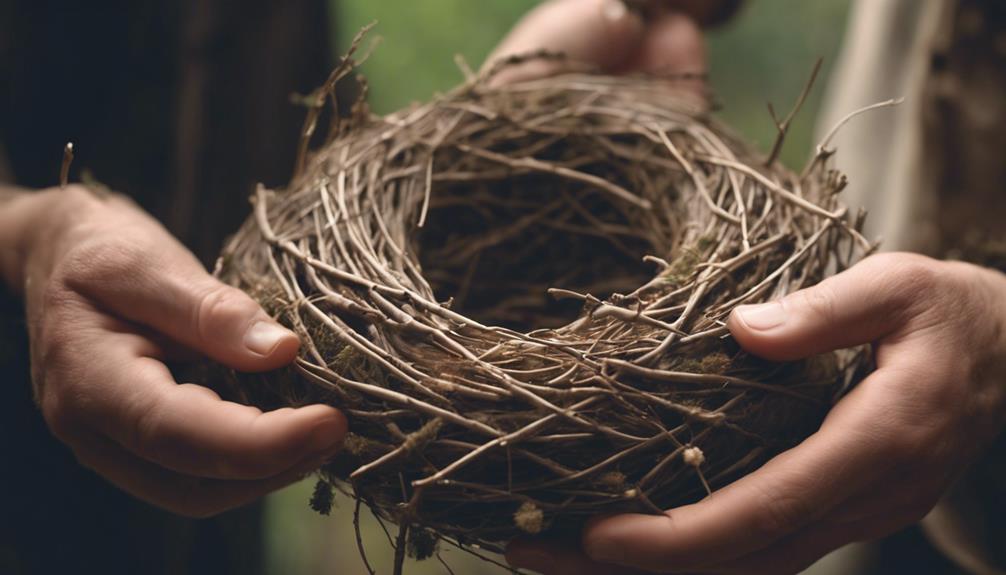
Let's discuss some key points about shaping the nest and drying the glue.
Nest shaping techniques involve gently molding moss and sticks into a round form for structural integrity.
Applying glue and using a heat gun for drying are crucial steps to guarantee that your DIY nest stays sturdy and ready for display.
Nest Shaping Techniques
To shape the nest and guarantee its structural integrity, we utilize a method of weaving sticks into the moss and then applying heat to dry the glue thoroughly. This process ensures a secure and stable foundation for the nest, making it suitable for holding decorations or eggs.
Here are some key nest shaping techniques we employ:
- Weave sticks into the moss: By intertwining sticks within the moss base, we create a sturdy framework that mimics natural bird nests.
- Apply heat to dry the glue: Using a heat gun, we carefully dry the glue to firmly bond the materials together, reinforcing the nest's structure.
- Mold into a round form: Shaping the nest into a circular structure not only enhances its appearance but also provides a cozy space for decorative elements.
- Confirm complete glue dryness: It's important to wait until the glue is fully dried before proceeding with adding embellishments to prevent any dislodging.
- Display creatively: Once the nest is complete, consider showcasing it on a DIY cake stand or beneath a cloche for a charming decorative touch.
Drying Glue Application
To guarantee the stability and durability of the nest structure, we shape the materials into the desired form and then apply a thin, even layer of hot glue for secure bonding. Proper glue application is essential to make sure all parts of the nest are securely attached. Utilizing a heat gun aids in drying the glue efficiently. However, caution must be taken not to overheat the glue, as this can potentially damage the nest materials. Below is a table outlining the steps involved in drying glue application:
| Glue Application Steps | Description | Importance |
|---|---|---|
| Shape Materials | Mold materials into desired form | Ensures proper fit |
| Apply Thin Layer | Evenly spread hot glue on surfaces | Secure bonding |
| Use Heat Gun | Dry glue quickly and effectively | Speeds up the process |
Nest Construction Tips
For shaping the nest and ensuring secure bonding, weave sticks into the moss and apply spray glue to create a sturdy structure. Incorporate green moss to give the nest a natural appearance.
Here are some nest construction tips to help you make a nest:
- Weave sticks into the moss for added structure and support.
- Use spray glue to hold the moss and sticks together, creating a durable nest shape.
- Utilize a heat gun to quickly dry the glue, ensuring a secure bond.
- Add finishing touches such as displaying bluebird eggs in the nest for a realistic touch.
- Enhance the overall presentation by placing the nest on a handmade DIY cake stand and incorporating decorative elements like a cloche and vintage door sign.
These tips will assist you in creating a beautiful and authentic bird nest that can be a lovely addition to your home decor or nature-inspired displays.
Display With Bluebird Eggs
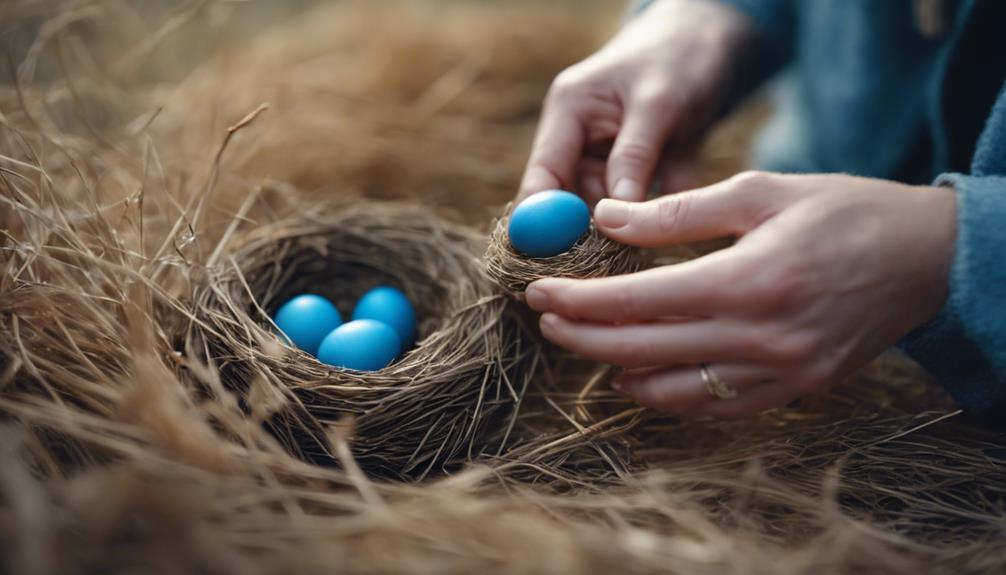
Adding a touch of realism, we display the DIY nest with delicate bluebird eggs. These eggs are an important element in creating a lifelike appearance for our DIY creation. Bluebird eggs are known for their light blue color, often speckled with tiny dots, adding to the overall authenticity of the display. Their oval-shaped structure, resembling miniature works of art, enhances the natural look we aim to achieve.
Strategically placing the bluebird eggs within the nest is essential for a visually appealing outcome. The combination of the nest and these small, intricately designed eggs creates a charming display that can brighten any room.
Frequently Asked Questions
How Do You Make Your Own Nest?
To make our own nest, we gather moss and twigs as primary materials. Cut the moss into small pieces and layer it over twigs for the base. Secure the moss with a glue gun for a sturdy structure.
Optionally, add artificial eggs or decorations for enhancement. To guarantee the moss, store it in a cool, dry place away from direct sunlight. This method guarantees longer-lasting nests with a natural aesthetic.
How Do You Make a Nest for Yourself?
When making a nest for ourselves, we carefully select materials like twigs, moss, and a glue gun to craft a cozy abode.
By shaping a sturdy base with twigs and layering it with moss, we guarantee a comfortable dwelling place.
Consider personalizing with artificial eggs or decorations for a unique touch.
Opt for preserved moss for longevity and store the nest in a cool, dry spot.
Whether for Easter decor or home accents, the possibilities are endless!
How Do You Make a Simple Nest for Kids?
To create a simple nest for kids, gather materials like twigs, grass, and moss. Encourage children to shape the nest with their hands or small tools. Use non-toxic glue or natural elements to secure the nest structure.
Let kids express creativity by adding small decorations such as feathers or tiny eggs. Engaging children in this process fosters a deeper appreciation for nature and enhances their imaginative skills.
How Do You Make a Makeshift Nest?
To make a makeshift nest, gather Spanish moss, twigs, and a glue gun. Cut the moss into small pieces and form a base using twigs.
Layer the moss over the twigs and secure it with the glue gun for stability. Consider adding artificial eggs or small decorations for a decorative touch.
For longer-lasting nests, opt for preserved moss and guarantee proper storage to maintain its quality.
Conclusion
To sum up, creating a DIY nest can be a simple and rewarding project. By following the step-by-step instructions outlined in this article, you can easily craft a beautiful and natural-looking nest to display in your home.
Remember to gather all the necessary materials, shape the nest carefully, and add the finishing touches for a realistic touch. Let your creativity soar as you bring this unique piece of nature into your living space.
Just like a bird building its nest, you too can create a cozy and inviting atmosphere in your home.
- About the Author
- Latest Posts
Introducing Ron, the home decor aficionado at ByRetreat, whose passion for creating beautiful and inviting spaces is at the heart of his work. With his deep knowledge of home decor and his innate sense of style, Ron brings a wealth of expertise and a keen eye for detail to the ByRetreat team.
Ron’s love for home decor goes beyond aesthetics; he understands that our surroundings play a significant role in our overall well-being and productivity. With this in mind, Ron is dedicated to transforming remote workspaces into havens of comfort, functionality, and beauty.
Decor
Timeless Beauty: Vintage Glass Globes
Open the door to a world of enchanting vintage glass globes, where timeless beauty and intricate designs await your discovery.

Vintage glass globes represent a timeless allure with intricate designs, enchanting colors, and enduring charm that have fascinated collectors and design aficionados for ages. These pieces showcase intricate patterns and delicate craftsmanship, emanating a sense of refinement and elegance from past eras. Their ability to diffuse light beautifully with frosted glass and colorful accents adds vibrancy to any space. Envelop yourself in a cozy atmosphere that seamlessly blends classic aesthetics with comforting nostalgia. Explore the versatile applications, various sizes, shapes, and designs of vintage globes to enhance your space with their enduring beauty and charm.
Key Takeaways
- Vintage glass globes offer intricate designs and craftsmanship, showcasing unique colors and patterns.
- Their elegance lies in delicate craftsmanship, frosted glass for beautiful light diffusion, and colorful accents.
- Nostalgic charm emanates from glass globes, evoking an enchanting allure and cozy atmosphere with warm glows.
- Create tranquility with their soft lighting, intricate designs, and peaceful ambiance, blending sophistication and peace.
- Versatile beauty in vintage globes with intricate detailing, diffused light, and various designs for customization in any space.
Timeless Appeal of Vintage Glass Globes
With their intricate designs and craftsmanship, vintage glass globes exude a timeless charm and elegance that fascinates collectors and enthusiasts alike. These glass globes, steeped in nostalgia, are coveted for their unique colors, shapes, and patterns that add a touch of the past to any contemporary space.
Collectors appreciate the quality and beauty of vintage glass globes, often using them as decorative pieces to elevate the ambiance of their homes. The intricate designs and delicate craftsmanship of these globes showcase the artistry and attention to detail that went into their creation, making them not just decorative items but also pieces of art.
Their versatility as decor pieces allows them to enhance the aesthetic of any room, creating a warm and inviting atmosphere that resonates with a sense of history and sophistication. Vintage glass globes truly stand the test of time, fascinating generations with their enduring charm and beauty.
Elegance in Vintage Glass Design
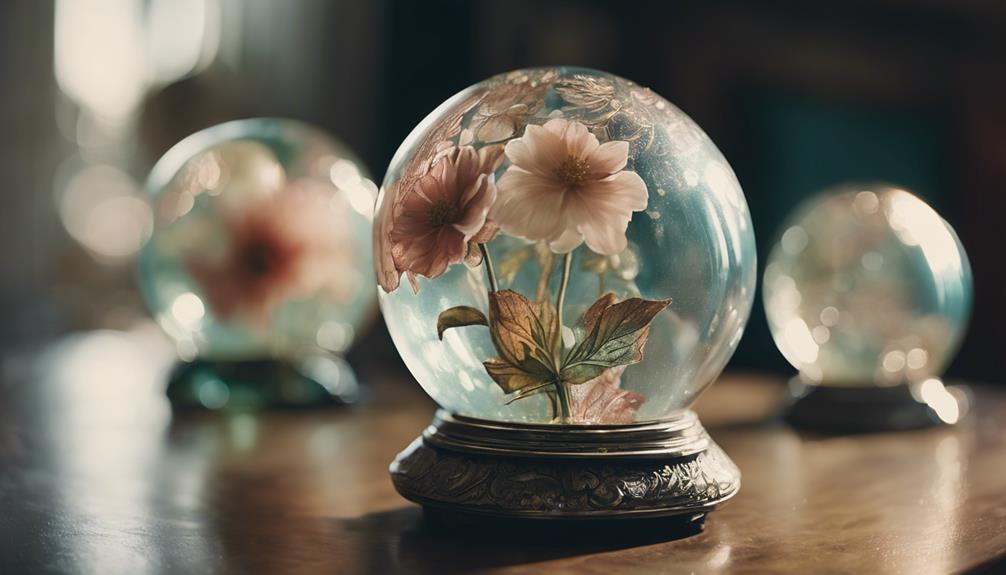
Vintage glass design exudes elegance through intricate patterns and delicate craftsmanship, capturing the essence of past eras. The sophistication of vintage glass globes is evident in the attention to detail, with many showcasing elaborate designs that reflect the artistry of bygone times. Crafted with precision, these globes often feature frosted glass that diffuses light beautifully, along with colorful accents that add a touch of vibrancy to any space.
Whether used as lamp shades, ceiling fixtures, or decorative accents, vintage glass globes bring a sense of refinement to interior decor.
Collectors are drawn to the allure of vintage glass globes, appreciating the historical significance and meticulous craftsmanship that went into creating these pieces. The timeless beauty of these globes adds a level of sophistication to any collection, making them coveted items for enthusiasts seeking to preserve the elegance of the past.
Nostalgic Charm of Glass Globes

Radiating an enchanting allure that evokes a sense of nostalgia, glass globes bring a timeless charm to interior spaces with their intricate designs and warm glow.
The nostalgic charm of vintage glass globes lies in their ability to transport us to bygone eras, where intricate details and delicate designs were commonplace in lighting fixtures. These globes, with their soft glow and inviting ambiance, infuse a room with a cozy atmosphere that's both classic and comforting.
The enduring appeal of glass globes is rooted in their vintage aesthetics, which effortlessly blend with a variety of interior styles.
Their versatility in shapes, sizes, and colors allows for a personalized touch, making them a popular choice for those seeking to add a touch of elegance to their living spaces.
Whether suspended from a ceiling or adorning a table lamp, glass globes exude a timeless beauty that transcends trends, ensuring they remain a staple in interior décor for years to come.
Creating Tranquility With Glass Globes
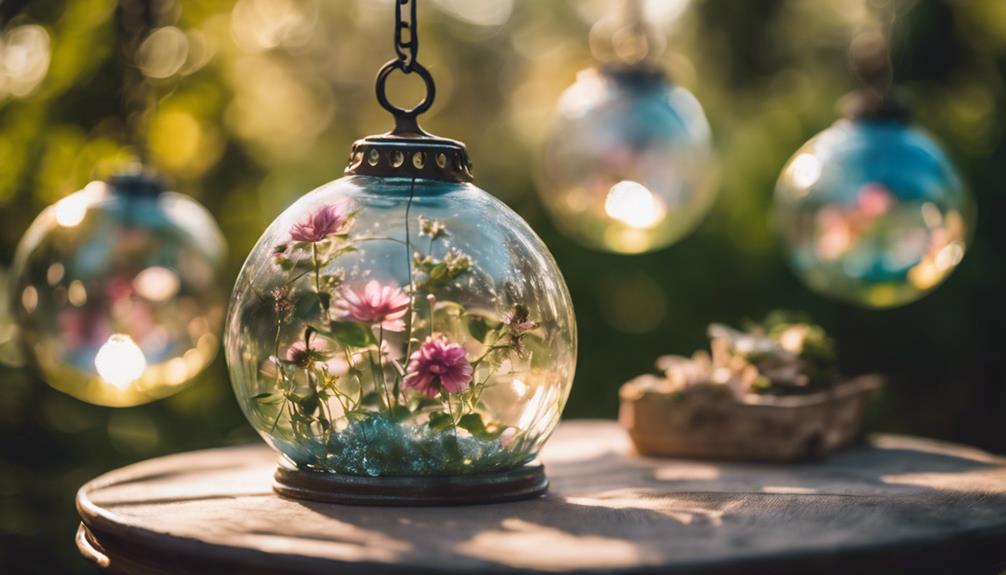
To enhance the ambiance of a space with a serene and calming atmosphere, consider incorporating vintage glass globes renowned for their soft lighting and tranquil ambiance. These timeless pieces exude elegance through their delicate craftsmanship and intricate designs, adding sophistication to any setting.
The soft and diffused lighting emitted by glass globes not only enhances the aesthetic of the room but also creates a sense of peace and tranquility.
With a wide range of sizes and shapes available, vintage glass globes can complement various decor styles, from traditional to modern, offering a versatile option for aesthetic enhancement. Whether suspended from the ceiling as a statement piece or used as table lamps to create a cozy corner, these globes bring beauty and elegance to any space.
Versatile Beauty of Vintage Globes

Exploring the versatility of vintage glass globes reveals their ability to enhance any space with timeless beauty and charm. These globes, with their intricate detailing and craftsmanship, exude a unique elegance that can elevate the aesthetic of a room effortlessly. They come in various sizes, shapes, and designs, allowing for customization to suit different decor styles. Vintage glass globes can serve multiple purposes, functioning as pendant lights to illuminate specific areas, as chandeliers to create a focal point, or even as standalone decorative pieces for a touch of sophistication.
| Vintage Glass Globes | Benefits |
|---|---|
| Intricate Detailing | Adds elegance and sophistication to any space |
| Versatile Applications | Can be used as pendant lights or chandeliers |
| Diffused Light | Creates a cozy atmosphere with soft illumination |
The diffused light that emanates through these globes not only provides adequate lighting but also contributes to a warm and inviting ambiance, making the space feel more intimate and welcoming.
Frequently Asked Questions
Can Vintage Glass Globes Be Used Outdoors?
Yes, vintage glass globes can typically be used outdoors, provided they're made of durable materials like tempered glass. Outdoor conditions may expose them to elements like wind, rain, and sunlight, so selecting robust globes is essential. Make sure proper installation to prevent damage from environmental factors.
Regular maintenance, such as cleaning and inspection for cracks, will help prolong their lifespan. Following these practices will help preserve the vintage glass globes' aesthetic appeal while enjoying them in outdoor settings.
Are Vintage Glass Globes Fragile or Durable?
Vintage glass globes, whether antique or modern, can vary in durability. While they exude charm and elegance, they often require delicate handling due to their fragile nature.
However, with proper care and maintenance, these globes can withstand the test of time. It's essential to avoid subjecting them to harsh impacts or extreme temperatures, as this can lead to breakage.
Regular cleaning and gentle handling are key to preserving their beauty for years to come.
How Do I Clean and Maintain Glass Globes?
When maintaining glass globes, a gentle approach is essential. Begin by dusting regularly with a soft, lint-free cloth.
For deeper cleaning, mix mild dish soap with warm water, dampen a microfiber cloth, and carefully wipe the globe. Avoid harsh chemicals or abrasive materials that may scratch the glass.
Guarantee thorough drying to prevent water spots. Regular upkeep will preserve the clarity and beauty of your glass globes for years to come.
Can Vintage Glass Globes Be Customized or Personalized?
While one may dream of a vintage glass globe sporting their initials or a custom design, altering these pieces can diminish their historical and aesthetic value.
Authenticity is paramount in preserving the charm and uniqueness of vintage items. However, if personalization is desired, consider commissioning a skilled artisan to create a separate custom piece inspired by the vintage globe.
This way, one can enjoy a personalized touch without compromising the integrity of the original vintage glass globe.
Are Vintage Glass Globes Suitable for All Types of Lighting Fixtures?
Vintage glass globes are versatile and suitable for various lighting fixtures. They can enhance the aesthetic appeal of chandeliers, pendants, sconces, and even table lamps.
Their timeless elegance and adaptability make them a popular choice for both traditional and contemporary settings. Due to the wide range of sizes and styles available, vintage glass globes can effortlessly complement different types of lighting fixtures, providing a touch of sophistication and charm to any space.
Conclusion
To sum up, vintage glass globes offer a timeless beauty that adds elegance and charm to any space. Whether used as a centerpiece on a dining table or as a pendant light in a living room, these globes create a sense of tranquility and versatility that's unmatched.
One example of their impact is how a vintage glass globe pendant light can transform a modern kitchen into a cozy and inviting space, adding a touch of nostalgia and sophistication.
- About the Author
- Latest Posts
Introducing Ron, the home decor aficionado at ByRetreat, whose passion for creating beautiful and inviting spaces is at the heart of his work. With his deep knowledge of home decor and his innate sense of style, Ron brings a wealth of expertise and a keen eye for detail to the ByRetreat team.
Ron’s love for home decor goes beyond aesthetics; he understands that our surroundings play a significant role in our overall well-being and productivity. With this in mind, Ron is dedicated to transforming remote workspaces into havens of comfort, functionality, and beauty.
Mardi Gras Decoration
Why Are the Beads in Trees in New Orleans?

Isn’t it interesting how we’ve all seen those vibrant strands of beads draping from the trees in New Orleans, yet very few of us have paused to question their presence? As we wander through the lively streets of the city, it’s impossible not to be captivated by this enigmatic custom.
But have you ever stopped to think about the story behind these beads? What if I told you that there's more to these dangling decorations than meets the eye?
Well, get ready to uncover the fascinating tale of why the beads in trees in New Orleans hold a special place in the heart of this iconic city.
Key Takeaways
- Tree beads in New Orleans have a long history, dating back to the early 1700s, and originated as a way to mark parade-watching spots.
- Tree beads symbolize abundance, community spirit, and the rich history and enduring spirit of Mardi Gras.
- The tradition of adorning trees with beads reflects the diverse cultural influences in the city and serves as a marker for important life events.
- Tree beads in New Orleans embody the vibrant traditions, celebratory spirit, and community engagement of the city, attracting tourists and fostering a sense of connection and unity.
Origins of Tree Beads in Mardi Gras
Tracing back to the early 1700s, the tradition of hanging beads in trees during Mardi Gras originated as a way for revelers to mark their favorite parade-watching spots. This tradition reflects the joyous and communal spirit of Mardi Gras, where people come together to celebrate and create lasting memories.
The origins of this colorful practice are deeply intertwined with the festival traditions of New Orleans, where Mardi Gras has been celebrated for centuries.
In those early years, Mardi Gras was a time for people to gather and enjoy lavish feasts before the somber period of Lent. As the revelry grew, so did the desire to mark one's place along the parade routes. The custom of draping beads over tree branches allowed people to secure their spots while adding to the festive atmosphere.
Over time, this tradition became a beloved part of the Mardi Gras experience, symbolizing the excitement and sense of community that define this vibrant celebration.
Today, the sight of beads adorning the trees serves as a visual reminder of the rich history and enduring spirit of Mardi Gras. It's a tradition that continues to bring people together, creating cherished moments and strengthening the bonds of community.
Symbolism and Tradition of Tree Beads

The tradition of hanging beads in trees during Mardi Gras not only reflects the joyous and communal spirit of the celebration, but also holds deep symbolism and tradition within the vibrant culture of New Orleans.
Here's why these tree beads are more than just decorations:
- Symbolism of Abundance: The beads symbolize not only the abundance of throws during Mardi Gras but also the abundance of joy and community spirit that the festival brings to New Orleans.
- Tribute to Nature: Hanging beads in trees is a way of honoring and celebrating the natural beauty of the city, creating a stunning visual display that intertwines human celebration with the majesty of nature.
- Historical Significance: This tradition dates back decades, intertwining the modern-day revelry with the historical tapestry of New Orleans, making it a symbol of continuity and tradition.
- Community Impact: The act of hanging beads in trees is a communal effort, bringing people together to adorn the city with colorful beads, fostering a sense of togetherness and shared celebration.
The tradition of adorning trees with Mardi Gras beads is a powerful symbol of unity, abundance, and reverence for both the festival and the city's natural beauty.
Cultural Significance of Beads in Trees
Adorning trees with Mardi Gras beads embodies the rich cultural tapestry of New Orleans, highlighting the city's vibrant traditions and celebratory spirit.
The act of draping beads over tree branches carries a deep and symbolic ritual for the people of New Orleans.
These beads not only symbolize the revelry and extravagance of Mardi Gras but also serve as a historical marker of the city's resilience and unity.
The tradition of throwing beads from parade floats dates back to the 19th century when it was a gesture of goodwill and camaraderie among diverse communities.
The beads became a way to celebrate and honor the city's cultural diversity and rich heritage.
Placing these beads in trees extends this symbolism, signifying the city's ability to weather challenges and come together in celebration.
The act of placing beads in trees has evolved into a cultural tradition that reflects the historical significance of Mardi Gras and the resilience of New Orleans.
It serves as a visual reminder of the city's enduring spirit and the unity of its people, making it a poignant and cherished tradition for locals and visitors alike.
Impact on New Orleans Community

Placing beads in trees not only symbolizes the revelry and unity of New Orleans but also has a significant impact on the local community, fostering a sense of shared pride and resilience.
Here are four ways the tradition of beads in trees impacts the New Orleans community:
- Community Unity: The act of adorning trees with beads serves as a visual representation of the unity within the community, bringing people together during festivals and celebrations.
- Environmental Impact: While the beads themselves may pose an environmental challenge, the act of placing them in trees fosters a connection to nature and encourages environmental awareness within the community.
- Resilience: The tradition of placing beads in trees also reflects the resilience of the New Orleans community, as it serves as a reminder of overcoming challenges and coming together in the face of adversity.
- Local Pride: Seeing the vibrant beads adorning the trees instills a sense of local pride, reminding residents of the rich cultural heritage and traditions that make New Orleans unique.
The tradition of beads in trees not only adds to the visual charm of the city but also plays a vital role in fostering community spirit and environmental consciousness.
Exploring the Mystery of Tree Beads

Uncovering the enigmatic origins and significance of beads nestled in the branches of New Orleans' trees has become a captivating endeavor for many curious minds. This mysterious phenomenon has woven itself deeply into the local folklore, sparking a sense of wonder and intrigue within the community. As we delve into this enigma, we find ourselves drawn into a world where traditions, history, and spirituality intersect.
The beads adorning the trees stand as silent witnesses to countless stories and traditions, inviting us to explore their hidden meanings. Local folklore suggests that the tradition of adorning trees with beads traces back to various cultural practices, including Mardi Gras celebrations, Voodoo rituals, and even as a way to mark significant life events. Each glimmering strand seems to whisper tales of jubilation, sorrow, and everything in between, creating a tapestry of experiences suspended in time.
As we embark on this journey to unravel the mystery of tree beads, we aren't merely seeking answers; we're embracing the rich tapestry of New Orleans' cultural heritage, woven intricately with threads of mystique and tradition.
Frequently Asked Questions
What Is the Environmental Impact of the Beads on the Trees in New Orleans?
The environmental impact of beads on New Orleans trees is concerning. The bead removal process is essential for tree preservation. City cleanup efforts aim to minimize this impact.
It's important to address the issue to protect our environment. We must work together to find sustainable solutions.
Are There Any Regulations or Guidelines for Hanging Beads on Trees in New Orleans?
We have seen that there are no official regulations or guidelines for hanging beads on trees in New Orleans. However, there are preservation efforts and cleanup initiatives to address the environmental impact.
Local sentiment and urban legends add to the cultural significance of this practice. While superstitions and community engagement play a role, the lack of specific regulations leaves room for interpretation and personal responsibility.
This lack of rules is as rare as finding a four-leaf clover.
How Do the Locals Feel About the Beads Being Left on the Trees Year-Round?
Local opinions on the beads in trees vary. Some see it as a cultural significance, a unique tradition that adds to the city's charm. Others worry about the impact on the environment and the community.
It's become a tourist attraction, but it's a complex issue. The beads are intertwined with the city's identity, but we're also considering the community's well-being.
Are There Any Efforts to Remove the Beads From the Trees and Clean up the City?
Efforts to clean up the city are ongoing, and the community response has been inspiring.
While some might worry about the environmental impact, the cleanup efforts are making a real difference. The city is working hard to remove the beads from the trees, and the community is coming together to keep New Orleans beautiful.
It's amazing to see everyone pitching in to restore the city's natural beauty.
Are There Any Superstitions or Urban Legends Associated With the Beads in Trees in New Orleans?
Absolutely, there are many superstitions and urban legends about the beads in trees in New Orleans. They hold deep cultural significance and are often seen as a symbol of celebration and good luck.
However, some believe that leaving the beads in trees can have a negative environmental impact. Despite the cleanup efforts, the tradition continues, adding to the city's mystique and charm.
Conclusion
In conclusion, the beads in trees in New Orleans are a mysterious and fascinating tradition that adds to the unique charm of the city.
As we've explored the origins, symbolism, and cultural significance of tree beads, it's clear that they hold a special place in the hearts of locals and visitors alike.
This tradition truly 'adds a touch of magic' to the vibrant and lively atmosphere of New Orleans during Mardi Gras.
- About the Author
- Latest Posts
Introducing Ron, the home decor aficionado at ByRetreat, whose passion for creating beautiful and inviting spaces is at the heart of his work. With his deep knowledge of home decor and his innate sense of style, Ron brings a wealth of expertise and a keen eye for detail to the ByRetreat team.
Ron’s love for home decor goes beyond aesthetics; he understands that our surroundings play a significant role in our overall well-being and productivity. With this in mind, Ron is dedicated to transforming remote workspaces into havens of comfort, functionality, and beauty.
-

 Vetted4 weeks ago
15 Best Contact Paper for Kitchen Cabinets to Elevate Your Home Decor
-

 Vetted2 weeks ago
15 Best Poe Cameras for Home Security – Reviews & Buying Guide
-

 Vetted4 weeks ago
15 Best Drain Snakes to Unclog Your Pipes Like a Pro
-

 Beginners Guides6 days ago
I Inhaled Vinegar Fumes
-

 Vetted4 weeks ago
14 Best Stationery Brands for Your Next Writing Adventure
-

 Beginners Guides2 weeks ago
Swinger Porch Light Color
-

 Mardi Gras Decoration4 weeks ago
Why Does Hobby Lobby Not Do Mardi Gras?
-

 Vetted2 weeks ago
15 Best Blinds for Bathroom Windows to Enhance Privacy and Style


