Decor
Mastering Chalk Paint and Antiquing Wax in 5 Steps
Dive into the world of distressed elegance and uncover the secrets to creating unique, professionally-finished pieces with character and charm.
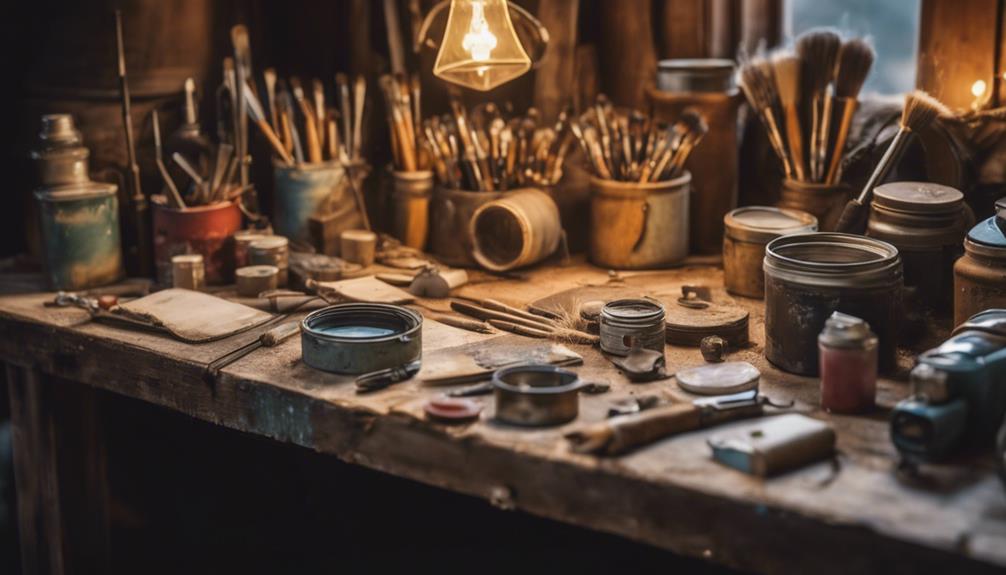
We can master chalk paint and antiquing wax in just 5 steps! First, we prep the surface by cleaning, sanding, and filling holes for a smooth paint job. Next, we apply a base coat of chalk paint, followed by a clear wax base for proper adhesion. We can then explore dark wax and layering techniques to achieve a distressed, vintage look. By managing wax intensity and layering carefully, we can create a truly unique finish. And, with patience and practice, we'll discover the secrets to achieving one-of-a-kind, professionally-finished pieces that exude character and charm – and that's just the beginning!
Key Takeaways
• Prepare the surface by cleaning, sanding, and filling imperfections for a smooth Chalk Paint application.
• Apply a clear wax base for proper adhesion and experiment with layering and buffing techniques for unique finishes.
• Build up a rich, complex finish with multiple thin coats of wax, controlling the amount and placement for customization.
• Use clear wax as a strategic base layer to dial in the perfect level of intensity and prevent dark wax from overpowering the paint.
• Achieve a distressed look quickly by applying contrasting Chalk Paint colors, distressing with sandpaper, and enhancing with antiquing wax.
Preparing the Chalk Paint Surface
Before we immerse ourselves in the world of Chalk Paint, we need to make sure our surface is perfectly prepared. This involves cleaning the surface thoroughly to remove any dirt, grease, or residue that may affect paint adhesion. We don't want anything getting in the way of a smooth, even coat of paint.
Next, we sand any rough areas or imperfections to create a smooth painting surface. This step guarantees that our Chalk Paint goes on smoothly and evenly.
We also use painter's tape to protect areas we don't want to paint, such as hardware or glass. If there are any holes or cracks, we fill them in with wood putty and sand it down for a seamless finish.
Applying Antiquing Wax Techniques
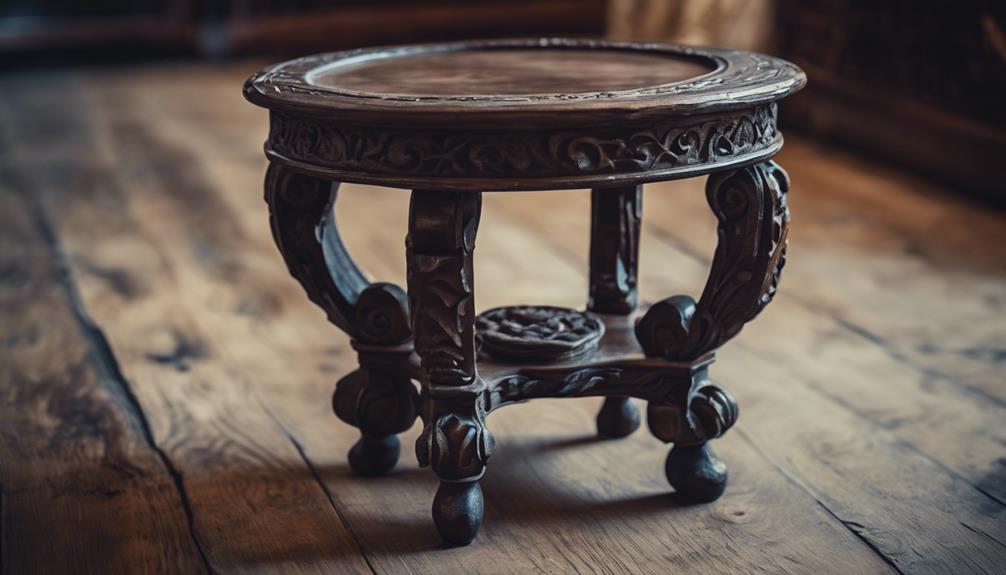
With our surface perfectly prepared and our Chalk Paint applied, we're now ready to add a touch of elegance and sophistication with the art of antiquing wax. This powerful tool allows us to create a distressed look on our furniture, adding depth and character to our pieces.
To start, we'll apply a clear wax base to guarantee proper adhesion and control over the final result. Next, we'll apply dark wax to the areas we want to accentuate, using techniques like layering and buffing to achieve the desired level of shine and intensity.
By experimenting with different techniques, we can create unique and personalized finishes that give our furniture an aged, vintage charm. As we work with the antiquing wax, we'll find that it's all about subtlety – a little goes a long way in achieving that perfect, aged finish.
Layering Wax for Desired Finish
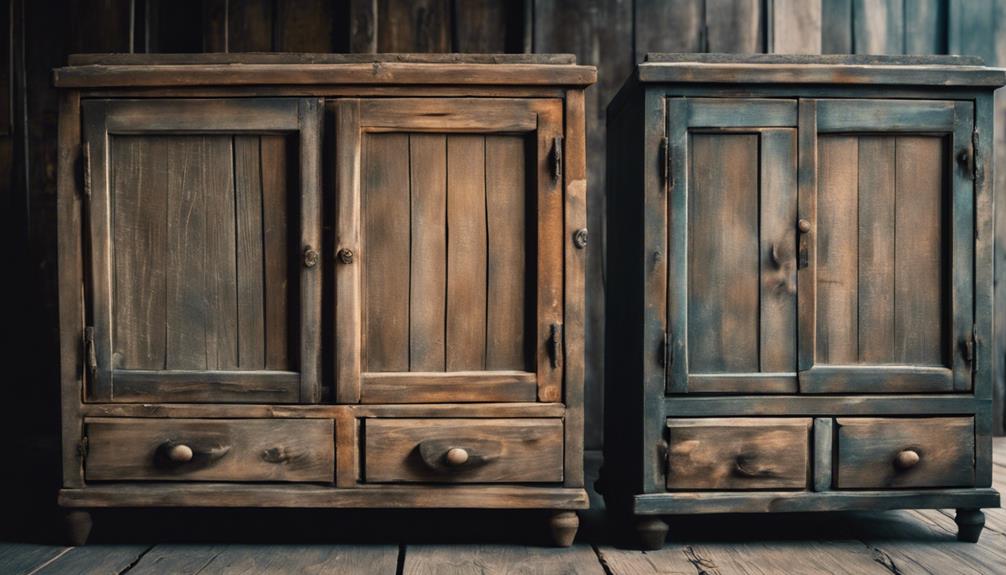
As we explore the art of layering wax, we'll discover that this technique allows us to build up a rich, complex finish by applying multiple thin coats of wax, each one adding depth and character to our piece.
By layering wax, we can achieve a level of customization that's hard to replicate with other finishing techniques. We can control the amount and placement of wax to create a unique, one-of-a-kind look that's all our own.
This process is especially useful when we want to create an aged or antique appearance on our furniture. With patience and attention to detail, we can build up a finish that's truly exceptional.
The key is to apply thin coats of wax, allowing each layer to dry before adding the next. This slow and steady approach requires patience, but the results are well worth the effort.
Controlling Wax Intensity With Clear
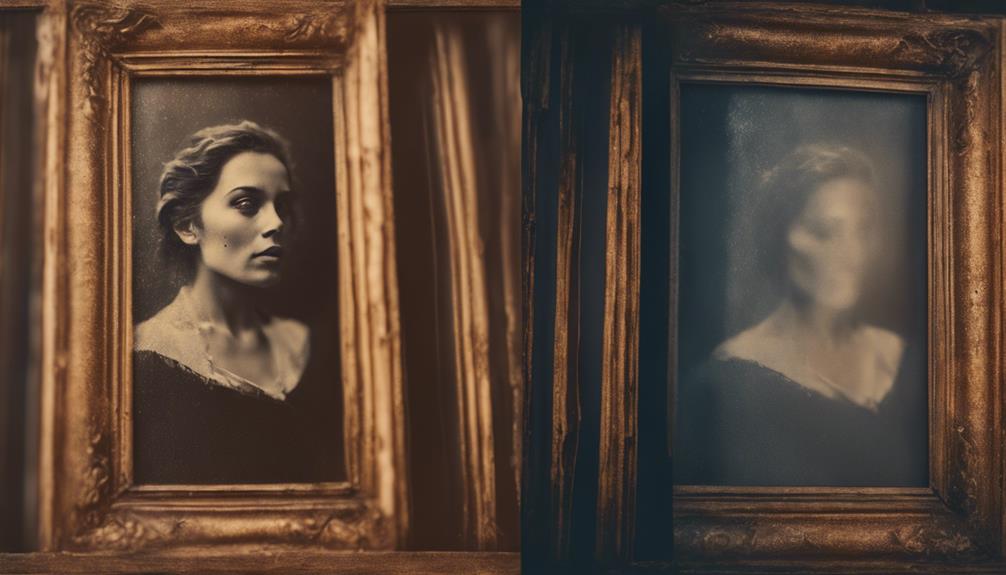
We take control of the antiquing process by using clear wax as a strategic base layer, allowing us to dial in the perfect level of intensity for our desired finish. This clever technique gives us the upper hand when working with dark wax, ensuring our furniture pieces turn out exactly as envisioned.
By applying clear wax first, we create a barrier that prevents dark wax from overpowering the chalk paint. This allows for easier blending and spreading of the dark wax, resulting in a more controlled antiquing effect. We can adjust the intensity of the finish to our liking, achieving a subtle or pronounced look depending on our personal preference.
With clear wax as our base layer, we're able to fine-tune the final result, making adjustments as needed. This level of control is essential when waxing furniture, as it enables us to achieve a finish that's truly unique and captivating.
Achieving Distressed Looks Quickly
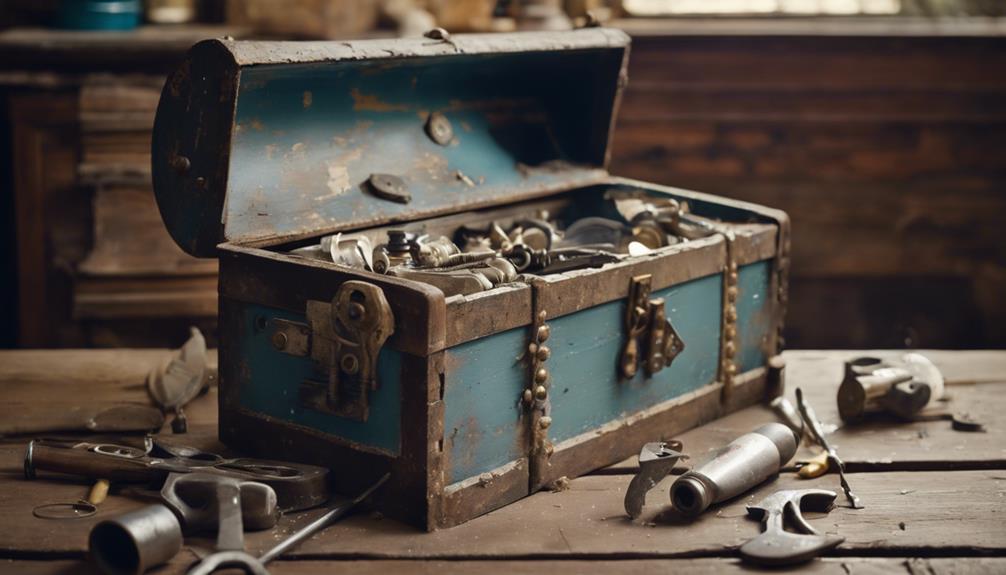
To achieve a distressed look quickly, we can apply two coats of Chalk Paint in contrasting colors, which sets the stage for further antiquing and customization. This layering technique creates a beautiful, aged appearance and adds depth to our finish.
We can then use sandpaper to distress specific areas, giving our piece a more customized look. Additionally, applying antiquing wax over the Chalk Paint enhances the distressed effect and adds even more character to our finish.
By experimenting with different distressing techniques, we can achieve the perfect level of antiquing for our furniture piece. We can also experiment with layering different colors and sanding between coats to create a truly unique, one-of-a-kind look.
With Chalk Paint and antiquing wax, the possibilities are endless, and we're limited only by our imagination. By mastering these techniques, we can achieve a beautifully distressed look that adds charm and personality to any piece of furniture.
Frequently Asked Questions
How to Use Antique Wax With Chalk Paint?
We're excited to explore the world of antique wax with chalk paint!
To get started, we apply a clear wax coat first, allowing it to dry completely. Then, we use a lint-free cloth or brush to work the antique wax into crevices and details, achieving a rich, vintage look.
We experiment with different techniques to control the level of antiquing, from subtle to dramatic. With practice, we master the art of adding depth and character to our projects!
Do You Wax or Distress Chalk Paint First?
We've got a dilemma on our hands – do we wax or distress our chalk paint first? It ultimately comes down to the look we're going for.
If we wax first, it protects the paint and makes distressing easier, resulting in a more subtle effect.
But if we distress first, we can achieve a more authentic, aged look with the paint showing through.
How Long Do You Leave Wax on Chalk Paint Before Buffing?
As we wait for perfection, time becomes our trusted ally.
When it comes to waxing our chalk paint masterpieces, patience is key.
We let the wax sit for about 24 hours before buffing, allowing it to harden and ensuring a durable finish.
Rushing the process can lead to streaks and unevenness, so we take a deep breath and let time do its magic.
How Many Coats of Wax Do You Put on Chalk Paint?
When it comes to applying wax on our Chalk Paint projects, we typically use 1-2 coats for best protection and finish.
The first coat serves as a base, allowing the second coat to adhere and enhance durability.
We've found that this approach guarantees a smooth, lustrous finish without buildup or streaking.
Conclusion
As we step back to admire our handiwork, the once-bare surface now radiates a warm, vintage glow. The antiquing wax whispers secrets of the past, its subtle sheen evoking memories of forgotten attic trunks and dusty antique shops.
With every brushstroke, we've breathed new life into the old, crafting a tale of love, loss, and rebirth. Our masterpiece stands as a tribute to the transformative power of chalk paint and antiquing wax, a symphony of texture and tone that whispers stories of its own.
- About the Author
- Latest Posts
Introducing Ron, the home decor aficionado at ByRetreat, whose passion for creating beautiful and inviting spaces is at the heart of his work. With his deep knowledge of home decor and his innate sense of style, Ron brings a wealth of expertise and a keen eye for detail to the ByRetreat team.
Ron’s love for home decor goes beyond aesthetics; he understands that our surroundings play a significant role in our overall well-being and productivity. With this in mind, Ron is dedicated to transforming remote workspaces into havens of comfort, functionality, and beauty.
Bohemian (Boho) Chic
Boho Art Ideas Easy: Simple Projects for Beginners!
Unleash your creative spirit with these easy boho art projects, perfect for beginners looking to add a touch of eclectic flair to their art.
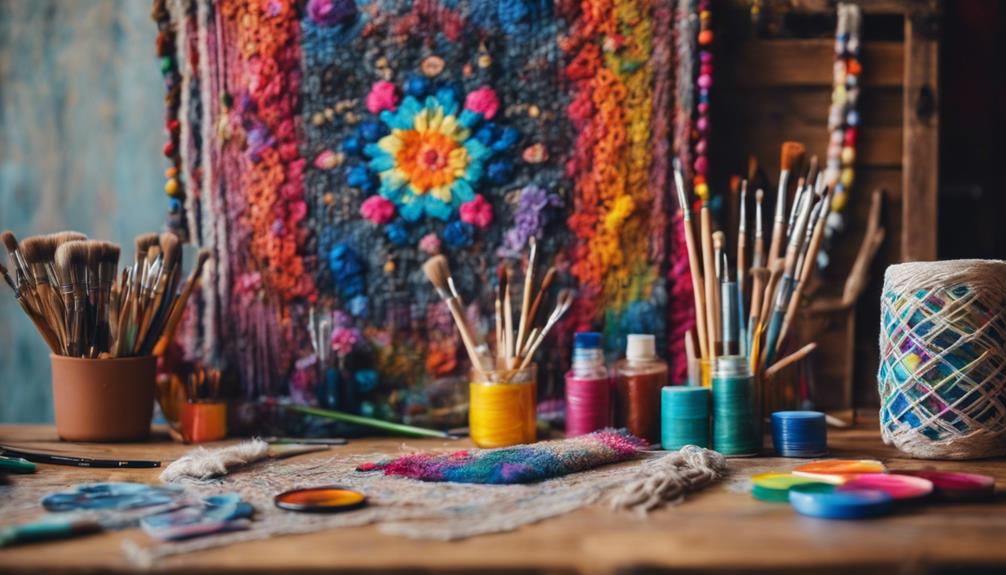
You can easily tap into your creativity and bring a touch of bohemian flair to your art with these simple and beginner-friendly projects. Start with boho floral pattern painting, where you'll sketch and fill in vibrant colors to create textured patterns. Or, try your hand at dreamcatcher making, abstract art with mixed media, or nature-inspired art projects. If you're new to painting, acrylics are a great medium to experiment with. You can also add texture to your canvases, create boho chic collages, or try whimsical art journaling. With these easy projects, you'll be well on your way to expressing your unique style and creativity. Continue exploring to discover more inspiring ideas.
Key Takeaways
- Start with Boho Floral Pattern Painting, a beginner-friendly technique that involves sketching, filling with vibrant colors, and adding textured patterns.
- Create a Dreamcatcher by preparing a hoop and web, weaving thread or yarn, and attaching feathers and beads for a unique bohemian piece.
- Experiment with Abstract Art using Mixed Media by layering paint, fabric, and paper, and incorporating bold and subtle colors.
- Use Acrylic Painting Basics to unleash your creativity, as it's a beginner-friendly medium that dries quickly and allows for layering and experimentation.
- Add texture to your art pieces using techniques like layering, weaving, and knotting, and incorporate natural elements like leaves and wood for a bohemian touch.
Boho Floral Pattern Painting
Ignite your creativity and immerse yourself in a vibrant world of bohemian beauty by crafting a stunning boho floral pattern painting that exudes free-spirited charm.
To begin, sketch a simple floral design on your canvas or paper using a pencil. Don't worry too much about perfection – the bohemian style celebrates imperfections and uniqueness.
Next, grab your acrylic paints and fill in the floral shapes with vibrant colors like turquoise, coral, and mustard. You can add depth and dimension to your flowers by layering different shades of the same color or introducing contrasting hues.
Experiment with various brush strokes and techniques to create a unique, textured pattern that reflects your personality.
Finally, consider adding embellishments like beads or tassels to give your artwork an extra bohemian flair.
With these simple steps, you'll be well on your way to creating a beautiful boho floral pattern painting that's sure to add a touch of eclectic charm to any room.
Dreamcatcher Making Essentials
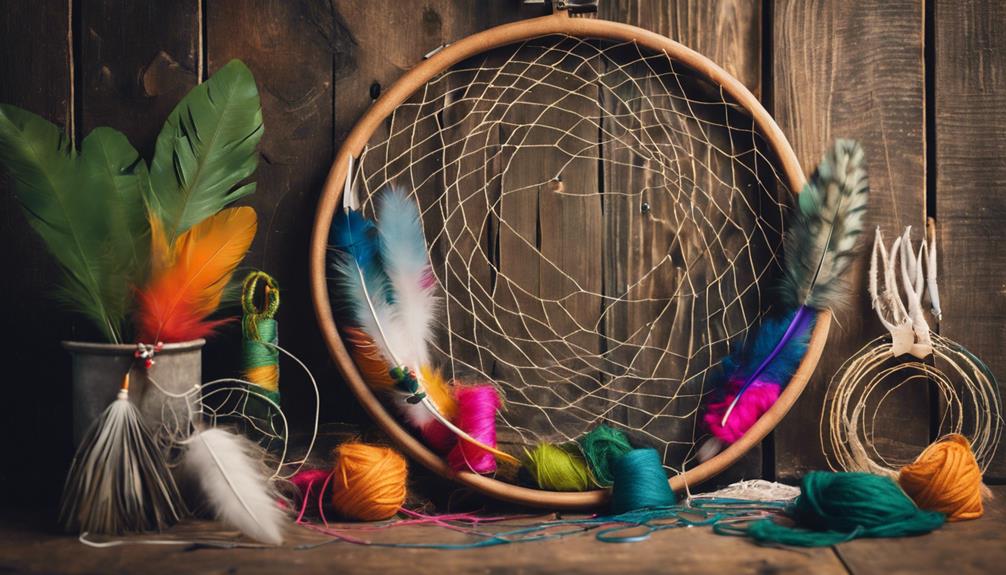
Now that you're ready to create your own dreamcatcher, let's break down the process into manageable steps.
First, you'll prepare your hoop and web, setting the foundation for your unique design.
Next, you'll add feathers and beads to give your dreamcatcher a personalized touch, followed by hanging and finishing touches to complete your bohemian masterpiece.
Hoop and Web Prep
With your dreamcatcher's bohemian vibe in mind, start by preparing the hoop and web, the foundational elements that'll bring your creative vision to life. Traditionally, the hoop is made from willow branches, serving as the base for your dreamcatcher.
To create the web, you'll weave thread or yarn in a circular pattern, carefully crafting a filter to catch and remove negative dreams. This attention to detail is essential, as the hoop and web prep lay the groundwork for your dreamcatcher's effectiveness.
As you work on the hoop and web, keep in mind that creativity and precision are key. You'll want to make sure that your web is evenly spaced and securely attached to the hoop. This may take some patience and practice, but the end result will be worth it.
By investing time and effort into this step, you'll set yourself up for success and create a dreamcatcher that truly embodies the bohemian spirit.
With your hoop and web prep complete, you'll be ready to add the finishing touches, like beads and feathers, to create a stunning piece of boho art.
Feathers and Beads Added
Add a touch of whimsy to your dreamcatcher by attaching feathers and beads, which will not only enhance its bohemian charm but also infuse it with symbolic meaning. Feathers, representing freedom and spirituality, add a light, airy feel to your artwork. Beads, with their pops of color and texture, bring a unique and personal touch to your creations.
| Element | Symbolism | Aesthetic |
|---|---|---|
| Feathers | Freedom, Spirituality | Light, Airy |
| Beads | Protection, Positivity | Colorful, Textured |
| Combination | Bohemian, Mystical | Whimsical, Eye-Catching |
Hanging and Finishing Touches
You'll need to secure your dreamcatcher's webbing and attach a hanger to turn it into a stunning, functional piece of boho art that's ready to adorn your walls or give as a gift. To do this, tie a knot at the top of the hoop to keep the webbing in place.
Then, attach a loop or a small metal ring to the top of the hoop, making sure it's firmly in place and can hold the weight of the dreamcatcher. You can use wire, string, or yarn to create the hanger.
Once you've attached the hanger, fluff out the feathers and adjust the beads to make sure they're evenly spaced. Finally, add any finishing touches, such as a small charm or a sprinkle of glitter, to give your dreamcatcher a personal touch.
With these final steps, your dreamcatcher is complete and ready to filter out bad dreams and capture good ones. Hang it above your bed or in a cozy corner to add a touch of bohemian charm to your space.
Abstract Art With Mixed Media
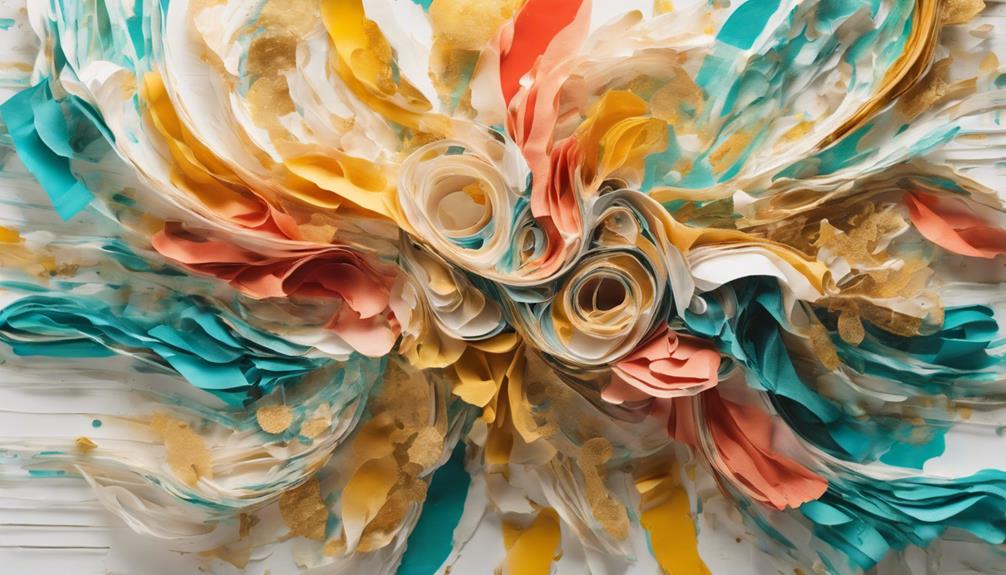
As you explore abstract art with mixed media, you'll find that creating textured backgrounds and expressive color blends are key to bringing your unique vision to life.
By combining different materials and techniques, you can craft a visually striking piece that showcases your creativity.
To get started, experiment with layering paint, fabric, and paper to build a rich, dimensional background that sets the tone for your artwork.
Textured Backgrounds Matter
Frequently, the most striking boho art pieces start with a thoughtfully crafted textured background, which sets the tone for the entire abstract art with mixed media. This is because textures add depth and visual interest to your artwork, making it more engaging and dynamic. To create a textured background, you can experiment with different materials like fabric, yarn, and paper. Mixing these textures can produce a unique and alluring effect.
Here are some techniques to enhance your textured background:
| Technique | Material | Effect |
|---|---|---|
| Layering | Acrylic paints, paper | Builds depth and dimension |
| Scraping | Paint, palette knife | Creates rough, tactile surfaces |
| Collage | Beads, feathers, fabric | Adds intricate, three-dimensional details |
Expressive Color Blends
By combining bold and subtle colors in a thoughtful way, you can evoke different emotions and energies in your abstract boho art piece, creating a vibrant and dynamic visual experience.
To achieve this, experiment with layering different colors and textures to create expressive color blends. This technique allows you to blend colors seamlessly and create a harmonious composition.
You can also incorporate mixed media elements, such as fabric scraps, beads, and feathers, to add depth and interest to your artwork.
As a beginner, boho art is a great choice because it allows for freedom of expression. You can explore your creativity through color blending without worrying about perfection.
Try out various brush strokes and techniques to find what works best for you. Remember, the key to creating a stunning boho art piece is to have fun and be open to experimentation.
Don't be afraid to try new things and make mistakes – they can often lead to unexpected and exciting results.
With expressive color blends, you can create a unique and enchanting abstract art piece that reflects your personality and style.
Nature-Inspired Art Projects
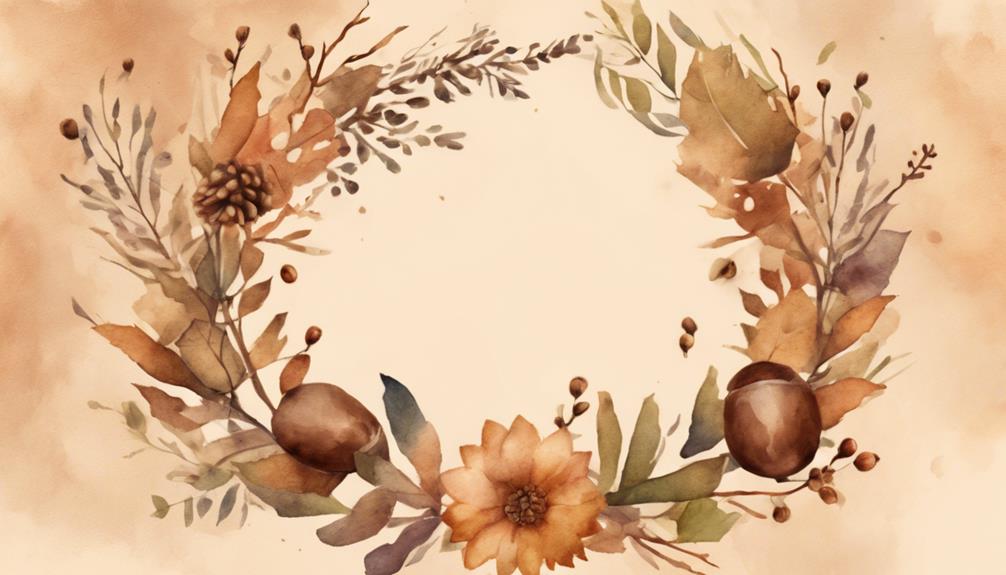
You can tap into the calming essence of nature by creating boho art projects that celebrate the beauty of the great outdoors. Nature-inspired boho art often features elements like plants, flowers, and landscapes as central themes. Common motifs include botanical illustrations, floral arrangements, and nature scenes. To get started, you can use materials like acrylic paints in earthy tones, natural textures like wood or leaves, and floral patterns.
As a beginner, you can start with simple projects like floral paintings, leaf prints, or landscape drawings. These projects allow you to explore the world of nature-inspired boho art without feeling overwhelmed.
The best part is that these projects can evoke a sense of calm, connection to the earth, and appreciation for the beauty of the natural world.
Acrylic Painting Basics
Get ready to explore your creativity with acrylic painting, a versatile and beginner-friendly medium perfect for boho art projects that thrive on experimentation and spontaneity.
As you immerse yourself in the world of acrylics, you'll discover that they dry quickly, making it easy to layer and blend colors for intricate designs. Don't be intimidated by the vast range of colors available – start with a basic palette and gradually experiment with more shades as you become more confident.
To add texture and depth to your paintings, try different brush strokes like stippling or dry brushing. These techniques will give your artwork a unique, bohemian flair. And don't worry if you make mistakes – acrylic paintings can be easily corrected or modified by painting over them. This forgiving nature makes it an ideal medium for beginners.
With acrylics, you can focus on expressing yourself creatively without worrying about ruining your artwork. So, grab your brushes and get started on your boho art journey – the possibilities are endless.
Embellishing Canvases With Texture
Now that you've mastered the basics of acrylic painting, it's time to take your boho art to the next level by adding texture to your canvases. Texture can elevate your art piece from flat to fascinating, and the best part is that it's easy to achieve.
To get started, experiment with different materials like yarn, fabric scraps, and beads to add depth and interest to your canvas. You can also try incorporating natural elements like feathers, twigs, and shells for a bohemian vibe.
Here are some techniques to try:
- Layering: Build up layers of texture by applying materials in a specific order
- Weaving: Use yarn or fabric strips to create a woven design
- Knotting: Tie knots in yarn or twine to create a unique pattern
- Mixing finishes: Combine matte and metallic finishes to add visual interest
- Natural accents: Incorporate natural elements like feathers, twigs, and shells to add an organic feel
Boho Chic Collage Techniques
Combining disparate materials like fabric, paper, and paint, boho chic collage techniques invite you to create a visually striking, layered artwork that celebrates eclecticism and individuality. By incorporating a variety of patterns, colors, and textures, you can add depth and visual interest to your collage. Feel free to experiment with tearing, cutting, and layering elements to achieve a whimsical and eclectic boho look. You can also incorporate unconventional elements like beads, feathers, and tassels to enhance the bohemian vibe of your artwork.
The beauty of boho chic collage techniques lies in their ability to accommodate your unique style and personality. You're encouraged to express yourself freely, combining materials and techniques in unexpected ways. This approach allows you to create a truly personalized piece of art that reflects your individuality.
With boho chic collage techniques, the possibilities are endless, and the only rule is to have fun and be creative. So, don't be afraid to get messy, try new things, and see where your imagination takes you.
Whimsical Art Journaling Ideas
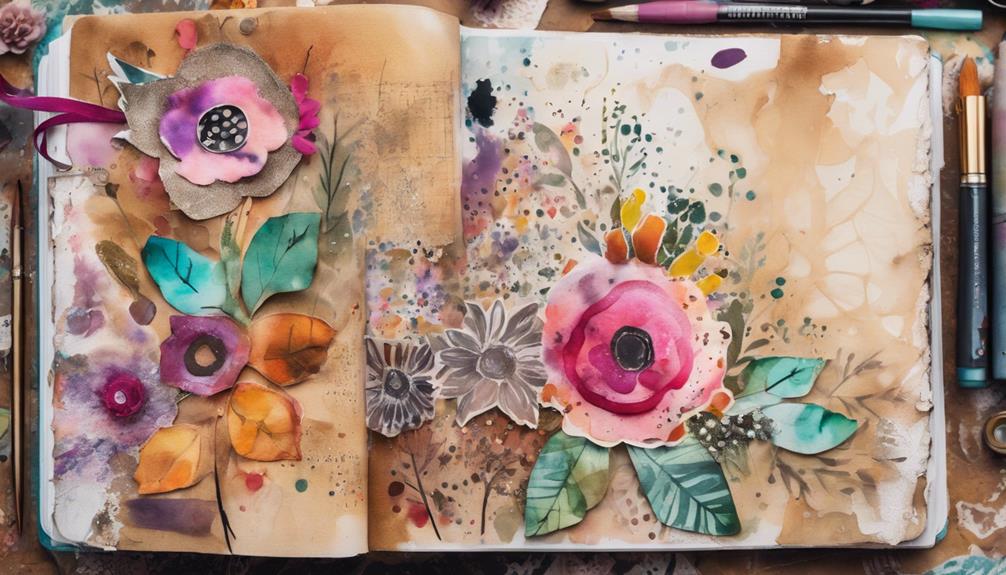
You'll awaken your creativity and tap into your inner bohemian by exploring these whimsical art journaling ideas, which blend vibrant colors, dreamy illustrations, and inspiring quotes to create a unique reflection of your personality.
As a beginner, you can start by incorporating simple techniques into your art journaling practice. Here are some ideas to get you started:
- Add a touch of whimsy with feathers, beads, or tassels to give your pages a bohemian flair.
- Experiment with watercolor washes to create soft, dreamy backgrounds for your art.
- Doodle using different patterns and shapes to add visual interest to your pages.
- Use collage to combine different textures and colors, creating a unique and eclectic look.
- Write inspiring quotes or lyrics that resonate with you, and illustrate them with simple drawings or doodles.
Frequently Asked Questions
How to Do Boho Decor?
"To achieve boho decor, start by mixing vintage and modern furniture, adding eclectic artwork, and incorporating natural materials like wood and rattan. Then, layer textiles and add personal touches like plants and mementos to create a unique, relaxed space that's all yours."
How to Make Boho Bedroom Decor?
To make boho bedroom decor, start by mixing patterns, textures, and natural materials like wood and rattan. Add plants, dreamcatchers, and vintage furniture, then personalize with meaningful artwork and personal treasures.
What Kind of Art Is Boho?
'You're about to ignite a whirlwind of creativity What is boho art, you ask? It's a vibrant, eclectic mix of cultures, bursting with bright colors, patterns, and natural materials, perfectly imperfect and utterly enchanting – a true reflection of your free-spirited soul!'
Conclusion
As you begin your bohemian art journey, remember that creativity is a garden that blooms with experimentation and patience. Nurturing your skills with these easy projects will help you develop into a confident artist, ready to express your unique flair.
With every brushstroke, your artistic voice will resonate louder, whispers of self-doubt fading into the background. So, keep exploring, and let your art be the vibrant tapestry that weaves your story.
- About the Author
- Latest Posts
Introducing Ron, the home decor aficionado at ByRetreat, whose passion for creating beautiful and inviting spaces is at the heart of his work. With his deep knowledge of home decor and his innate sense of style, Ron brings a wealth of expertise and a keen eye for detail to the ByRetreat team.
Ron’s love for home decor goes beyond aesthetics; he understands that our surroundings play a significant role in our overall well-being and productivity. With this in mind, Ron is dedicated to transforming remote workspaces into havens of comfort, functionality, and beauty.
Bohemian (Boho) Chic
Boho Art Ideas: Get Inspired to Create!
Let your creativity soar with these unique boho art ideas that blend earthy tones, geometric shapes, and cultural inspirations to reflect your personal style.
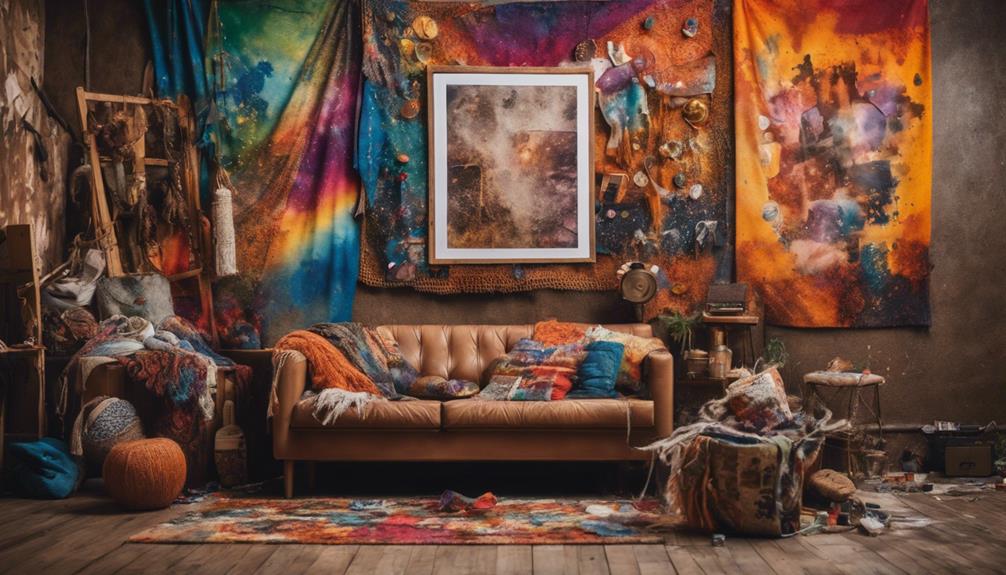
Get inspired to create unique boho art pieces that reflect your personal style By combining earthy tones, geometric shapes, and cultural inspirations, you can discover a world of creative possibilities. Try using burnt sienna, peach, and browns for natural elegance, or experiment with triangles, circles, and squares to symbolize balance and unity. Draw inspiration from African mud cloth patterns, celestial elements, and minimalist designs to add depth and texture to your art. And don't forget to incorporate mixed media techniques and natural fiber embellishments to create visually stunning, one-of-a-kind pieces. As you explore these ideas, you'll uncover even more ways to express your boho spirit.
Key Takeaways
- Explore earthy tone gouache paintings with burnt sienna, peach, and browns for a natural elegance and boho chic vibe.
- Incorporate geometric shapes like triangles, circles, and squares to symbolize balance, unity, and symmetry in your art.
- Draw inspiration from African mud cloth patterns and incorporate natural fibers like jute, hemp, or cotton ropes for added texture.
- Add a touch of celestial wonder with stars, moons, and galaxies, experimenting with materials and textures for an ethereal quality.
- Experiment with mixed media techniques, combining spackle, metallic details, and natural fibers to create unique, textured wall art pieces.
Earthy Tone Gouache Paintings
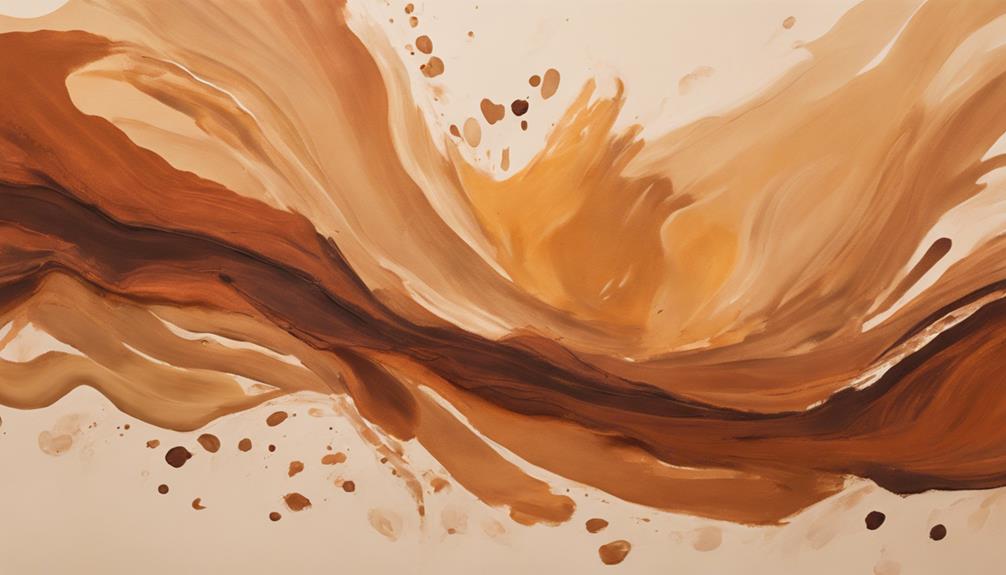
Create a bohemian masterpiece by diving into the world of earthy tone gouache paintings, where burnt sienna, peach, and browns come together to evoke a sense of natural elegance. These opaque watercolors will transport you to a domain of boho chic, perfect for adding a touch of sophistication to your art.
To get started, focus on creating shapes, lines, and textures with your gouache paint. This will help you achieve a minimal yet impactful look.
When working with gouache, it's crucial to mix your colors evenly using a palette knife. Apply two coats to maintain consistency and a rich, vibrant finish. To preserve paint freshness, reuse plastic containers for color mixing and storage. This simple trick will save you time and money in the long run.
As you explore the world of earthy tone gouache paintings, feel inspired to draw intricate patterns reminiscent of African mud cloth. This will add a dreamy, detailed touch to your artwork.
With these techniques and tips, you'll be well on your way to creating stunning boho art pieces that exude natural beauty and elegance.
Geometric Shapes in Boho Art

Now that you've mastered the earthy tones of gouache paintings, incorporate geometric shapes into your boho art to add a modern, edgy flair that balances perfectly with the natural elegance of your previous pieces.
Geometric shapes are a staple in boho art, adding a contemporary twist to the traditional bohemian style. By incorporating triangles, circles, squares, and diamonds, you can create a visually appealing and harmonious composition that reflects the natural world and spirituality.
Here are some ways to experiment with geometric shapes in your boho art:
- Use geometric shapes to symbolize balance, unity, and symmetry in your art
- Combine geometric shapes with other elements like florals, abstract patterns, or tribal motifs for a unique and eclectic look
- Experiment with different sizes, colors, and arrangements of geometric shapes to add depth and interest to your art pieces
- Create a focal point in your art by using a large geometric shape as the centerpiece
- Use geometric shapes to create a sense of movement and energy in your art by arranging them in a dynamic pattern
Mud Cloth Pattern Inspiration
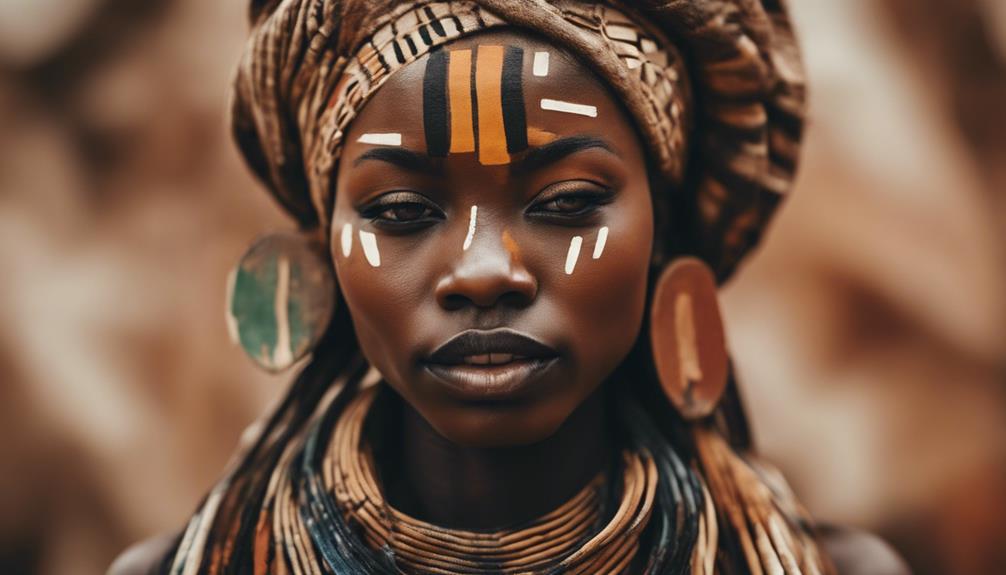
Incorporate the rich cultural heritage of African mud cloth into your boho art by drawing inspiration from its distinctive patterns. These patterns often feature geometric shapes, symbols, and intricate designs with deep symbolic meanings. They are typically hand-painted on cotton fabric using natural dyes, exuding an earthy charm with their black, brown, and white hues.
To infuse your boho wall art with the essence of mud cloth, try combining these organic elements with bold colors to create a striking contrast. You can also experiment with incorporating mud cloth patterns into your artwork to add a touch of cultural richness and history.
Celestial Elements in Art
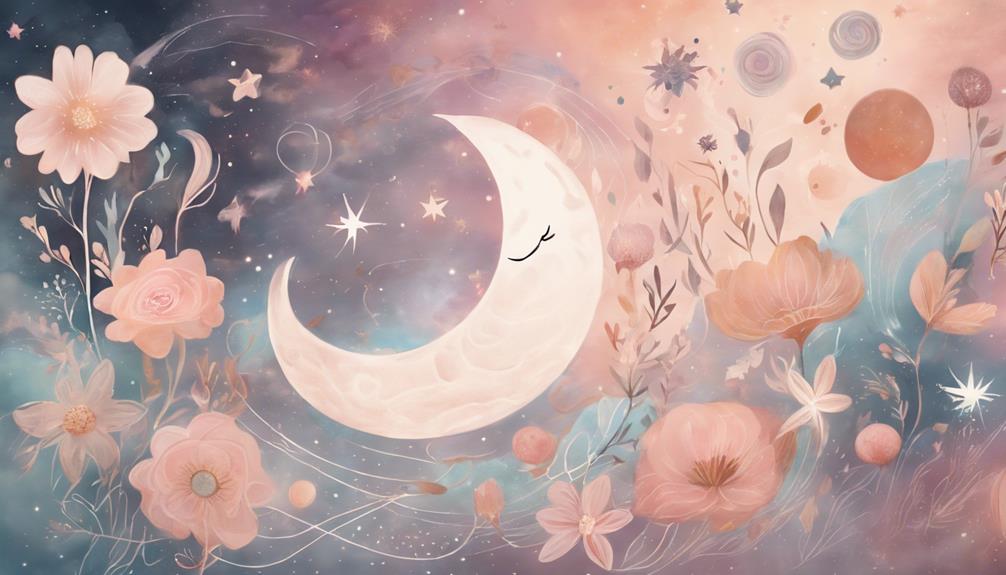
Your boho art can soar to new heights by embracing the mystical allure of celestial elements, which transport viewers to a world of wonder and magic. Incorporating stars, moons, galaxies, and other cosmic symbols into your artwork can evoke a sense of wonder, mystery, and spirituality, perfect for boho-style pieces.
Here are some ways to get inspired:
- Use celestial bodies to create a sense of movement and energy in your art
- Experiment with different materials and textures to give your celestial elements a dreamy, ethereal quality
- Draw inspiration from astrology and the night sky to add depth and meaning to your art
- Incorporate celestial motifs to create a sense of tranquility and connection to the cosmos
- Play with colors and lighting to capture the mystical and enchanting essence of the celestial domain
Minimalist Boho Art Designs
As you explore minimalist boho art designs, you'll notice a focus on simplicity and calmness. Simple geometry shapes, often in monochromatic color schemes, create a sense of serenity, while the emphasis on negative space adds a touch of modernity.
Simple Geometry Shapes
Simple geometry shapes, like circles, squares, and triangles, take center stage in minimalist boho art designs, bringing a touch of modern sophistication to your space.
By incorporating these shapes, you can create a sense of balance and harmony in your boho decor.
Here are some ways simple geometry shapes can enhance your minimalist boho art:
- Clean lines and negative space: Geometric shapes help create clean lines and negative space, which are essential elements of minimalist boho art.
- Limited color palette: Simple geometry shapes look best with a limited color palette, which is a hallmark of minimalist boho art.
- Modern and sophisticated look: Incorporating geometric shapes in boho art can create a modern and sophisticated look that's perfect for contemporary spaces.
- Sense of calmness and tranquility: Geometric patterns in boho art can convey a sense of calmness and tranquility in a space.
- Adds balance and harmony: Simple geometry adds a sense of balance and harmony to minimalist boho art pieces, making them visually appealing.
Monochromatic Color Schemes
Monochromatic color schemes, a hallmark of minimalist boho art designs, bring a sense of cohesion and harmony to your space by exploring the nuances of a single color. By sticking to a single color family, you can create a cohesive look that exudes a boho vibe. This design approach allows you to experiment with different tones and intensities, adding depth and visual interest to your art piece.
| Color | Tone | Intensity |
|---|---|---|
| Blue | Light | Pastel |
| Blue | Medium | Soft |
| Blue | Dark | Rich |
| Green | Light | Minty |
| Green | Dark | Forest |
Using a monochromatic color scheme, you can achieve a sense of calm and simplicity, perfect for bohemian-inspired decor. The minimalist approach also allows for a clean and modern aesthetic with a touch of artistic flair. By limiting your color palette to a single hue, you can focus on the nuances of that color, creating a unique and alluring piece of art that adds a touch of bohemian charm to any room.
Negative Space Emphasis
By strategically incorporating empty spaces into your artwork, you can create a sense of balance and harmony that's quintessential to minimalist boho art designs.
This design approach, known as negative space emphasis, allows you to draw attention to key elements within the artwork while evoking a sense of calm and serenity.
Here are some ways to effectively use negative space in your minimalist boho art:
- Use clean lines and simple shapes to create a sense of simplicity and elegance
- Limit your color palette to a few muted tones to avoid visual clutter
- Leave plenty of empty wall space around your artwork to create a sense of breathability
- Experiment with different shapes and sizes to add visual interest
- Don't be afraid to leave some areas of your artwork completely blank to create a sense of mystery
Textured Wall Art Techniques
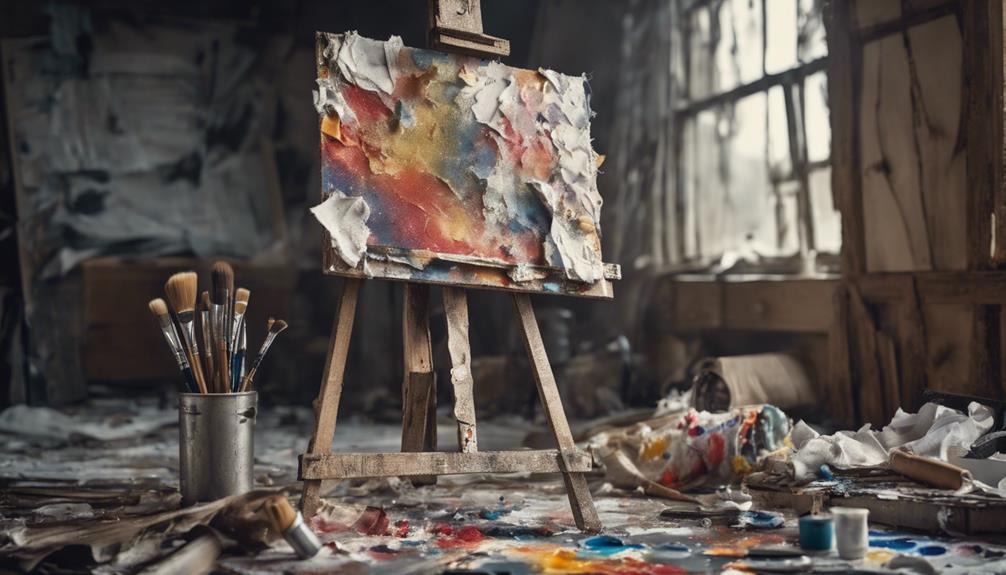
Now, you can take your boho art to the next level by incorporating textured wall art techniques.
By mixing media and adding natural fiber embellishments, you'll create visually striking pieces that not only catch the eye but also invite touch.
Let's explore how these techniques can help you achieve a unique, one-of-a-kind look that elevates your boho-inspired space.
Mixed Media Magic
To add an extra layer of visual interest to your bohemian-inspired space, try incorporating mixed media magic into your wall art by experimenting with textured techniques that combine spackle, DIY paint frosting, and metallic details. This unique blend of materials will give your artwork a one-of-a-kind, eclectic feel that's perfect for a bohemian style.
Here are some ways to mix and match these elements to create stunning textured wall art:
- Use spackle to create raised patterns and textures, then add a coat of DIY paint frosting for a smooth, matte finish.
- Add metallic details like gold leaf or copper wire to give your artwork a touch of luxury and sophistication.
- Experiment with different ratios of spackle to paint frosting to achieve unique, impasto-style textures.
- Combine spackle and paint frosting with other materials like fabric, paper, or found objects to add even more depth and interest.
- Don't be afraid to get creative and try new things – the beauty of mixed media is that there's no one 'right' way to do it.
Natural Fiber Embellishments
Incorporate natural fiber embellishments into your textured wall art to add a tactile, dynamic element that perfectly captures the bohemian vibe. By incorporating techniques like weaving, macrame, and fringe, you can create a visually interesting piece that exudes a natural, earthy feel. Materials like jute, hemp, or cotton ropes can bring a unique texture to your artwork, blending seamlessly with other natural materials to create a bohemian style that's both eclectic and enchanting.
Combining different textures, such as smooth canvas with rough fibers, can add depth and character to your artwork. This mix of textures creates a visually appealing contrast that draws the eye and invites exploration.
What's more, natural fiber embellishments provide a sustainable and eco-friendly option for adding depth and character to your artistic creations. By incorporating these natural materials into your textured wall art, you can create a truly one-of-a-kind piece that showcases your unique style and flair.
African Mud Cloth Influence
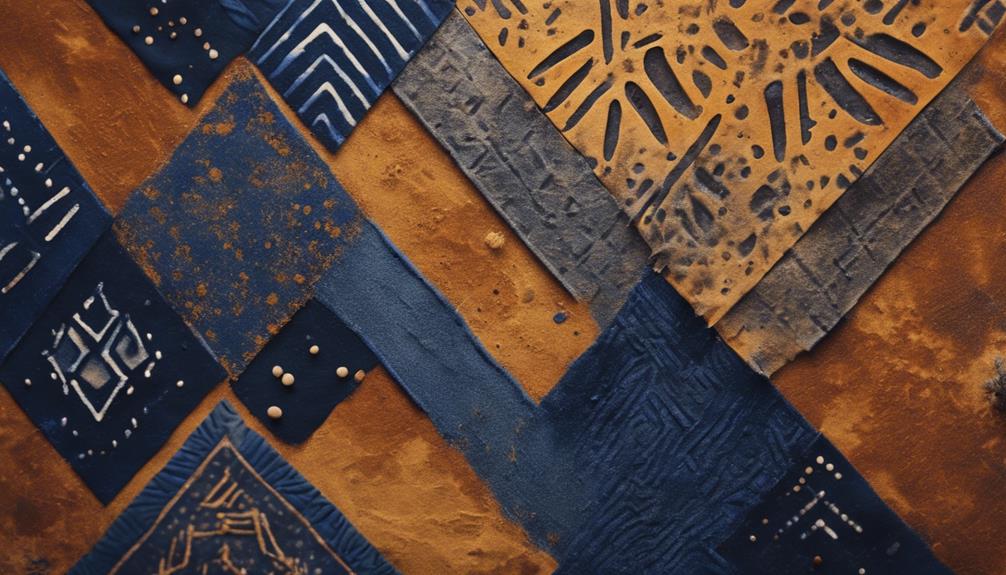
Explore the rich cultural heritage of African mud cloth, a traditional textile that has been inspiring artists for centuries with its unique blend of geometric patterns and symbolic storytelling. This intricate fabric, originating from northern Africa, is handwoven and dyed with fermented mud, giving it a distinct earthy tone.
The patterns and symbols on mud cloth tell stories and represent cultural heritage, making it a valuable addition to bohemian interior design.
Here are some ways to incorporate African mud cloth influence into your boho art:
- Use mud cloth patterns as a background or accent in your artwork to add depth and texture.
- Simplify traditional mud cloth motifs to create modern and minimalist boho art pieces.
- Combine mud cloth patterns with natural fiber embellishments for a unique, eclectic look.
- Incorporate earthy colors and abstract shapes into your artwork to evoke the spirit of African mud cloth.
- Experiment with different materials and techniques to recreate the distinctive texture and look of mud cloth in your boho art.
Frequently Asked Questions
What Is Boho Style Inspired By?
You're wondering what boho style is inspired by? Well, it's a mix of bohemian, hippie, and vintage influences, with a dash of ethnic patterns, natural elements, and eclectic decor from cultures like Moroccan, Indian, and African.
What Is the Key to Creating a Bohemian or Boho Look?
To create a bohemian look, you'll want to incorporate natural elements like wood and plants, mix textures, and opt for warm colors like terracotta and sage, embracing a relaxed and eclectic style that's uniquely yours.
What Are Examples of Bohemian Design?
As you start on a design journey, imagine a tapestry woven with eclectic patterns, warm earthy tones, and vintage charm. Think layered textures, natural materials like wood and rattan, and a relaxed, cozy atmosphere that whispers 'bohemian chic.'
What Is Boho Style Art?
You're wondering what boho style art is? It's an eclectic blend of bohemian and hippie vibes, characterized by natural elements, earthy tones, and a mix of vintage and modern decor, embracing creativity and individuality.
Conclusion
As you begin your boho art journey, remember that the possibilities are endless, like a canvas stretching out before you.
With these inspiring ideas, you'll be well on your way to creating unique, eye-catching pieces that reflect your free-spirited nature.
From earthy tone gouache paintings to celestial elements, and from geometric shapes to textured wall art, the bohemian art world is yours to explore and make your own.
- About the Author
- Latest Posts
Introducing Ron, the home decor aficionado at ByRetreat, whose passion for creating beautiful and inviting spaces is at the heart of his work. With his deep knowledge of home decor and his innate sense of style, Ron brings a wealth of expertise and a keen eye for detail to the ByRetreat team.
Ron’s love for home decor goes beyond aesthetics; he understands that our surroundings play a significant role in our overall well-being and productivity. With this in mind, Ron is dedicated to transforming remote workspaces into havens of comfort, functionality, and beauty.
Bohemian (Boho) Chic
Boho Art Design Ideas: Transform Your Space!
Harness the power of eclectic styles, rich textures, and bold artistic expressions to create a truly unique and inviting bohemian-inspired space.
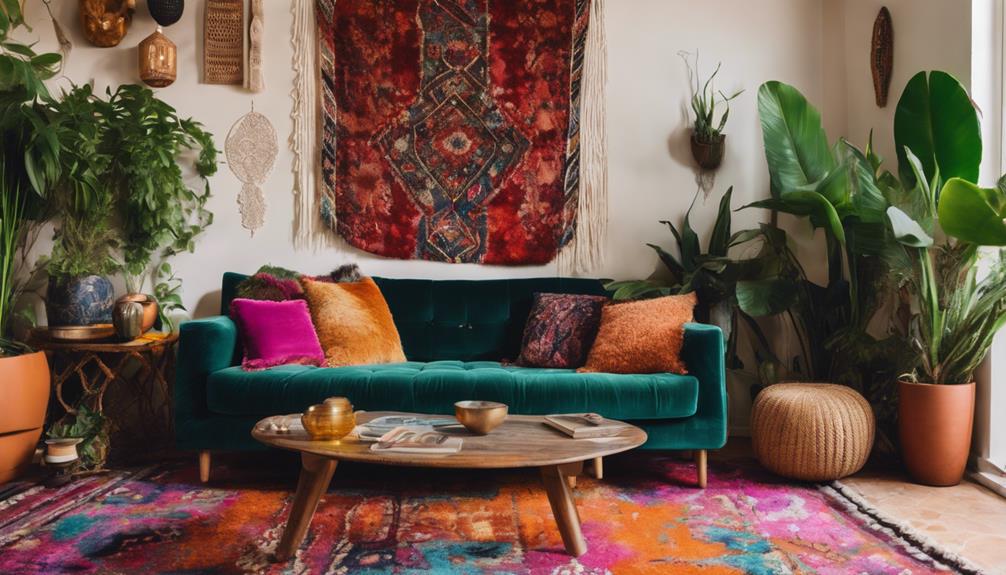
Transform your space into a vibrant boho oasis by embracing a harmonious blend of eclectic styles, rich textures, and bold artistic expressions. Start by uniting vibrant colors and patterns to create a visually stimulating space. Mix vintage and modern elements to add depth and character. Layer different textures, like woven tapestries and plush rugs, to create a tactile experience. Statement lighting and accents, such as handmade chandeliers, will add drama and visual interest. Finally, infuse your space with artistic expressions and decor that reflect your personality and style. As you continue to explore, you'll discover how to balance these elements to create a truly unique and inviting space.
Key Takeaways
- Incorporate vibrant colors and patterns to create a visually stimulating space that reflects your individuality and style.
- Mix vintage and modern elements to add depth and character to your boho design, creating a uniquely personalized look.
- Layer different textures, materials, and patterns to add richness, warmth, and visual interest to your space.
- Use statement lighting fixtures and accents to create a dramatic focal point and transform your space into a visually striking oasis.
- Infuse your space with artistic expressions and decor that reflect your personality, such as handmade art pieces, nature-inspired elements, and eclectic styles.
Vibrant Colors and Patterns Unite
As you explore the world of boho art design, you'll discover that vibrant colors and patterns unite to create a visually stimulating space that's equal parts eclectic and inviting. Boho style is all about embracing a mix of cultural influences, geometric shapes, and floral motifs to create a unique aesthetic. The key to achieving this look is layering different colors and patterns to add depth and visual interest.
By combining bold hues and intricate patterns, you can create a dynamic and personalized expression of style that reflects your individuality.
In boho art, vibrant colors take center stage, adding a lively and eclectic touch to any room. From bright turquoise to deep crimson, these hues are carefully balanced to create a harmonious and inviting atmosphere. Patterns also play an essential role, with intricate designs and textures adding an extra layer of visual appeal.
Mixing Vintage and Modern Elements
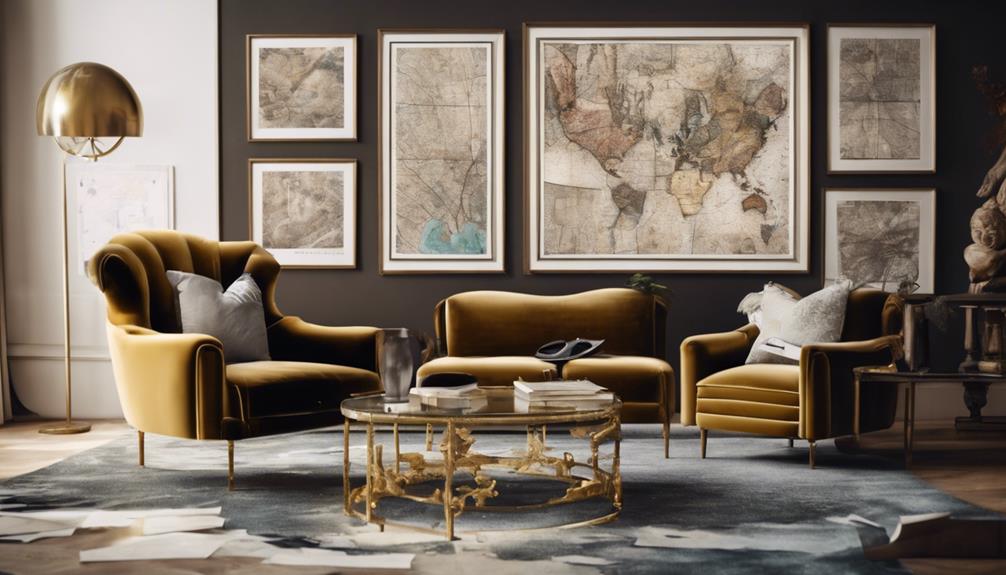
By juxtaposing vintage and modern elements, you can craft a boho art design that's uniquely yours, blending the charm of the past with the sleekness of the present. This eclectic aesthetic is a hallmark of Bohemian Design, where mixing and matching vintage and modern elements creates a space that's both nostalgic and contemporary.
Here are some design tips to get you started:
- Combine retro furniture with modern art pieces: Pair an antique armchair with a contemporary abstract painting for a striking contrast.
- Mix modern living room decor with vintage accents: Add a vintage rug to a modern sofa and coffee table setup for a layered look.
- Blend changing style with boho flair: Incorporate sleek, modern lines with distressed finishes and vintage textiles for a unique blend.
- Don't be afraid to experiment: Combine unexpected elements, like a vintage window turned into a mirror, with modern lighting fixtures for a one-of-a-kind look.
Texture and Layering Essentials
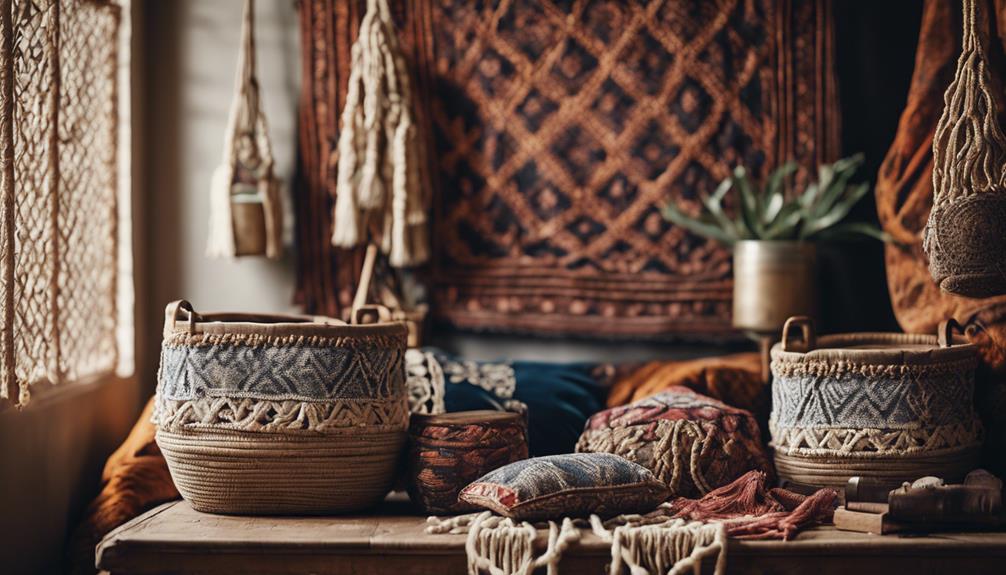
Now that you've mastered the art of mixing vintage and modern elements, it's time to add depth and visual interest to your boho art design by incorporating a variety of textures and layering them in a way that creates a rich, tactile experience.
To achieve this, incorporate various textures like woven tapestries, macramé wall hangings, and plush rugs for a boho aesthetic. Layer different textures such as velvet cushions, knitted throws, and leather poufs to create depth and visual interest. Mix materials like wood, metal, and natural fibers to add richness and warmth to your space.
| Texture | Description | Example |
|---|---|---|
| Woven | Intricately woven fabrics | Tapestry |
| Macramé | Knotted cord or yarn | Wall hanging |
| Plush | Soft and luxurious fabric | Rug |
| Velvet | Soft, smooth fabric | Cushion |
Don't forget to add fringe details, tassels, and embroidery on art pieces or textiles to enhance the tactile experience in your boho design. Experiment with combining rough textures like jute or rattan with soft textures like silk or faux fur for a balanced and cozy feel. By incorporating these textures and layering them thoughtfully, you'll create a space that's both visually stunning and inviting.
Statement Lighting and Accents
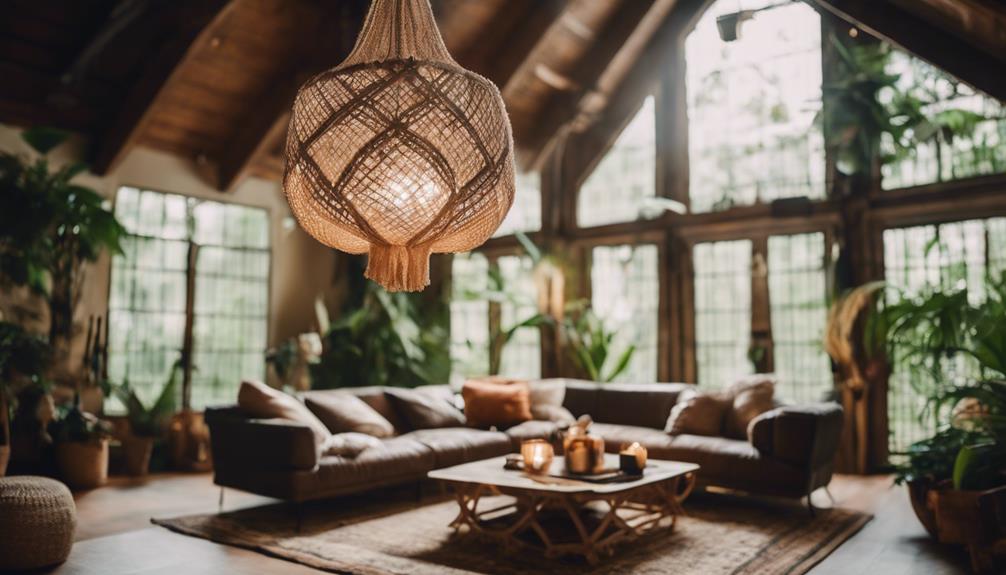
Transform your boho space into a visually striking oasis by incorporating statement lighting and accents that reflect your unique style and personality. Statement lighting can add a bold and unique touch to your boho design, enhancing its overall aesthetic.
To create a dramatic focal point in the room, incorporate eclectic lighting fixtures like chandeliers, pendant lights, or floor lamps.
Here are some tips to keep in mind:
- Opt for handmade or artisanal lighting to bring a personalized and artistic flair to your boho design.
- Mix different lighting styles, such as bohemian, vintage, or modern, to create a visually interesting and dynamic atmosphere.
- Choose lighting accents that reflect your individual style and complement the overall bohemian theme of your space.
- Don't be afraid to experiment with unique and unconventional lighting pieces to add visual interest to your space.
Artistic Expressions and Decor
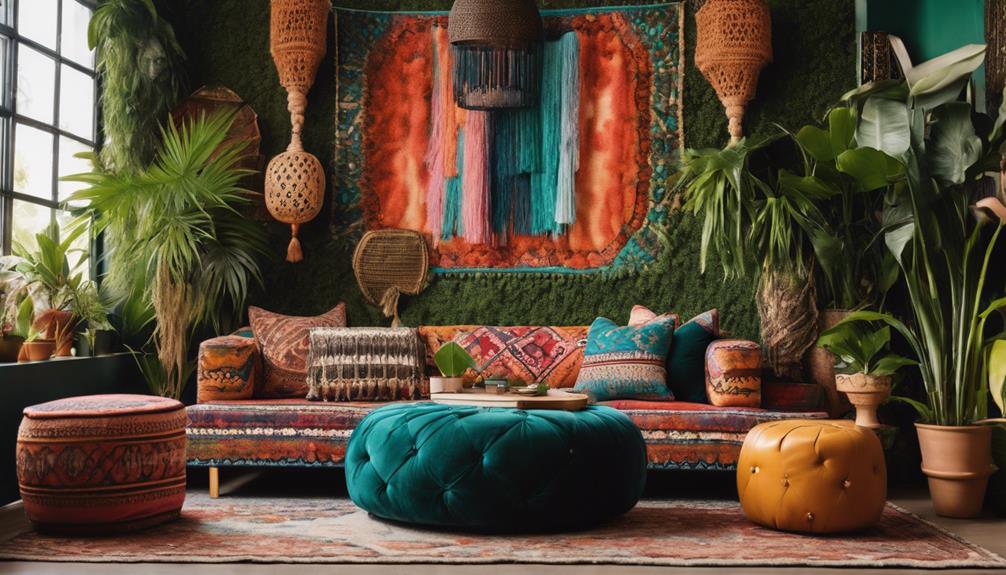
As you've set the tone with statement lighting and accents, it's time to infuse your boho space with artistic expressions and decor that reflect your personality and style.
Boho art design is all about embracing eclectic styles, vibrant colors, and intricate patterns to create a unique atmosphere. To add a personal touch, consider incorporating handmade art pieces, such as macramé wall hangings, that showcase your creativity.
Nature-inspired elements like botanical prints and floral patterns can bring a sense of organic charm to your space. Mixing different art mediums, such as paintings, prints, and sculptures, will create a dynamic and visually appealing display.
Remember, boho art design is about self-expression and storytelling, so don't be afraid to showcase your personality through your art choices. By combining these elements, you'll create a space that's truly reflective of your individuality.
Frequently Asked Questions
How to Make Your Room Look Boho?
"To give your room a boho vibe, start by adding textured wall tapestries, abstract art, and mirrors to create depth. Then, mix in functional pieces like wall clocks and sconces for a unique, eclectic look that's all you!"
How Do I Boho My Living Room?
Think of your living room as a canvas waiting for a masterpiece. To "boho" it, start by mixing patterns, textures, and colors, then add natural elements like plants and greenery to create a calming atmosphere.
What Is the Difference Between Boho and Bohemian Design?
You're wondering what sets boho and bohemian design apart? Well, while both styles share eclectic, free-spirited vibes, bohemian design tends to be more rustic and vintage, whereas boho design is more modern and playful, blending global influences with a chic twist.
What Is the Key to Creating a Bohemian or Boho Look?
To conjure a bohemian oasis, you'll want to "stir the eclectic soup" by blending patterns, textures, and colors. Think vintage meets modern, with natural elements, handmade touches, and cozy layers – the perfect recipe for a Boho haven that's uniquely yours
Conclusion
By incorporating boho art design elements, you can transform your space into a vibrant oasis.
Take, for example, the case of Sarah, who turned her living room into a bohemian retreat by combining vintage Moroccan tiles with modern abstract art pieces.
The result was a unique, eclectic space that reflected her personality.
By following these design ideas, you can create a space that's truly one-of-a-kind and reflects your artistic expression.
- About the Author
- Latest Posts
Introducing Ron, the home decor aficionado at ByRetreat, whose passion for creating beautiful and inviting spaces is at the heart of his work. With his deep knowledge of home decor and his innate sense of style, Ron brings a wealth of expertise and a keen eye for detail to the ByRetreat team.
Ron’s love for home decor goes beyond aesthetics; he understands that our surroundings play a significant role in our overall well-being and productivity. With this in mind, Ron is dedicated to transforming remote workspaces into havens of comfort, functionality, and beauty.
-
 Vetted3 weeks ago
15 Best Contact Paper for Kitchen Cabinets to Elevate Your Home Decor
-

 Vetted7 days ago
15 Best Poe Cameras for Home Security – Reviews & Buying Guide
-
 Vetted3 weeks ago
15 Best Leather Restorer Products to Revive Your Furniture and Accessories
-

 Vetted4 weeks ago
15 Best Leg Massagers to Relieve Tension and Improve Circulation – Ultimate Guide
-

 Vetted2 weeks ago
15 Best Drain Snakes to Unclog Your Pipes Like a Pro
-

 Beginners Guides1 week ago
Swinger Porch Light Color
-

 Vetted3 weeks ago
14 Best Stationery Brands for Your Next Writing Adventure
-
 Mardi Gras Decoration3 weeks ago
Why Does Hobby Lobby Not Do Mardi Gras?


