
To install solar path lights, start by gathering tools like a screwdriver, level, and drill, then plan your layout by measuring your pathway and choosing even spots that receive plenty of sunlight. Prepare the ground by clearing debris and leveling the soil. Insert the stakes firmly into the ground, attach the fixtures, and adjust the solar panels for maximum sun exposure. Finally, test your system to guarantee everything works smoothly—continue to explore for detailed steps.
Key Takeaways
- Gather all tools, materials, and replacement batteries; check and clean solar panels for optimal efficiency.
- Plan your lighting layout by measuring path lengths, spacing lights evenly, and identifying suitable power source locations.
- Prepare the ground by clearing debris, leveling, and compacting soil, ensuring good drainage for stability.
- Install the light stakes in sunny, unobstructed spots; attach fixtures securely, and position them evenly along the pathway.
- Adjust solar panels for maximum sun exposure, then test the system at night, and perform regular maintenance for optimal performance.

No Drill Motorized Blinds with Remote, Blackout Automatic Blinds with Solar Panel, Cordless Smart Electric Roller Shades for Windows, White, 34 x 72
No Tools, No-Drill, Easy Install: Quick and easy to set up, these no drill blinds operate smoothly and...
As an affiliate, we earn on qualifying purchases.
Gather Your Tools and Materials

Before you begin installing your solar path lights, it’s important to gather all the necessary tools and materials. Start with a screwdriver, pliers, and a level to ensure proper installation and alignment. You’ll also need replacement batteries for battery replacement, so have the correct size on hand. Don’t forget to check the solar panels for any dirt or debris that could affect solar panel maintenance; cleaning them beforehand can improve efficiency. A drill might be needed for anchoring the lights securely into the ground. Having all these tools ready will make the setup smoother and prevent unnecessary trips to the store. Proper preparation now guarantees your solar lights function at their best and last longer. Additionally, inspecting the solar panel’s condition can help identify any issues that might reduce energy absorption and overall performance.

Graywind Motorized Roller Shade Work with Alexa Google 100% Blackout Rechargeable Smart Blinds Remote Control Battery Motor Cordless Window Shades, Customized Size (Matt Black)
Functional shades: 100% blackout four weaved fabric, thermal insulating inner layer, offers absolute privacy & additional energy saving....
As an affiliate, we earn on qualifying purchases.
Plan Your Lighting Layout

Start by measuring your path lengths to understand how many lights you’ll need. Then, decide on the spacing between each light to create an even and attractive look. Finally, identify where your power sources are located to guarantee your solar lights are positioned for maximum sunlight exposure. Incorporating aesthetic wall organization can further enhance your outdoor space by keeping cords and accessories tidy and visually appealing.
Assess Path Lengths
To effectively plan your solar path lighting, you need to accurately assess the lengths of the pathways you want to illuminate. This step guarantees your landscape aesthetics are enhanced without over or under-lighting. Measure each segment carefully, noting the total distance to determine how many lights you’ll need for consistent coverage. Consider the path’s curves and corners for precise placement. Use this table to help visualize your measurements:
| Path Segment | Length (feet) | Notes |
|---|---|---|
| Entrance | 10 | Near gate |
| Garden Path | 25 | Curves gently |
| Sidewalk | 15 | Straight section |
| Backyard | 30 | Wide area |
Accurate assessment promotes lighting safety and creates a balanced, attractive ambiance. Proper measurement ensures your lighting setup is both functional and visually appealing.
Determine Light Spacing
Once you’ve measured your pathway lengths, the next step is to determine the most suitable spacing between your solar lights. Proper spacing enhances landscape aesthetics and complements your garden themes. Consider these key points:
- Match the spacing to the height and brightness of your lights for an even glow.
- For a natural look, space lights 4 to 6 feet apart, ideal for wider pathways.
- For a more dramatic effect, reduce spacing to 2 to 3 feet for focused illumination.
- Adjust based on the overall landscape design, ensuring lights accentuate features without overcrowding.
- To optimize lighting efficiency, align your spacing with the light output and beam angle of your solar path lights.
Identify Power Sources
Have you considered how you’ll power your solar path lights? Your main focus should be on choosing solar panels with high efficiency and batteries with sufficient capacity. Solar panel efficiency determines how much sunlight is converted into energy, impacting how long your lights stay on. Battery capacity affects how much stored energy is available for cloudy days or extended use. Map out your lighting layout to ensure each light gets ideal sunlight exposure and avoid shaded areas that reduce solar panel efficiency. Use this table to evaluate your power sources:
| Light Location | Solar Panel Efficiency | Battery Capacity Needed |
|---|---|---|
| Front Walkway | High | Large |
| Garden Path | Moderate | Medium |
| Backyard | High | Large |
| Side Driveway | Moderate | Small |
This ensures your solar path lights perform reliably. Additionally, selecting appropriate storage batteries can significantly enhance the longevity and performance of your solar lighting system.

Bringnox Motorized Blinds with Remote,100% Blackout Smart Roller Blinds Compatible with Google Home and Alexa Via HUB,and Motorized Window Blinds Customized for Sliding Doors and Living Rooms
[100% BLACKOUT MATERIAL]effectively block sunlight, protect your privacy, and customizable in size and color to meet different decoration...
As an affiliate, we earn on qualifying purchases.
Choose the Right Locations for Your Lights
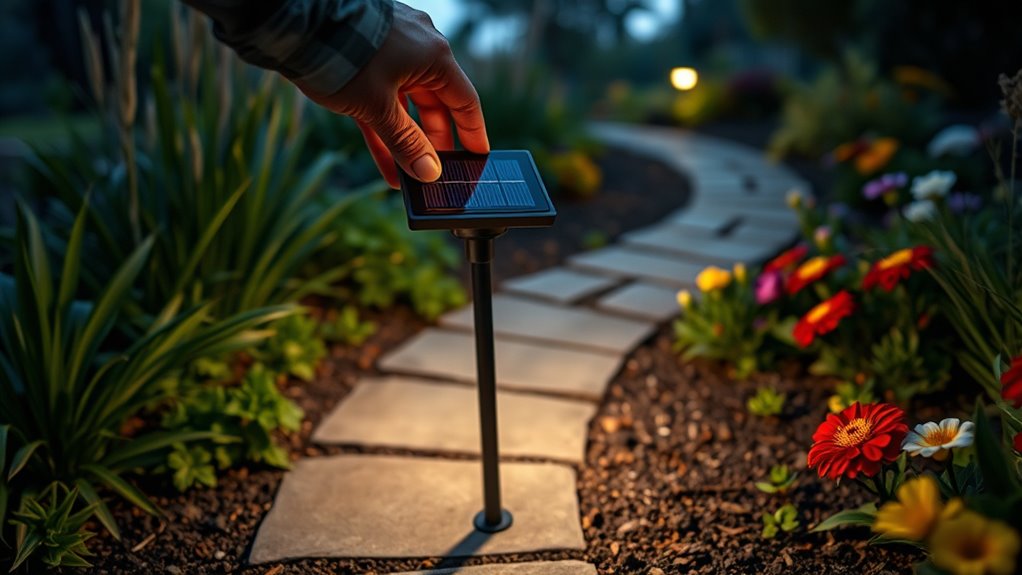
To get the most out of your solar path lights, you need to pick spots that enhance pathway visibility and safety. Make sure the areas you choose receive plenty of sunlight during the day to keep the lights charged. Also, guarantee the locations are free of obstacles so your lights can shine brightly without interruptions. Paying attention to appropriate placement can also help prevent damage and ensure the longevity of your lights.
Pathway Visibility Needs
Choosing the right locations for your solar path lights is essential to maximize visibility and safety along your walkway. Proper placement guarantees your decorative fixtures highlight the path effectively while complementing your color schemes. Consider these key points:
- Position lights where they illuminate the entire walkway evenly, avoiding dark spots.
- Place fixtures at intervals that provide consistent brightness without overcrowding.
- Highlight architectural features or landscape elements for added aesthetic appeal.
- Ensure lights are visible but not intrusive, balancing safety with visual harmony.
- Think about the solar panel placement to ensure maximum sunlight exposure for optimal charging.
Sunlight Exposure Areas
Selecting the right locations for your solar path lights depends on making certain they receive ample sunlight throughout the day. Look for spots that get direct sunlight for at least 6 hours daily, ideally in an open area away from shade trees. Shade trees can block sunlight during peak hours, reducing your lights’ efficiency. Be mindful of cloudy days, which can limit solar panel exposure and energy collection. Place your lights in areas where they’ll be exposed to consistent sunlight, especially in the late morning to early afternoon. Avoid shaded zones that could diminish the lights’ brightness and longevity. Proper placement ensures your solar path lights stay charged and illuminate your pathway effectively, providing safety and aesthetic appeal. Additionally, understanding sound vibrations and their ability to influence cellular health can inspire innovative ways to incorporate sensory experiences into your outdoor space.
Obstacle-Free Zones
Ensuring your solar path lights are placed in obstacle-free zones is crucial for their performance. Proper placement not only enhances garden aesthetics but also boosts outdoor security. To achieve this, consider these key points:
- Keep lights clear of shrubs, trees, and overhanging branches that could block sunlight or cast shadows.
- Avoid areas with heavy foot traffic that might knock over or damage the lights.
- Place lights where they won’t be obstructed by garden furniture or decorative elements.
- Make certain the lights have a direct line of sight to the sky for optimal solar charging.
- Regularly check for proper placement to ensure the lights are functioning effectively and maintaining their intended position.

MANSNIX Smart Motorized Blinds with Remote, Cordless No-Drill Automatic Roller Shades, Blackout Electric Blind for Windows, Linen Stone, 34 x 72
Easy No-Drill No- Tools Installation: Features a patented no-drill design for quick and tool-free setup—just adjust and secure....
As an affiliate, we earn on qualifying purchases.
Prepare the Ground for Installation

Have you prepared the ground properly? To guarantee your solar path lights stay secure and function well, start by removing any grass or debris from the area. Clear the space thoroughly so the soil is exposed. Next, focus on soil compaction; use a tamper or rolling device to firm the ground. Proper soil compaction prevents shifting or sinking over time, providing a stable base for your lights. If the soil is loose or uneven, add some gravel or sand to improve drainage and stability. Making sure the ground is level and compacted helps prevent future problems like uneven lighting or damage. Taking these steps now sets a solid foundation, making installation smoother and your solar lights more durable. Ensuring the soil has good drainage can also extend the lifespan of your solar path lights.
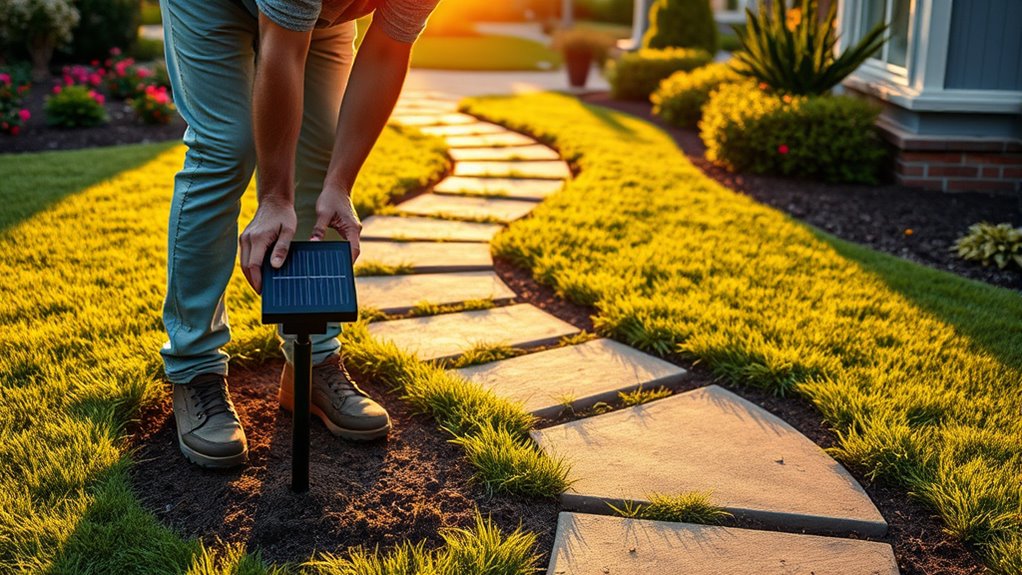
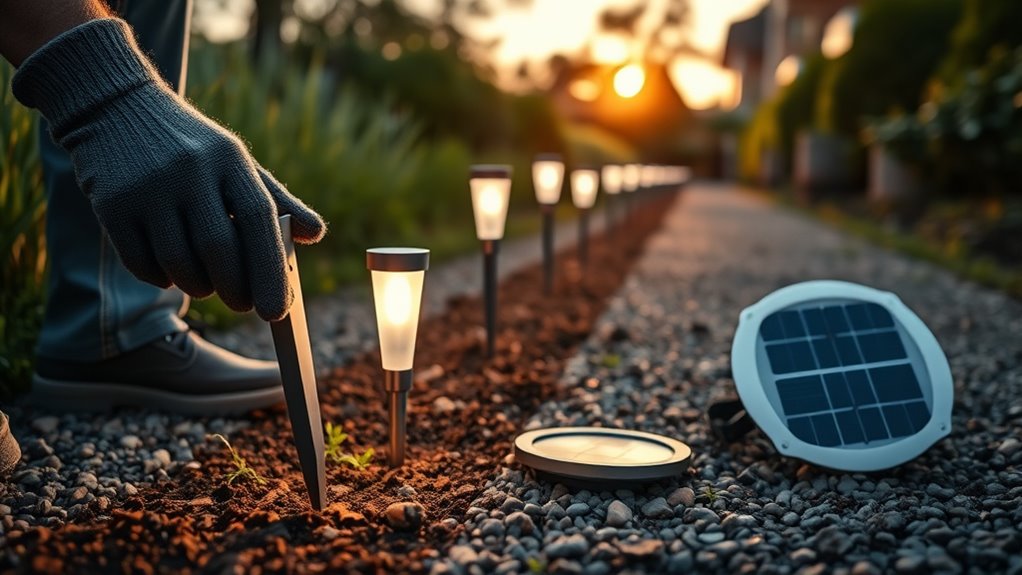
Install the Solar Path Light Stakes
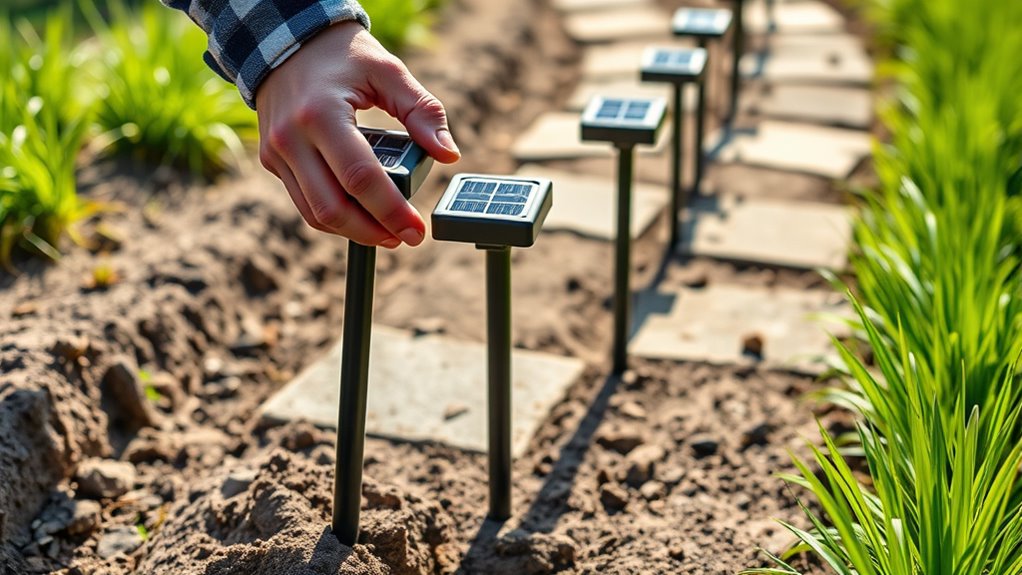
Are you ready to secure your solar path lights? Proper stake installation guarantees stability and ideal solar panel placement. Follow these steps:
- Choose a location with direct sunlight for the solar panel, avoiding shade.
- Use stake installation techniques to firmly press the stake into the ground, ensuring it’s straight.
- Adjust the height of each stake so the light fixture is at your desired level.
- Confirm the stake is stable by gently tugging; it shouldn’t wobble or shift.
Securely installed stakes keep your solar path lights upright and positioned for maximum sun exposure. Proper placement and techniques will enhance the performance and longevity of your lights, giving your pathway a beautiful, consistent glow.
Connect and Position the Light Fixtures
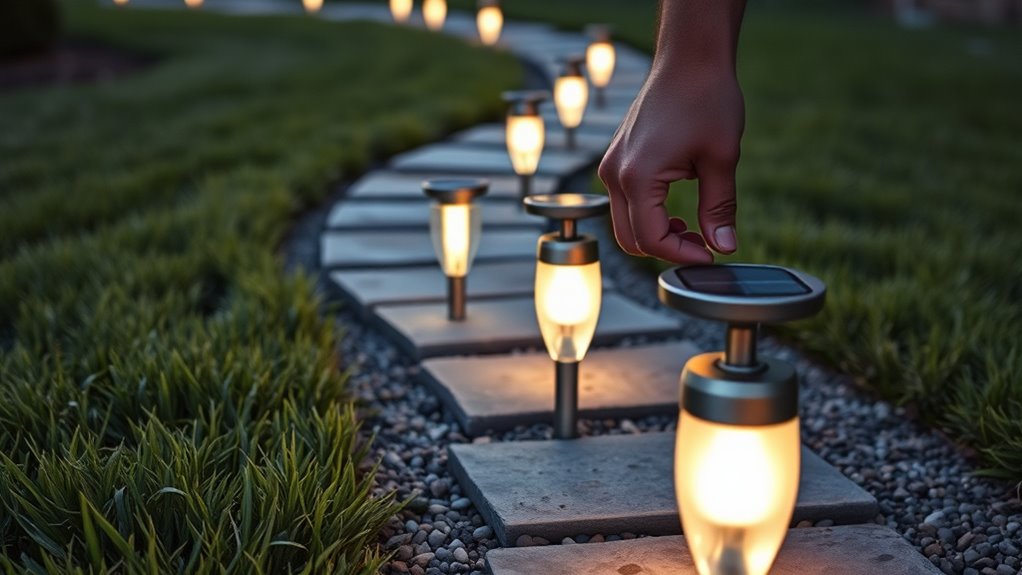
Once your stakes are securely in place, it’s time to connect and position the light fixtures. Carefully attach each light to its stake, guaranteeing a snug fit for better lights durability. Position the fixtures along your desired pathway, spacing them evenly for a balanced look. Keep in mind that proper placement affects solar panel efficiency; avoid shading the panels with nearby plants or structures. Make sure the lights face the area you want illuminated, and double-check that all connections are secure. This step guarantees your solar lights operate effectively and last longer, providing reliable illumination and enhancing your landscape’s appearance. Take your time to fine-tune the fixtures’ positions for ideal lighting and performance.
Adjust the Solar Panel Orientation
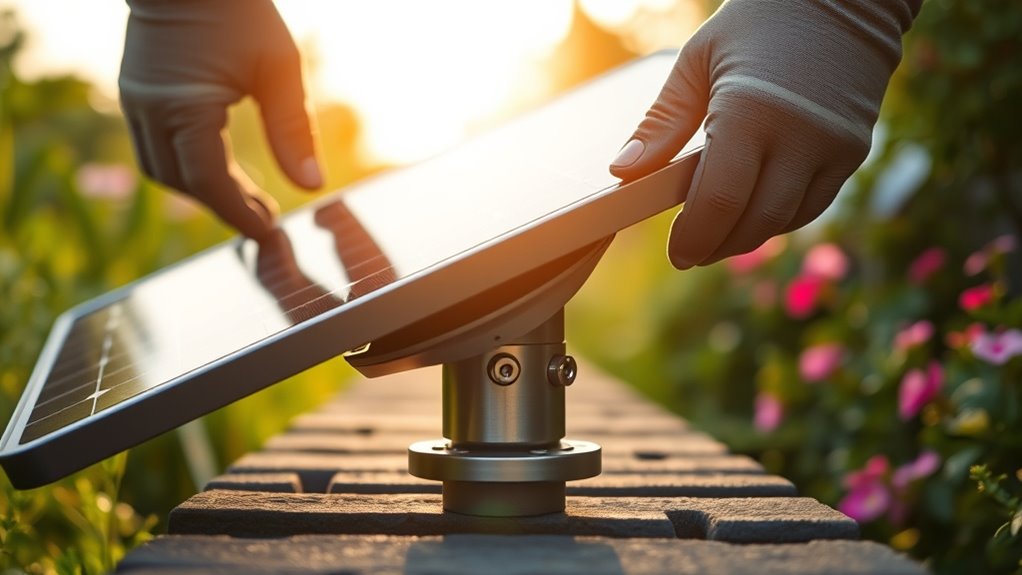
To guarantee your solar path lights operate at their best, you need to adjust the orientation of their solar panels. Proper panel angle adjustment ensures maximum sunlight absorption. Start by examining your location’s sun path to determine the ideal solar panel tilt. Then, follow these steps:
- Tilt the solar panel to match your latitude for optimal sun exposure.
- Adjust the panel angle to prevent shading from nearby objects.
- Ensure the panel faces south (in the Northern Hemisphere) or north (in the Southern Hemisphere) for maximum direct sunlight.
- Secure the panel in position once the correct tilt and angle are set.
Making these adjustments improves energy collection, ensuring your solar path lights shine brightly all night.
Test the Lighting System

Before relying on your solar path lights overnight, it’s essential to test the system to make certain everything functions properly. Turn on the lights during the evening to see if they illuminate as expected. Check the lighting brightness and coverage to guarantee the system is working efficiently. If the lights don’t turn on or seem dim, it could indicate issues with solar panel efficiency or battery lifespan. Make sure the solar panels are clean and receive direct sunlight during the day, as dirt or shading can reduce efficiency. Also, verify that the batteries are holding a charge. Testing now helps identify problems early, so you can adjust the placement or troubleshoot before fully relying on your solar path lights overnight.
Maintain and Troubleshoot Your Solar Path Lights
Regular maintenance and troubleshooting are essential to keep your solar path lights functioning properly over time. To guarantee peak performance, focus on these key tasks:
Routine upkeep ensures your solar path lights stay bright and durable over time.
- Clean the fixtures regularly to remove dirt and debris that can block sunlight and reduce brightness.
- Check and replace batteries as needed, paying attention to battery maintenance to maintain power storage.
- Inspect the solar panels for dirt, leaves, or snow, and clean them gently with a damp cloth.
- Examine wiring and connections for corrosion or damage, repairing or replacing parts to prevent malfunction.
Performing these steps helps maximize solar energy absorption and extends the lifespan of your lights. Regular upkeep ensures your pathway remains illuminated and attractive, saving you time and money in the long run.
Frequently Asked Questions
How Long Will My Solar Path Lights Last Before Needing Replacement?
Your solar path lights typically last about 2 to 5 years before needing replacement, depending on battery maintenance and usage. Regularly cleaning the solar panels and ensuring batteries are charged can extend their lifespan. Keep in mind that light brightness may diminish over time, signaling it’s time to replace the batteries or the entire light. Proper care guarantees your lights stay bright and functional longer, saving you money and effort.
Can Solar Path Lights Withstand Harsh Weather Conditions?
You wonder if solar path lights can withstand harsh weather conditions. Their weather resilience depends on durability factors like high-quality materials, sealed casings, and UV-resistant components. Good solar lights are designed to endure rain, snow, and wind, but prolonged severe weather might still cause damage over time. To guarantee longevity, choose lights with strong weather resistance ratings and proper installation, so they perform well despite tough conditions.
What Is the Average Lifespan of a Solar Panel in These Lights?
Imagine a solar panel basking in sunlight, quietly fueling your nights. On average, the durability of these panels spans 25 to 30 years, but lifespan factors like weather, quality, and maintenance play vital roles. You can extend their life by ensuring they stay clean and protected from extreme elements. With proper care, your solar path lights will shine brightly for many years, providing eco-friendly illumination whenever you need it.
Are There Any Safety Concerns During Installation?
During installation, safety should be your top priority. Be sure to follow electrical safety guidelines, such as turning off power sources and avoiding contact with water while handling wiring. Use proper installation precautions, like wearing gloves and using insulated tools, to prevent shocks or injuries. Carefully read the manufacturer’s instructions, and if unsure, consult a professional to guarantee a safe and secure setup.
How Do I Dispose of or Recycle Old Solar Path Lights Properly?
When it’s time to dispose of or recycle old solar path lights, you should follow recycling options and disposal guidelines to protect the environment. First, remove batteries carefully and check local recycling centers for specific instructions. Many electronics recyclers accept solar lights, so look for designated e-waste facilities. Avoid throwing them in regular trash, as they contain materials that can be harmful or recyclable, ensuring safe and responsible disposal.
Conclusion
Now that you know how to install your solar path lights, you’ll enjoy a beautifully lit pathway with minimal effort. Did you know that solar outdoor lighting can reduce energy costs by up to 50% annually? By following these steps, you’ll not only save money but also create an eco-friendly, inviting outdoor space. Keep your lights well-maintained, and they’ll brighten your nights for years to come. Enjoy your enhanced landscape!