
To make DIY drip irrigation simple, start by planning your garden layout and gathering the necessary materials like tubing, connectors, and emitters. Connect the main line to your water source, then cut and attach drip lines near each plant. Secure the lines with stakes and cover them with mulch for protection. Regularly check for clogs and leaks, adjusting flow as needed. Continuing will help you master the details for a reliable, efficient system.
Key Takeaways
- Plan your garden layout, grouping plants by water needs and positioning emitters for efficient coverage.
- Assemble the system using durable tubing, connectors, emitters, and tools like a utility knife and hose fittings.
- Secure lines with stakes, cover them with mulch or soil, and choose weather-resistant materials for longevity.
- Regularly test and maintain the system, fixing leaks and cleaning emitters to ensure even watering.
- Organize all steps, use proper fittings, and protect lines for a simple, effective DIY drip irrigation setup.
Gathering Your Materials and Tools
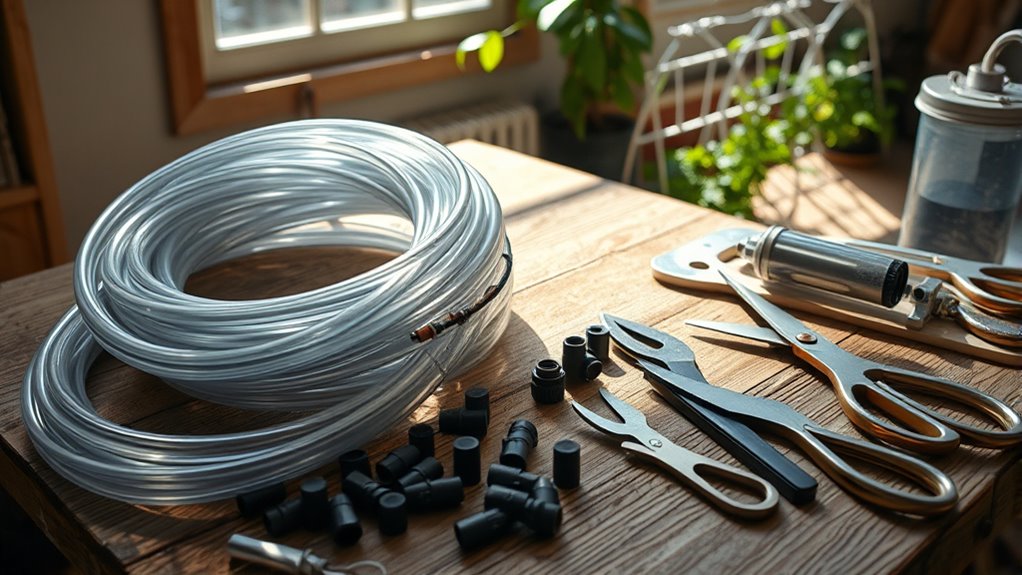
Before you begin assembling your DIY drip irrigation system, it’s important to gather all the necessary materials and tools. Start by identifying your plants’ watering schedule, which helps determine the flow rate and number of emitters needed. Check plant compatibility to ensure the system delivers adequate moisture without overwatering or under-watering specific plants. You’ll need basic supplies like drip tubing, connectors, emitters, and stakes. A utility knife, hose fittings, and a pressure regulator are also essential for proper setup. Organizing everything beforehand so you can work efficiently makes installation smoother and guarantees your system functions effectively, providing consistent watering tailored to your garden’s needs. Additionally, understanding filter types can help you select the appropriate components for optimal system performance.
Planning Your Garden Layout for Efficient Watering
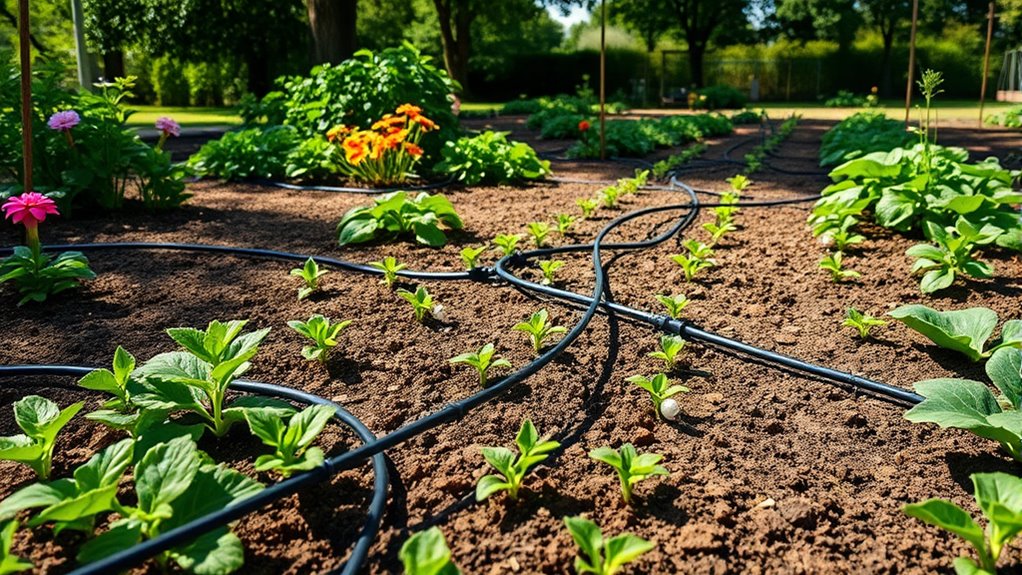
Creating an effective garden layout is essential for guaranteeing your drip irrigation system delivers water efficiently to all your plants. Start by considering plant spacing to prevent overcrowding and ensure each plant gets enough water. Map out areas based on sun exposure, grouping plants with similar light needs together for maximum growth. This approach helps you position emitters where they’re most effective and reduces water waste. Additionally, understanding signs of spoilage in your water sources can help maintain a healthy garden environment. Place taller plants on the north side to avoid shading shorter ones. Arrange plants with similar watering needs in zones. Guarantee pathways don’t interfere with water coverage.
Assembling the Main Supply Line
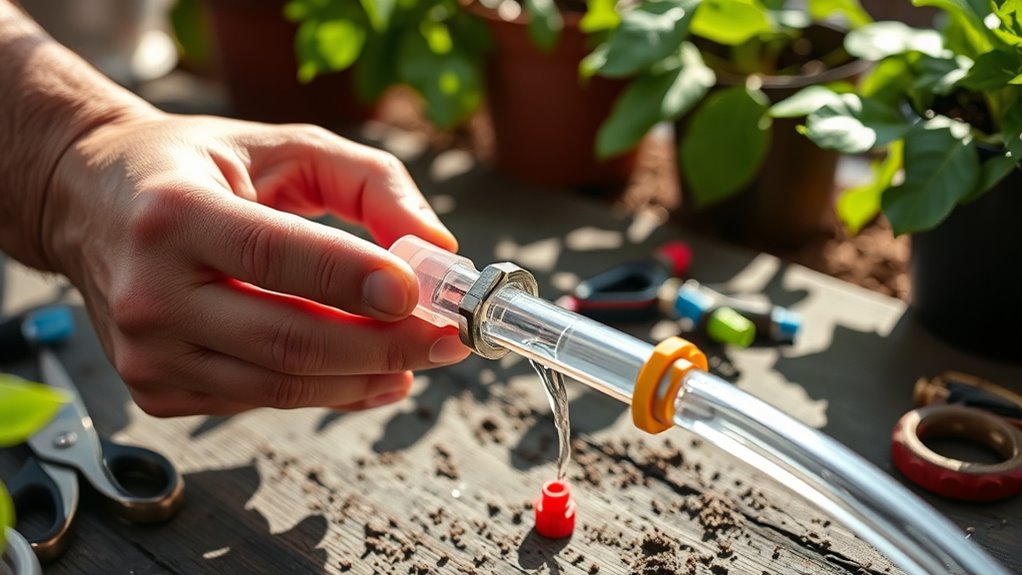
Once you’ve planned your garden layout, the next step is assembling the main supply line to deliver water from your source to the individual emitters. Use durable, high-quality tubing to guarantee system longevity and maximize water conservation. Start by connecting a sturdy hose adapter to your water source, then attach the main line, ensuring tight fittings to prevent leaks. Secure the line along your garden’s perimeter with stakes for stability. For a clear overview, consider this setup:
| Component | Purpose | Material |
|---|---|---|
| Main tubing | Distributes water throughout | UV-resistant polyethylene |
| Connectors | Join sections or add valves | Barbed fittings |
| End caps | Seal off the line | Plastic caps |
| Stakes | Keep tubing in place | Plastic or metal |
Additionally, choosing appropriate fittings helps reduce the risk of leaks and ensures a secure connection throughout your irrigation system. This setup promotes system durability and conserves water effectively.
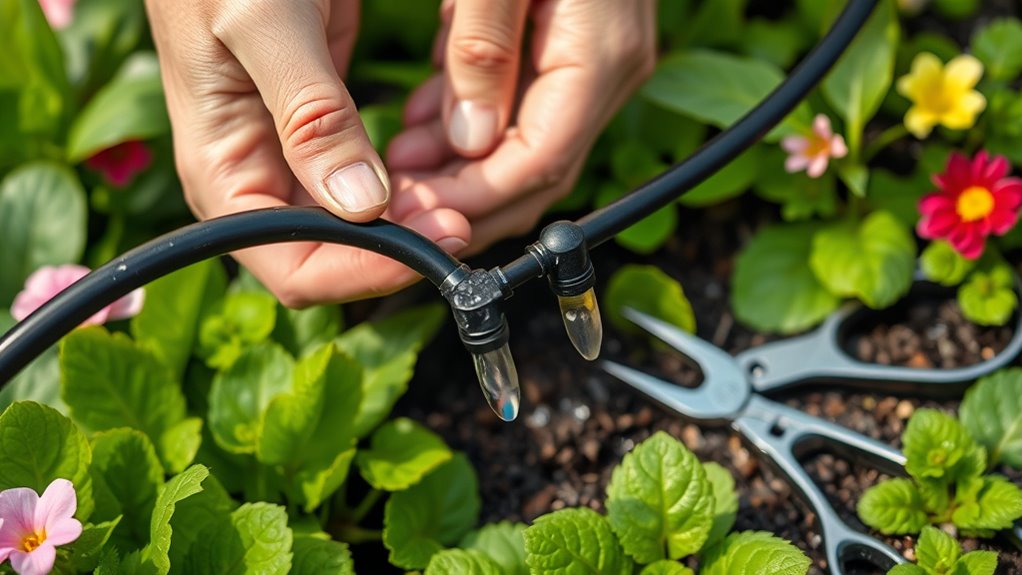
Cutting and Connecting Drip Lines to the Main Line
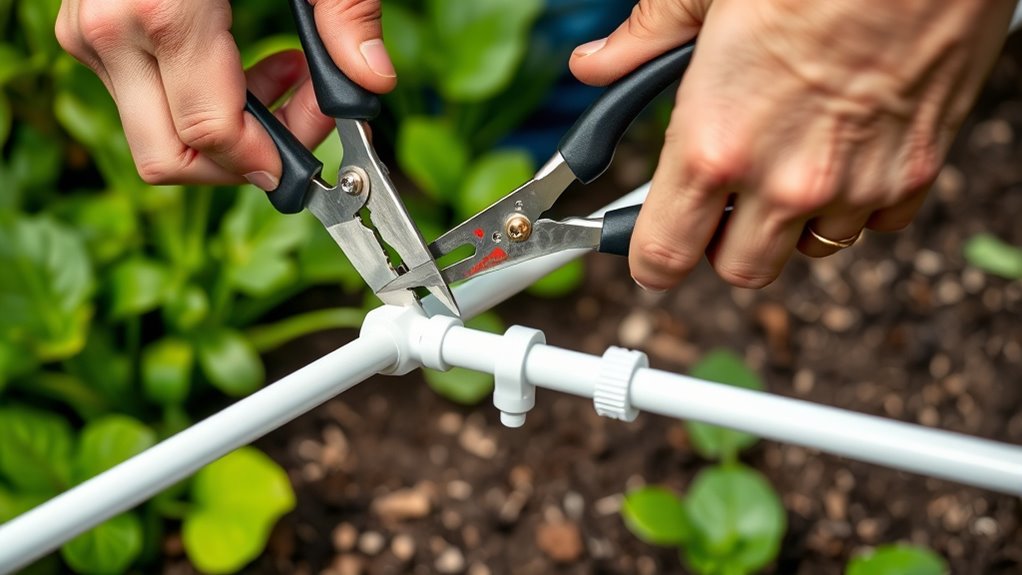
To connect your drip lines to the main supply, start by measuring and cutting the tubing to the desired lengths, guaranteeing each line reaches its designated plant or area without excess slack. Use sharp scissors or a utility knife for clean cuts in your drip line materials. Next, gather your connection tools, such as barbed fittings and connectors, to assure secure attachments. When connecting, push the drip line firmly onto the fittings to prevent leaks. Make sure to:
Measure, cut, and secure drip lines for leak-free irrigation connections.
- Cut straight across the tubing for a proper fit
- Use appropriate connectors for different branch sizes
- Secure connections with support clips if needed
- Ensure that the tubing is compatible with your watering system for optimal performance
This ensures a leak-free setup and efficient water flow. Properly cutting and connecting your drip lines is key for a reliable irrigation system.
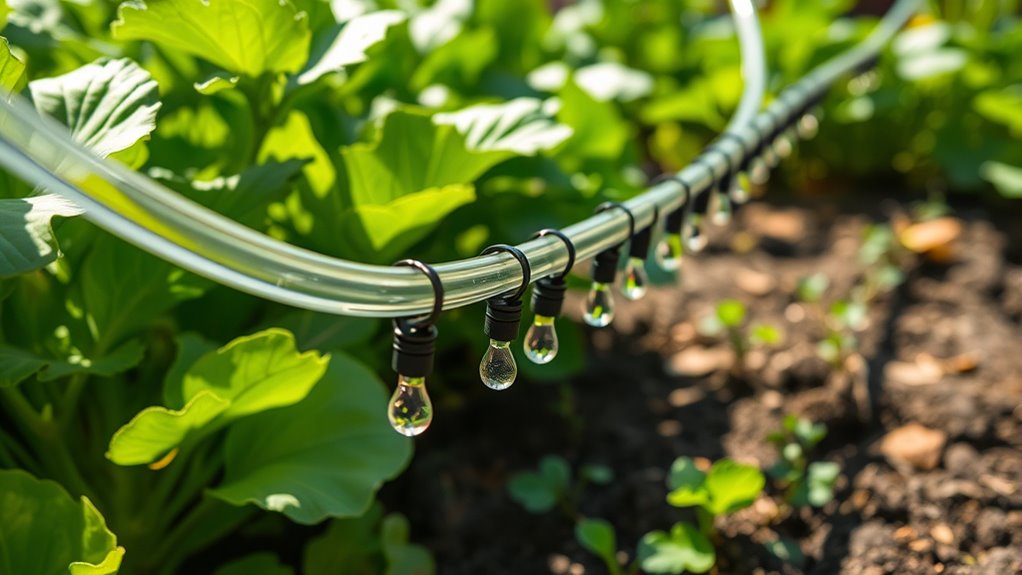
Installing Drip Emitters and Adjusting Flow Rates
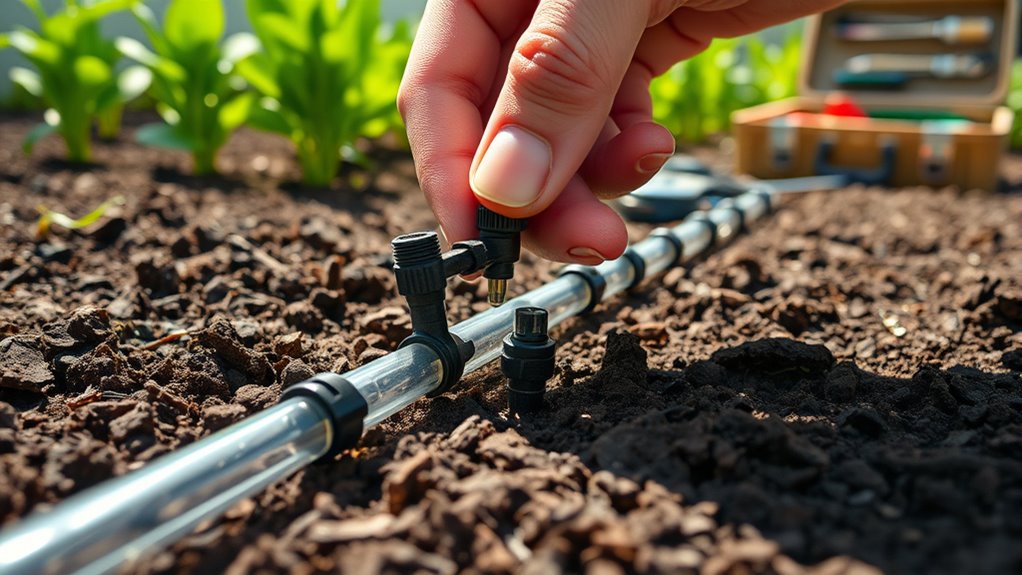
Now, you’ll choose the right emitters for your plants and connect them to the main line. Next, you can adjust the flow rates to guarantee each plant gets the right amount of water. This step helps you customize your system for efficient and effective watering. Incorporating goal setting into your planning can further optimize your watering schedule.
Choosing Emitter Types
Have you considered which emitter type best suits your garden’s needs? Choosing the right emitter types is vital for effective watering. Your decision impacts flow rate selection, guaranteeing plants get the right amount of water without waste. Different emitters offer various features:
- Drip emitters with adjustable flow rates for customization
- Pre-set emitters with fixed flow rates for simplicity
- Bubblers or micro-sprays for larger areas
Think about plant types, soil conditions, and the desired watering frequency when selecting. Adjustable emitters give you flexibility, while fixed flow models are more straightforward. Proper flow rate selection ensures your garden receives consistent, efficient watering. Additionally, understanding symptoms of overwatering helps prevent water wastage and plant stress. By choosing the right emitter types, you’ll optimize your drip system’s performance and promote healthy, thriving plants.
Connecting to Main Line
Wondering how to connect your drip emitters to the main line and set the correct flow rates? Start by attaching your emitters securely to the tubing, ensuring they fit tightly to prevent leaks. Use connectors and fittings to extend your main line and position emitters where plants need water most. Once connected, plan your watering schedules to avoid over- or under-watering. Incorporate soil moisture sensors to monitor moisture levels and help automate adjustments. This guarantees your plants receive consistent hydration without waste. Keep in mind that flow rates vary depending on emitter type, so choose those that match your garden’s needs. Properly connecting and planning your system now lays the foundation for efficient, effective watering, making your DIY drip irrigation both simple and reliable.
Adjusting Flow Rates
Installing drip emitters correctly and adjusting their flow rates guarantees your garden receives the right amount of water. To achieve this, focus on pressure regulation and flow balancing. First, check the pressure at each emitter to ensure consistent output; too high or low pressure can affect flow. Use pressure regulators if needed. Next, fine-tune each emitter’s flow rate by twisting or adjusting it directly, ensuring even watering across your garden. Keep these tips in mind:
- Test the flow from each emitter to identify inconsistencies
- Use pressure regulators to maintain uniform pressure throughout the system
- Adjust flow rates gradually for precise watering control
- Regularly monitor and maintain your drip system to prevent clogs and ensure optimal performance adjusting flow rates.
Securing and Covering the Lines for Protection
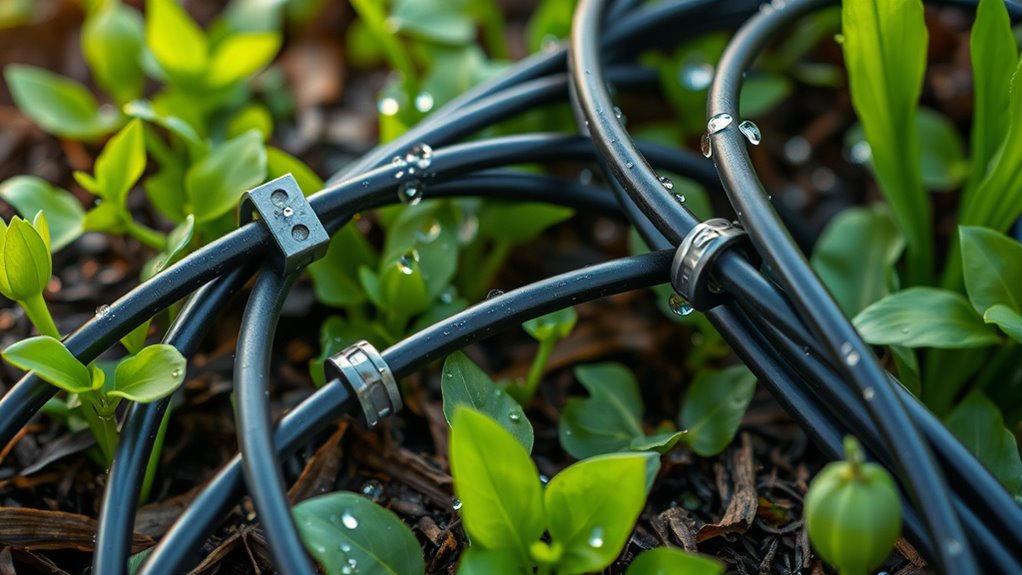
To keep your drip lines safe and effective, you need to secure them properly with reliable anchoring techniques. Choosing the right covering materials helps protect the lines from weather and damage, while ensuring connections stay firm prevents leaks. Focus on these steps to maintain a durable and long-lasting irrigation system. Using appropriate covering materials can also help shield the lines from UV rays and physical wear, extending their lifespan.
Proper Line Anchoring Techniques
Securing and covering your drip lines is essential to protect them from damage and guarantee they stay in place. Proper line anchoring enhances line stability, preventing shifts that could disrupt watering. To achieve this, use anchoring stakes at regular intervals along the line to hold it firmly in the soil. Make sure to:
- Drive stakes deep into the ground for maximum stability
- Space stakes evenly to prevent sagging or movement
- Cover exposed lines with mulch or soil to shield from weather and foot traffic
- Select durable materials for stakes and coverings to ensure long-lasting protection
These techniques keep your drip lines secure, minimize the risk of disconnection, and prolong their lifespan. Consistent anchoring ensures your irrigation system functions efficiently and reliably throughout the season.
Effective Covering Materials Selection
Choosing the right covering materials is essential for protecting your drip lines from weather, foot traffic, and UV damage. Mulch materials, like straw or wood chips, help insulate the lines and reduce evaporation, while also suppressing weeds. Weed barriers made of landscape fabric are effective in preventing unwanted plant growth that could damage or displace the tubing. When selecting coverings, consider durability and ease of installation. Mulch should be spread evenly around plants, ensuring it doesn’t interfere with emitters, while weed barriers should be secured firmly to stay in place. Proper covering not only shields the lines but also maintains moisture and keeps your garden tidy, ultimately extending the lifespan of your drip irrigation system. Additionally, understanding Halloween traditions can inspire creative ways to decorate your garden or outdoor space for seasonal events.
Securing Connections Firmly
Properly securing your drip lines and connections is vital to guarantee they stay in place and function effectively over time. Use clamp fittings to firmly hold the lines to emitters or connectors, preventing leaks and disconnections. Threaded connectors are ideal for creating tight, secure joints, especially at valves or hose ends. To ensure a strong setup, consider these tips:
- Tighten clamp fittings securely without over-tightening, which could damage the tubing.
- Use threaded connectors with Teflon tape to prevent leaks at threaded joints.
- Cover exposed connections with protective tubing or mulch to shield them from the elements and physical damage.
Testing Your Drip System and Making Adjustments
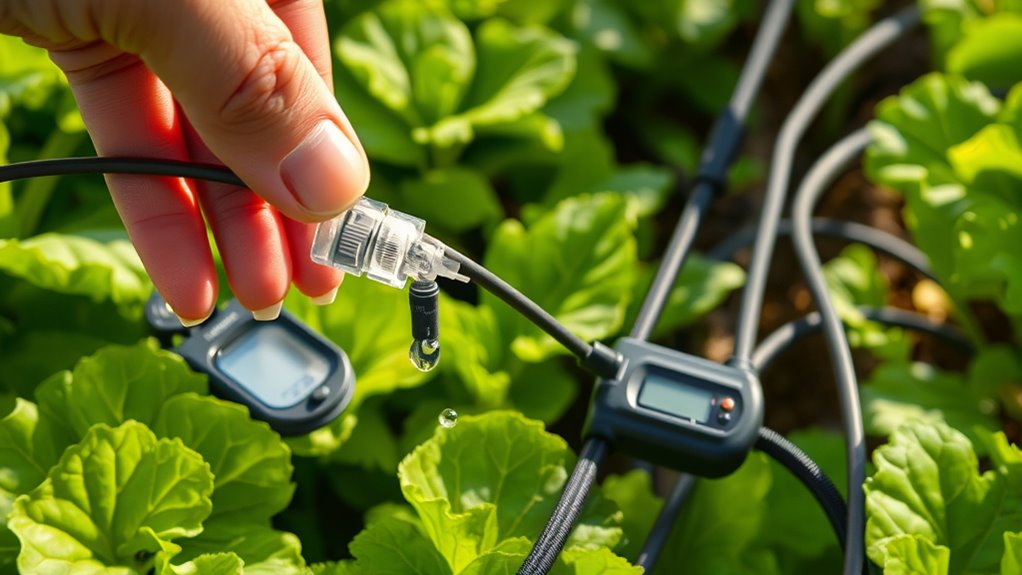
Before fully relying on your drip system, it’s vital to test it to make sure everything functions correctly. Turn on the water and observe each emitter to ensure water flows evenly. Check for clogged emitters or leaks, which are common issues needing system troubleshooting. Adjust your watering schedule if some plants receive too much or too little water, based on your observations. Make certain the pressure is consistent across the system, and if necessary, modify pressure regulators or emitters. Keep an eye out for any blockages or uneven coverage, and fix these issues promptly. Regular testing helps you identify problems early, ensuring your plants get the right amount of water and your system operates efficiently.
Maintaining and Caring for Your DIY Drip Irrigation System
To keep your drip irrigation system functioning effectively, regular maintenance is essential. Proper care prevents clogs, ensures even watering, and extends the system’s lifespan. You should regularly check for clogged emitters and clear debris to maintain proper flow. Additionally, monitor your plants for pests, as pests can damage hoses or block emitters, affecting performance and pest control efforts. During maintenance, consider applying fertilizer through the system to promote healthy growth; just ensure the fertilizer is compatible with drip irrigation. Finally, inspect hoses and connectors for leaks or cracks, replacing damaged parts promptly. Remember, consistent upkeep keeps your system running smoothly and your garden thriving. With these simple steps, you’ll maximize efficiency and reduce the need for costly repairs or replacements.
Frequently Asked Questions
How Do I Prevent Clogging in My Drip Emitters?
To prevent clogging in your drip emitters, you should regularly check and clean your filters to keep debris out of the system. Additionally, perform emitter cleaning periodically to remove any buildup that might obstruct water flow. Using a filter helps catch particles before they reach the emitters, while routine cleaning ensures your system stays efficient. Consistent maintenance keeps your drip irrigation system working smoothly and extends its lifespan.
Can I Expand My Drip System Later Easily?
Did you know that 60% of gardeners say their irrigation systems are easy to expand? Yes, you can easily expand your drip system later with an expandable setup that uses a modular design. Just add extra tubing, connectors, and emitters as your garden grows. This flexible approach lets you customize your watering system without starting from scratch, saving you time and money in the long run.
What’S the Best Way to Winterize My Drip Irrigation?
To winterize your drip irrigation, you should start with seasonal maintenance by draining all lines completely to prevent freezing damage. Use an air compressor or manually blow out the system, removing any remaining water. Disconnect hoses and drip emitters, store them indoors if possible, and shut off the main water supply. These winterization tips help safeguard your system and ensure easy startup come spring.
How Often Should I Flush the System?
Imagine your system quietly working, delivering water like gentle rain. To keep it running smoothly, you should flush your system at least once a season, especially after heavy use or water changes. Regular system maintenance helps prevent clogs and guarantees water quality stays high. By flushing out debris and buildup, you protect your plants and extend your irrigation system’s lifespan, keeping everything functioning like a well-oiled garden machine.
Are There Eco-Friendly Options for Drip System Components?
You’re wondering if eco-friendly options exist for drip system components. Yes, you can choose biodegradable tubing that breaks down naturally, reducing environmental impact. Recycled connectors are also a great choice—they’re made from repurposed materials, helping cut waste. These options make your irrigation system more sustainable without sacrificing functionality. Switching to biodegradable and recycled parts is an easy way to lessen your ecological footprint and support eco-conscious gardening practices.
Conclusion
With your DIY drip irrigation system in place, you’ll save time and water while keeping your garden thriving. Imagine a small backyard gardener who, after setting up her system, spent less time watering and more time enjoying her plants. Proper maintenance and adjustments guarantee long-lasting efficiency. Your effort today leads to a lush, healthy garden tomorrow—proof that simple DIY solutions can make a big difference in growing success.