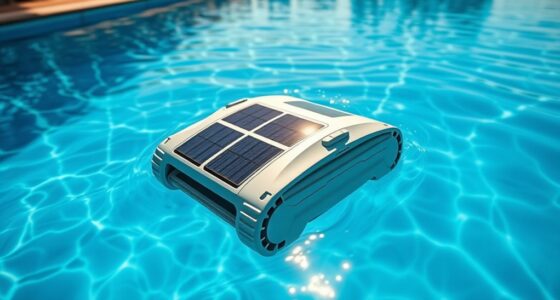

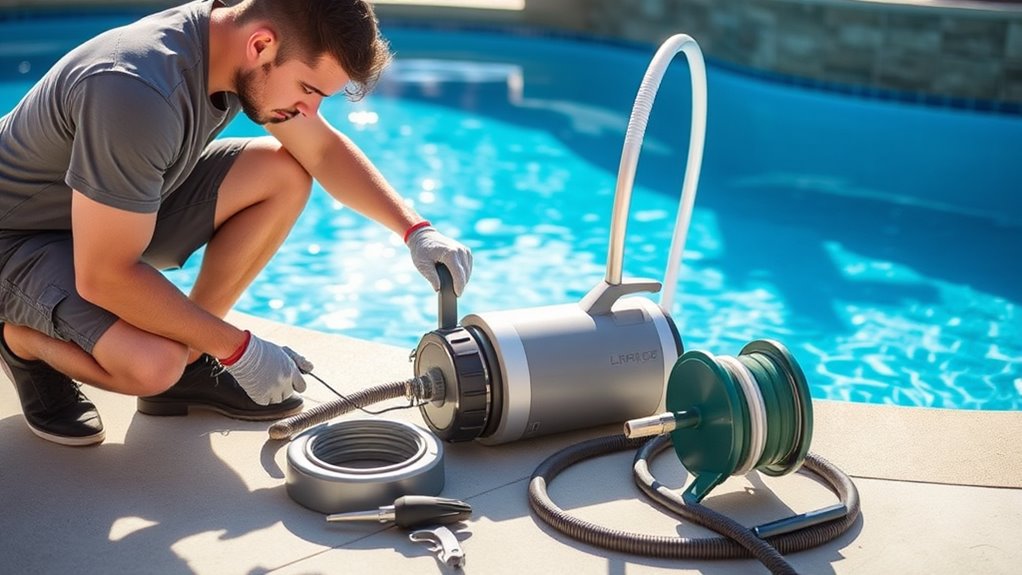
To install a pressure-side pool cleaner, start by gathering your tools, including hoses, fittings, and the necessary equipment. Carefully review the manufacturer’s instructions to guarantee correct setup. Prepare your pool by removing debris, balancing water, and checking equipment. Connect the hoses securely to the cleaner and skimmer or dedicated port, then attach the cleaner to your pool’s pump system. Proper positioning and securing everything tightly will ensure maximum performance. Continue with the steps to learn more about smooth installation.
Key Takeaways
- Review manufacturer instructions to understand specific installation steps and compatibility requirements.
- Ensure the pool water level is properly balanced and debris-free before connecting the cleaner.
- Inspect and verify all hoses, fittings, and pool equipment are in good condition and properly prepared.
- Connect hoses securely to the cleaner and skimmer or dedicated port, avoiding twists or kinks.
- Turn off the pump during connection, then power on and adjust flow valves for optimal cleaning performance.
Gathering Necessary Tools and Equipment
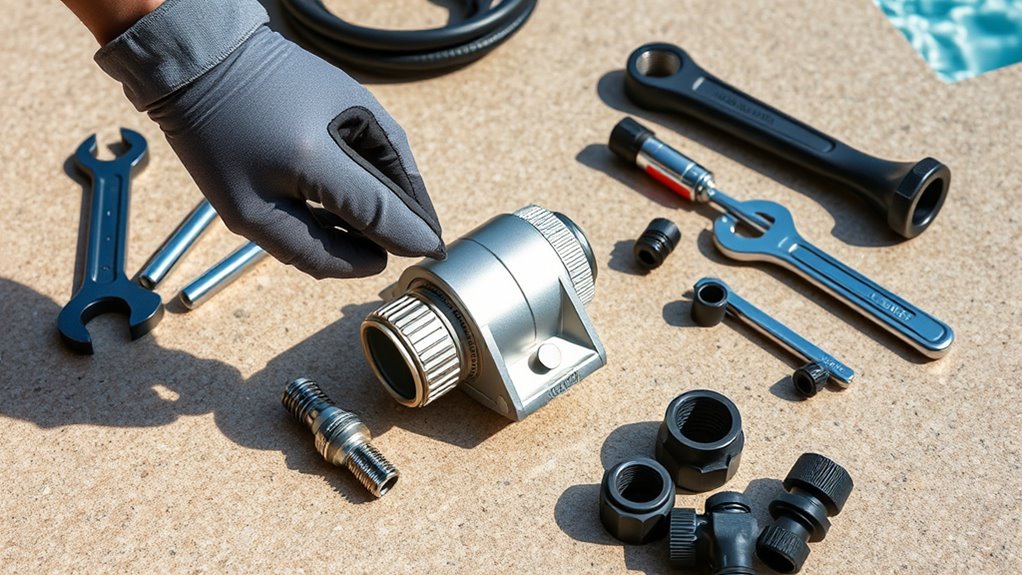
Before you begin installing your pressure-side pool cleaner, it’s important to gather all the necessary tools and equipment. Start with basic items like a wrench, screwdrivers, and a utility knife. You’ll also need a hose, skimmer, and possibly a backflow preventer, depending on your setup. It’s a good idea to perform pool chemical testing beforehand to ensure proper water balance, which keeps your cleaner functioning efficiently. While gathering tools, consider your pool’s lighting options—some cleaners work better with specific lighting setups, especially if you plan to do maintenance at night. Having everything ready saves time and prevents interruptions. Double-check your pool’s filtration system and ensure the skimmer is accessible. Being organized at this stage sets a solid foundation for a smooth installation process. Additionally, understanding credit card security measures can help protect your online accounts if you need digital payment options for pool supplies. To further streamline your setup, familiarize yourself with pool maintenance best practices to ensure long-term efficiency of your cleaning system. Incorporating pressure-side cleaner features can also help you select the most compatible and effective equipment for your pool. Recognizing the Horsepower of Electric Dirt Bikes can be useful when considering the power requirements of your pool pump, ensuring optimal performance. For optimal results, reviewing the specific Honda Tuning techniques related to your pool equipment can provide insights into maintaining peak performance.
Reading the Manufacturer’s Instructions
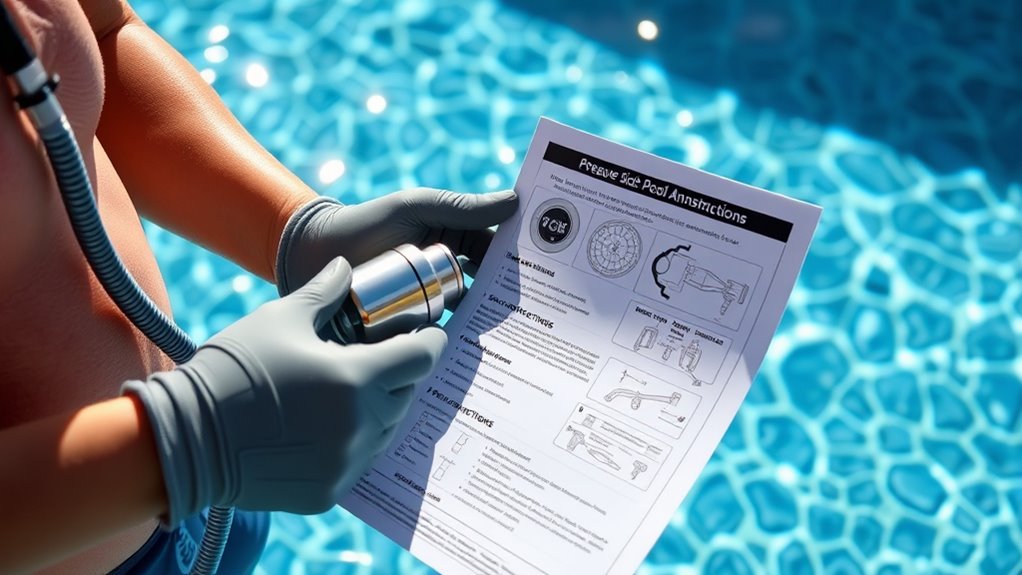
Reading the manufacturer’s instructions carefully is essential to guarantee you install your pressure-side pool cleaner correctly. These instructions provide crucial details on setup, including chemistry considerations that affect the cleaner’s performance and longevity. Ignoring guidelines might void manufacturer warranties, leaving you unprotected if issues arise. Pay close attention to compatibility notes and recommended pool conditions, such as water temperature and flow rates, to ensure optimal operation. Here’s a quick overview:
| Step | Key Point | Why It Matters |
|---|---|---|
| Follow installation steps | Ensures proper setup | Prevents damage and guarantees operation |
| Check chemistry notes | Maintain water balance | Protects parts and prolongs lifespan |
| Review warranty info | Understand coverage | Avoid voiding manufacturer warranties |
Always read thoroughly to maximize your cleaner’s efficiency and safeguard your investment. Proper installation procedures, including water chemistry considerations, are vital for optimal performance and durability.
Preparing Your Pool for Installation
Before installing your pressure-side pool cleaner, you need to prepare your pool properly. Start by removing any debris to guarantee smooth operation, then check that your water levels are balanced and adequate. Finally, inspect your pool equipment to confirm everything is functioning correctly for a hassle-free setup. Ensuring your pool’s filtration system is working efficiently will help improve cleaning performance.
Clear Debris From Pool
To guarantee your pressure-side pool cleaner operates effectively, you need to clear all debris from the pool’s surface and bottom. Remove leaves, twigs, and any floating debris to prevent clogs and ensure proper suction. A clean pool surface enhances cleaner performance, allowing it to reach all areas efficiently. Also, check your pool’s chemistry; balanced water reduces algae and debris buildup, making cleaning easier. Maintaining proper chemical levels promotes pool safety by preventing algae growth and ensuring a healthy swimming environment. Before installation, vacuum the pool thoroughly to remove stubborn dirt and debris. This preparation minimizes strain on the cleaner and helps it work more effectively. Proper water quality management and clean water conditions are essential for a smooth installation and optimal cleaning results. Ensuring your pool water is free from excessive minerals and contaminants can extend the lifespan of your cleaner and improve overall efficiency. Additionally, regular monitoring of water pH and chemical balance ensures the cleaner functions optimally and prevents corrosion or damage to the equipment. Regular testing of your water chemistry helps maintain residential water standards and promotes consistent cleaner performance.
Check Water Levels
Have you checked your pool’s water level lately? Ensuring the water is at the proper level is essential before installing your pressure-side cleaner. If the water is too low, it can cause the skimmer to suck in air, disrupting water flow and compromising cleaning performance. Conversely, if it’s too high, the cleaner may not function correctly, and water chemistry can become unbalanced. Maintaining the correct water level also supports algae prevention by keeping circulation ideal, which helps distribute chemicals evenly. Before installation, top off or drain your pool to reach the recommended level, usually about halfway up the skimmer opening. Proper water levels help your cleaner perform efficiently and keep your water chemistry balanced, reducing algae growth and maintaining a healthy pool environment. Additionally, best water levels for pools ensure optimal circulation and filtration performance.
Inspect Pool Equipment
Ensuring your pool equipment is in good shape sets the foundation for a successful cleaner installation. Start by inspecting your pump, filter, and skimmer for any damage or blockages. Check that the pool’s pool chemistry is balanced to prevent algae growth or buildup that could hinder cleaner performance. Make sure pool lighting fixtures are secure and functioning properly, especially if you plan to run the cleaner during evening hours. Clear away any debris around the equipment area to ensure smooth operation. Verify that all hoses and fittings are in good condition and properly connected. Address any leaks or malfunctions before installing the pressure-side cleaner. A thorough inspection guarantees your equipment can handle the cleaner and keeps your pool in excellent condition. Understanding industry trends can also help you choose the most effective cleaning solutions.
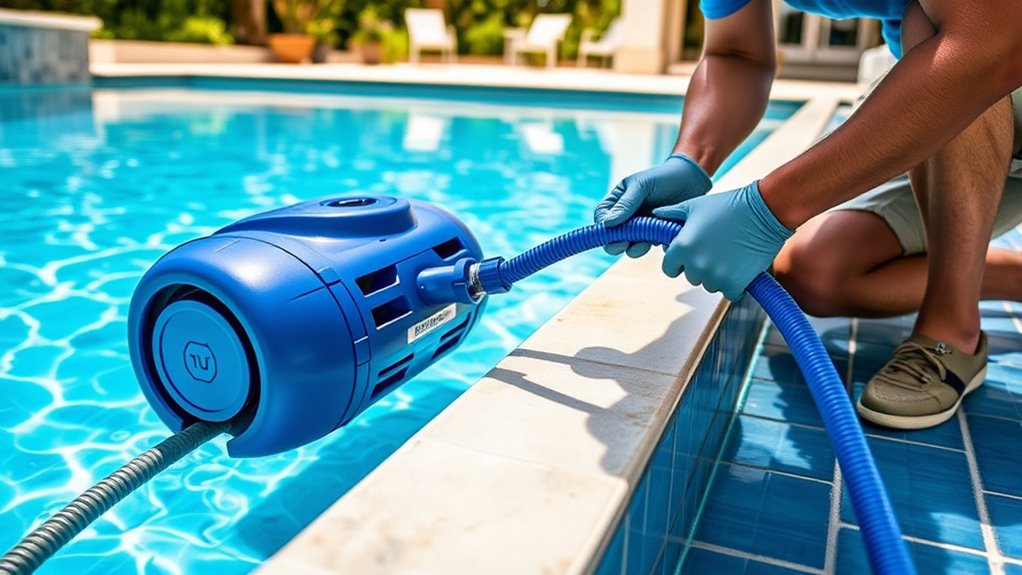
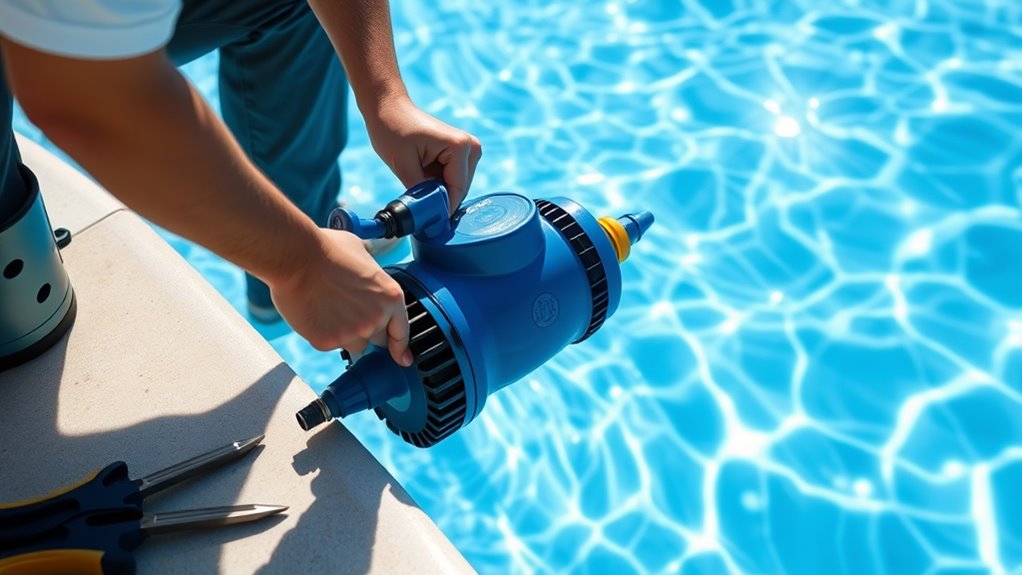
Attaching the Hoses and Skimmer Connection
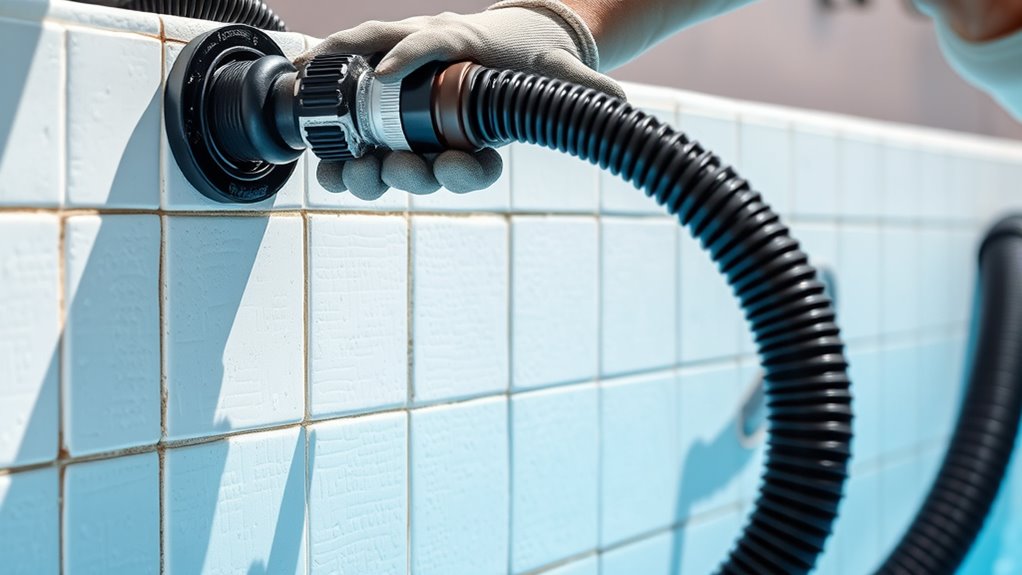
Start by connecting the hoses securely to the cleaner and your pool’s skimmer. Make sure the connections are tight to prevent leaks and guarantee proper operation. Then, check all fittings for any signs of leaks before you finish the setup. Additionally, ensure that all hoses are free from kinks or blockages to maintain optimal water flow and proper spray pattern. Confirm that the engine performance of your pool cleaner is unaffected by the connections, ensuring efficient cleaning. Proper tuning of your pool cleaner can also improve overall efficiency and longevity. Regularly inspecting and replacing worn parts, such as inlet strainer screens, helps maintain consistent performance over time.
Connect Hoses Properly
To connect the hoses properly, begin by attaching the hose sections to the cleaner and the skimmer or dedicated suction port. Make sure to check hose alignment so the connections fit smoothly without twists or kinks. Ensuring connection security is essential to prevent leaks and maintain proper suction. Additionally, verifying the connection security can help avoid issues caused by weak or loose fittings. Properly secured connections also contribute to the system’s efficiency during operation. Follow these steps: 1. Line up the hose sections and connectors carefully, confirming they are properly aligned. 2. Push the hoses firmly onto the cleaner and skimmer or port, ensuring they click into place. 3. Double-check each connection for tightness and stability before turning on the system. Confirming the regional availability of resources can also facilitate quicker setup and troubleshooting. Being aware of industry best practices can further help maintain optimal performance of your pool cleaner. Taking a moment to verify hose alignment and connection security will help your pressure-side pool cleaner operate efficiently and prevent issues during cleaning.
Secure Skimmer Interface
Attaching the hoses securely to the skimmer interface is essential for maintaining proper suction and preventing leaks during pool cleaning. Ensure the hose fittings match your skimmer’s compatibility to avoid connection issues. Take care to check skimmer safety by not over-tightening, which could damage the skimmer or cause leaks. Confirm the hoses are firmly connected and seated correctly to maintain consistent water flow. If your skimmer has multiple ports or specific fitting sizes, use adapters as needed to guarantee compatibility. Proper attachment minimizes the risk of disconnection during operation, which could disrupt cleaning and compromise skimmer safety. When connecting, make sure to properly secure the hoses, as loose connections can lead to decreased cleaning efficiency and potential damage. Properly securing the hoses helps prevent accidental disconnections that could result in water loss and damage to your equipment. Once connected, give the hoses a gentle tug to verify they’re secure before starting your cleaner. This step guarantees ideal performance and prolongs your skimmer’s lifespan. Regularly inspecting the connection points helps prevent issues related to pool equipment maintenance and ensures efficient operation.
Check for Leaks
Before operating your pool cleaner, it’s essential to check for leaks at the hose connections and skimmer interface. Leaks can reduce cleaning efficiency and waste energy. To guarantee a proper seal, follow these steps:
- Inspect all hose fittings and connections for tightness and cracks.
- Turn on the pump and observe if water is escaping at connection points.
- Adjust or replace any faulty fittings, especially if weather conditions have caused expansion or contraction of materials.
Additionally, maintaining proper pool chemical balance helps prevent hose deterioration, and considering weather factors like temperature extremes can prolong hose life. Ensuring leak-free connections improves cleaning performance and conserves water and energy, making your pool maintenance more effective and efficient.
Positioning the Cleaner in the Pool
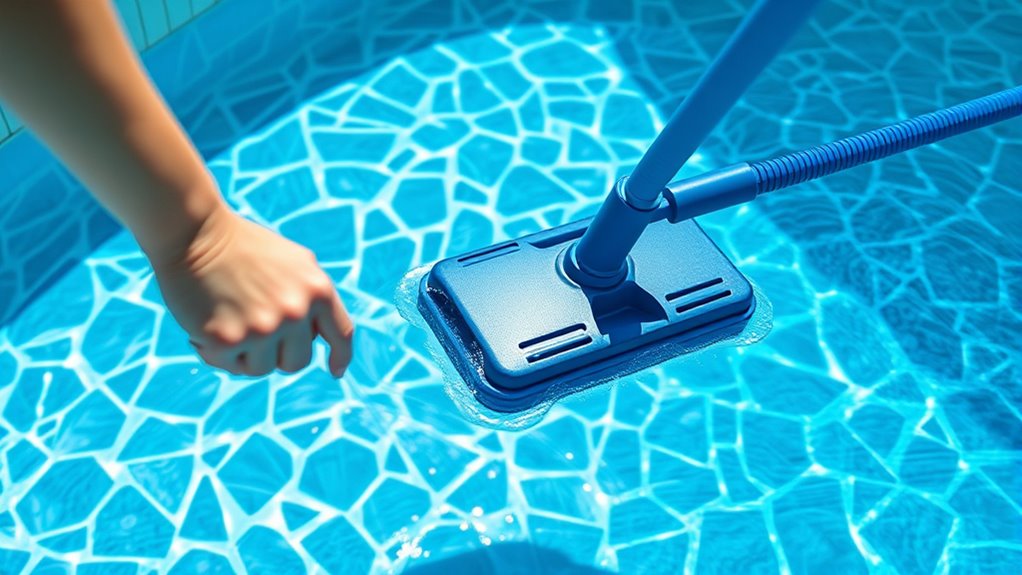
Positioning your pressure-side pool cleaner correctly is essential for effective cleaning. You want to guarantee the cleaner has the right access to the pool surface, so it can reach all areas efficiently. Start by placing the cleaner in an open area of the pool, away from ladders, skimmers, or other obstructions. Proper cleaner placement allows it to move freely and cover the entire pool surface without getting stuck. Keep in mind that the cleaner’s path depends on where you position it initially, so choose a spot with good water flow. Avoid placing it near the pool’s edges or corners, as this can limit coverage. With the right positioning, your cleaner will do a thorough job, saving you time and effort.
Connecting the Cleaner to the Pool’s Pump System

Connecting your pressure-side pool cleaner to the pump system is a straightforward process that guarantees it receives the necessary water flow to operate effectively. First, ensure your pool’s pump is turned off to prevent accidents. Next, follow these steps:
Connecting your pressure-side pool cleaner is simple—just turn off the pump, attach hoses securely, and then turn it back on.
- Attach the cleaner’s hose to the skimmer or dedicated cleaner port, making sure it’s secure.
- Connect the hose to the cleaner unit, ensuring all fittings are tight to prevent leaks.
- Turn on the pump and observe the water flow, adjusting the valve if needed to optimize cleaning performance.
Always remember to check your pool chemistry before connecting the cleaner—balanced water helps prevent debris buildup. Also, follow safety precautions, such as avoiding electrical hazards, during installation.
Testing the Setup and Adjusting as Needed

Once you’ve set up the pressure-side pool cleaner, it’s important to test the system to verify everything works properly. Turn on your pool pump and observe the cleaner in action, ensuring it moves smoothly and covers the pool surface evenly. Check that the hoses are secure and that there are no leaks, which could affect performance. While testing, also verify your pool chemistry—imbalances can impact the cleaner’s ability to operate effectively or even cause damage. Follow all safety precautions, such as turning off the pump before making adjustments or inspecting hoses, to prevent accidents. Make small adjustments as needed, like repositioning hoses or tweaking pressure settings, until the cleaner operates efficiently and safely, providing excellent pool cleanliness.
Performing a Final Inspection and Maintenance Tips
Before finalizing your installation, it’s vital to perform a thorough inspection to guarantee everything is secure and functioning correctly. Check connections to ensure there are no leaks and the cleaner moves smoothly. Next, verify that your pool chemistry is balanced, as proper chemical levels help maintain equipment longevity. Finally, follow safety precautions by turning off power when inspecting or adjusting the cleaner to avoid accidents. Here are three essential steps:
- Inspect hoses and connections for leaks or loose fittings.
- Test the cleaner’s movement and cleaning pattern.
- Confirm that chemical levels are within recommended ranges to protect equipment and maintain water quality.
Performing these steps ensures your pressure-side pool cleaner operates efficiently while keeping safety and pool health top priorities.
Frequently Asked Questions
How Often Should I Run My Pressure-Side Pool Cleaner?
You should run your pressure-side pool cleaner regularly to maintain pool safety and energy efficiency. Typically, running it 2-3 times a week guarantees your pool stays clean without wasting energy. Consistent cleaning prevents debris buildup, reducing chemical use and promoting safe swimming conditions. Adjust the schedule based on pool usage and weather, but avoid overusing the cleaner to save energy and keep your pool safe and sparkling.
What Is the Ideal Pressure Setting for Optimal Cleaning?
Imagine you’re tuning a vintage radio; setting the perfect dial is key. For your pressure-side pool cleaner, the ideal pressure setting ensures ideal cleaning. Focus on pressure regulation, aiming for the manufacturer’s recommended PSI—usually between 30-50 PSI. Too high, and you risk damaging the cleaner; too low, performance suffers. Adjust until you achieve steady, consistent flow, maximizing cleaner performance and keeping your pool spotless.
Can I Leave the Cleaner in the Pool Overnight?
You can leave your pool cleaner in overnight, but consider a few factors. If you cover your pool with a pool cover, it helps retain heat and reduces debris, making cleaning more efficient. However, leaving the cleaner in can increase energy consumption and wear on the device. To save energy, it’s often better to remove the cleaner after cleaning sessions, especially if you don’t plan to use the pool overnight.
How Do I Troubleshoot if the Cleaner Isn’t Moving?
Your pool cleaner’s stubbornness can feel like trying to move a mountain! First, check for pool hose kinks that could be blocking water flow. Then, inspect for debris blockage in the hose or cleaner. Sometimes, tangled hoses or debris can halt progress entirely. Clear out any obstructions, straighten kinks, and make certain the connections are tight. If it still doesn’t move, double-check the pressure settings and pump operation.
What Maintenance Tasks Are Required Monthly?
Each month, you should check your pool’s chemical balance to prevent algae and maintain clarity. Regularly remove debris using your pressure-side cleaner, and inspect the cleaner’s parts for wear or blockages. Clean the skimmer and pump baskets, and test the water pH and chlorine levels. Following these maintenance tasks guarantees your pool stays clean and healthy, making debris removal easier and keeping your pressure-side cleaner functioning smoothly.
Conclusion
Once you’ve installed your pressure-side pool cleaner, think of it as planting a seed. With proper setup and regular maintenance, it’ll grow into a reliable helper, keeping your pool spotless season after season. Like a steady gardener tending their plants, stay attentive to your cleaner’s needs, and it’ll serve you well. Remember, a well-installed cleaner is the foundation for a sparkling pool, turning routine chores into a smooth, effortless flow.