To set up and program your new robotic pool cleaner, start by unboxing and assembling all parts, including filters and brushes, and then place the charging station on a flat, waterproof surface near an outdoor outlet. Power on the device and connect it to the app or remote control via Bluetooth or Wi-Fi. You can then schedule cleaning cycles, customize settings, and troubleshoot issues as needed. Keep your system maintained, and you’ll keep your pool sparkling—more useful tips follow.
Key Takeaways
- Unbox and assemble all components, attach brushes, secure filters, and connect the power supply following manufacturer instructions.
- Place the charging station on a flat, waterproof surface near an outdoor outlet, and connect the device for charging.
- Turn on the robot, connect via Bluetooth or Wi-Fi using the app, and ensure proper pairing and communication.
- Use the app or remote control to set cleaning schedules, select modes, and customize operation parameters.
- Perform regular maintenance, check for software updates, and troubleshoot connectivity or sensor issues to ensure optimal performance.
Unboxing and Assembling Your Robotic Pool Cleaner

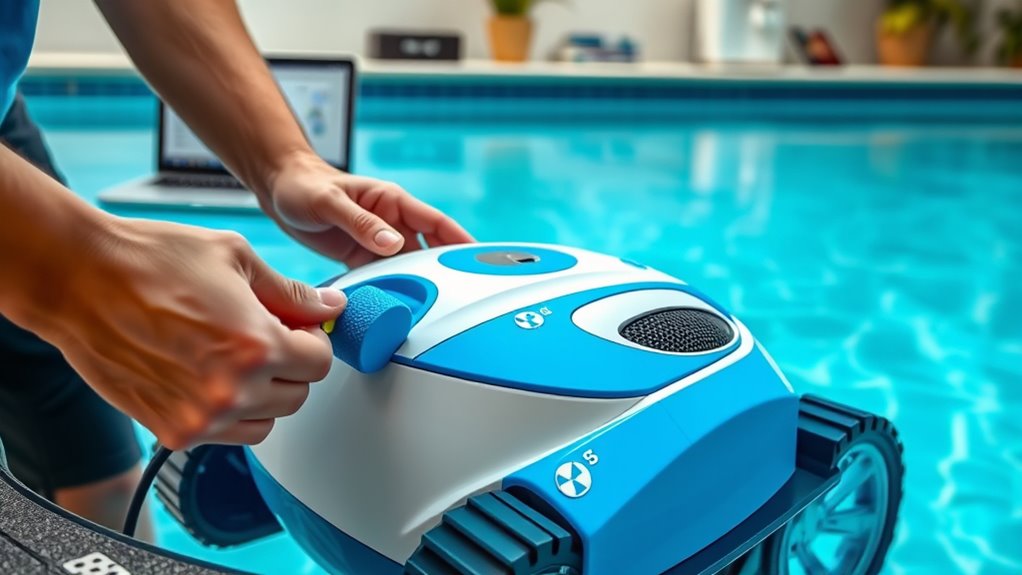
When you open the box, you’ll find your robotic pool cleaner along with all its essential components. Carefully inspect each part, including the cleaning head, filters, and power supply. Before assembling, consider your pool’s material—whether it’s plaster, tile, or vinyl—as this influences cleaning settings and brush types. Proper assembly is straightforward: attach the brushes, secure the filters, and connect the power cord. Keep in mind that water chemistry affects how well your robot performs; high pH or algae buildup can reduce cleaning efficiency. Ensuring the cleaner is correctly assembled and suited for your pool’s material helps optimize its operation. Additionally, understanding filter maintenance and regular upkeep can significantly extend the lifespan of your robotic cleaner, especially when considering filter replacement intervals. Regularly checking the brushes and wheels for wear and tear can also improve cleaning performance. To further enhance your robot’s efficiency, consider adjusting its programming settings based on your pool’s size and shape. Once assembled, you’re ready to move on to the next step, confident your device is prepared for effective cleaning.
Charging and Powering the Device
To keep your robotic pool cleaner ready, start by setting up its charging station in a dry, level spot near your pool. Once it’s connected, you can easily power on the device following the simple instructions provided. Ensuring proper setup will help your cleaner operate efficiently and last longer. Regular maintenance and updates can also improve its operational efficiency. Additionally, placing the charging station in an area with good power supply stability can prevent interruptions during charging sessions. Maintaining a stable power connection is essential for consistent charging and optimal performance, ensuring your pool cleaner functions effectively over time. Being aware of potential electrical hazards and following safety guidelines can further ensure safe operation.
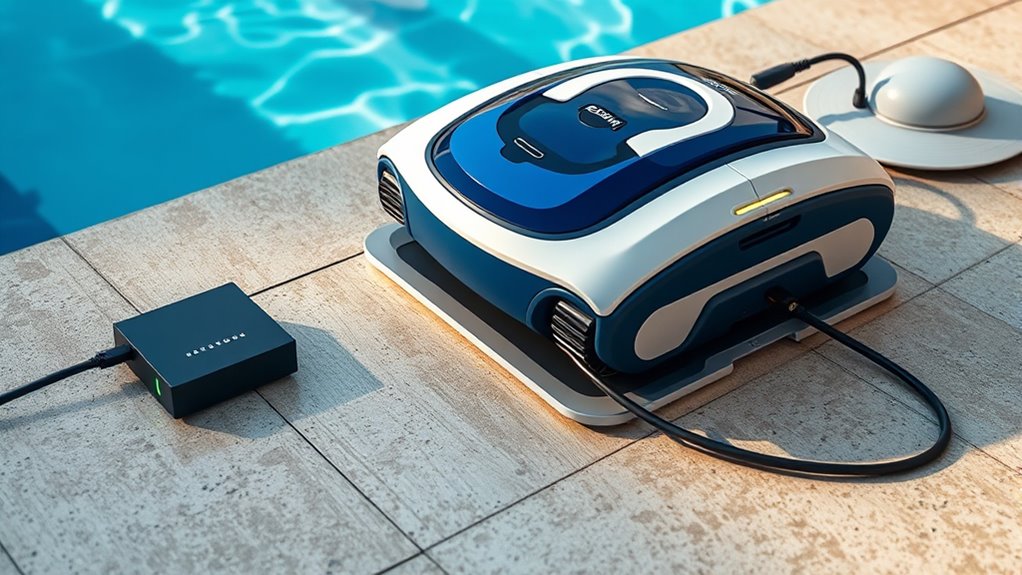
Charging Station Setup
Setting up the charging station correctly guarantees your robotic pool cleaner stays powered and ready to operate. Place it on a flat, water-resistant surface away from pool water splashes and direct sunlight to protect its components. Verify the station is near an outlet for easy charging access. Proper setup maintains ideal battery life and prevents water damage, which could compromise water resistance. Use the following table to help you maximize placement:
| Location Consideration | Why It Matters | Tips |
|---|---|---|
| Flat, water-resistant surface | Prevents damage | Use a dedicated outdoor pad |
| Distance from water | Protects electronics | Keep away from pool edge |
| Power outlet proximity | Ensures constant power | Use outdoor-rated extension cords |
Additionally, ensuring proper waterproofing of connections and station placement helps extend your device’s lifespan. It is also advisable to periodically check the connection points for any signs of wear or corrosion to ensure consistent performance. Regular inspection of battery health can further improve operational reliability. Maintaining proper electrical safety measures is crucial to prevent accidents and ensure longevity of your equipment. Proper maintenance practices can significantly extend the lifespan of your robotic cleaner and optimize its performance.
Powering On Procedure
Before powering on your robotic pool cleaner, make sure it’s properly connected to the charging station and that the station is plugged into a nearby, outdoor-rated outlet. Locate the power button on the device, usually on the top or side. Press and hold the power button to initiate the startup sequence. You’ll see indicator lights or hear a sound signaling the device is powering up. Once the startup sequence is complete, the cleaner should be ready to operate. If it doesn’t turn on, double-check the connections and ensure the charging station has power. Some models may require a brief charging period before first use. Always consult your user manual for model-specific instructions related to powering on your robotic pool cleaner. Incorporating data-driven strategies can help you troubleshoot issues more effectively and ensure optimal performance. Additionally, verifying that your device meets all safety standards is crucial for a secure operation.
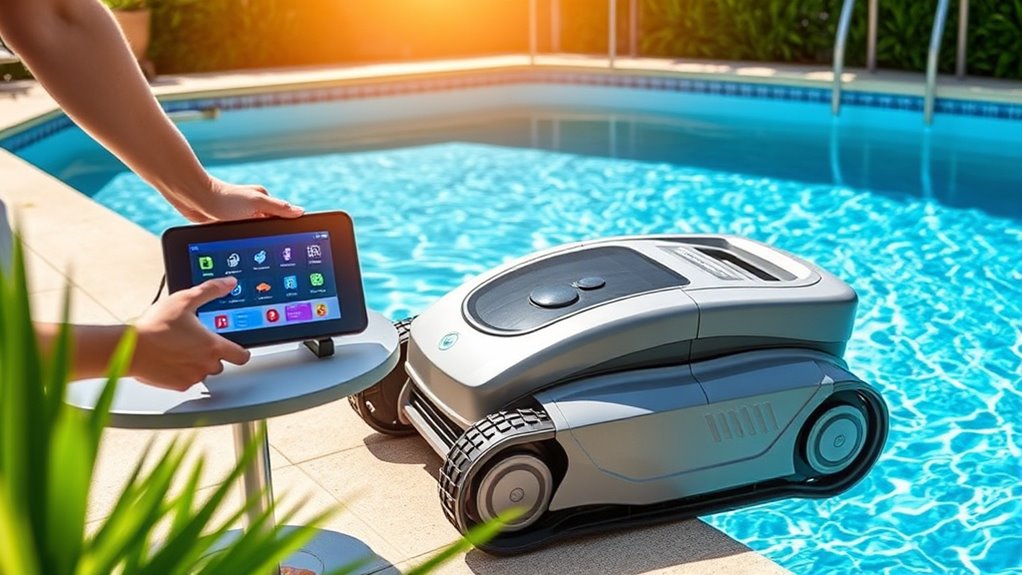
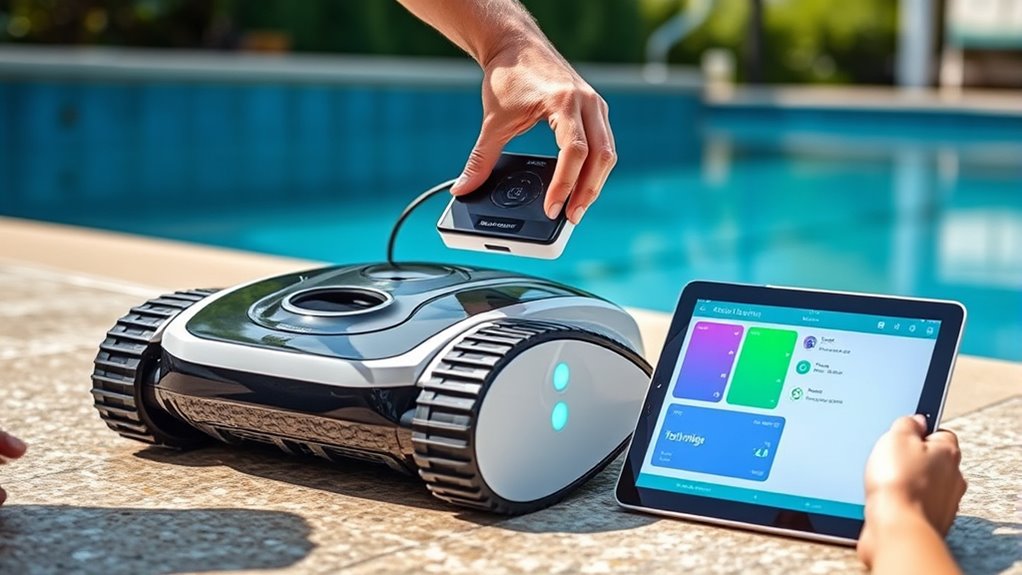
Connecting to the Mobile App or Remote Control
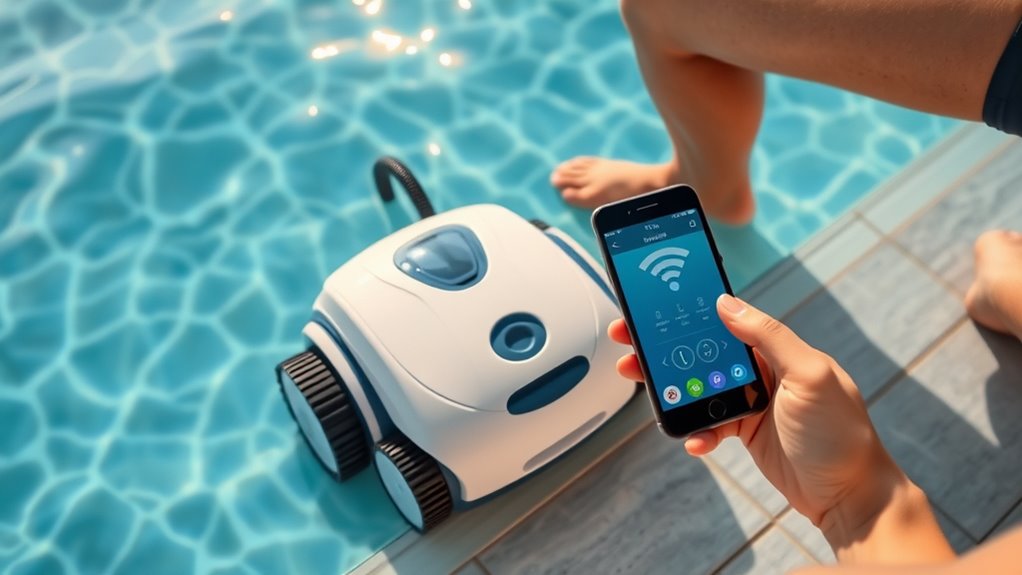
Connecting your robotic pool cleaner to the mobile app or remote control is a straightforward process that guarantees easy operation and monitoring. First, confirm your device is powered on and within range. Open the app and follow prompts to establish a Bluetooth or Wi-Fi connection, depending on your model’s connectivity options. The user interface is designed to be intuitive, guiding you through pairing steps effortlessly. Once connected, you can access real-time updates, start or stop cleaning cycles, and adjust settings from your smartphone or remote control. Make sure your app is updated to the latest version for maximum performance. With a stable connection, you’ll enjoy seamless control and monitoring, making pool maintenance more convenient than ever. Effective connection setup ensures optimal performance and reduces troubleshooting.
Programming Basic Cleaning Cycles
You can easily set your pool cleaner’s schedule to match your routine, ensuring it runs when you need it most. Manual cycle initiation lets you start cleaning anytime, giving you control over maintenance. By programming basic cleaning cycles, you keep your pool spotless with minimal effort. Incorporating tech solutions can further enhance the efficiency of your pool maintenance routine. Additionally, utilizing security measures in your device setup helps protect your system from unauthorized access. Proper maintenance routines also ensure your robotic pool cleaner operates smoothly and extends its lifespan. For optimal performance, selecting the right tuning settings tailored to your pool’s size and shape can make a significant difference.
Setting Cleaning Schedules
Setting cleaning schedules for your robotic pool cleaner guarantees your pool stays spotless with minimal effort. By programming regular cycles, you ensure consistent cleaning without needing manual intervention. Most models allow you to set specific days and times, so your cleaner operates when it’s most convenient. Remember, a well-maintained filter enhances cleaning efficiency, so check and clean it regularly to prevent clogs. Also, rely on your cleaner’s waterproof design to avoid damage from splashes or accidental submersion. Once you’ve set the schedule, your robot will automatically perform its tasks, saving you time and hassle. Regular ECU tuning can also optimize your pool cleaner’s performance, ensuring it runs smoothly and efficiently. Properly maintaining the filter system is crucial for optimal operation and longevity of your device. Additionally, choosing a model with smart navigation technology can significantly improve cleaning coverage and effectiveness. This proactive approach keeps your pool pristine, extending the life of your cleaner while maintaining crystal-clear water with ease. Incorporating low light office plants can also improve the overall environment where your pool equipment is stored, promoting better air quality and a more relaxing space.
Manual Cycle Initiation
Have you ever needed to manually start a cleaning cycle on your robotic pool cleaner? Manual cycle initiation allows you to do just that, giving you control when automatic schedules aren’t enough. To start, access your cleaner’s control panel or app and choose the manual mode option. From there, you can select the appropriate cleaning mode, such as spot clean or full pool coverage. Make sure to confirm your selection before initiating the cycle. This process is useful if you want a quick clean before guests arrive or need a thorough scrub after heavy debris. Remember, proper cleaning mode selection ensures your robot targets the right areas, saving time and energy. Operating hours can also influence when you choose to run your cleaner, ensuring it operates at the most convenient time for your schedule. Additionally, understanding your family background and personal circumstances can help optimize your pool maintenance routine to fit your lifestyle. Manual cycle initiation puts you in command of your pool’s cleanliness whenever you need it.
Customizing Cleaning Settings for Your Pool
Adjusting the cleaning settings on your robotic pool cleaner guarantees it targets the right areas and operates efficiently. Start by selecting the appropriate cleaning cycle—whether it’s focused on the pool floor, walls, or waterline—to match your pool’s needs. Regular filter replacement ensures ideal suction and prevents clogs, so check and change filters as needed. Battery maintenance is also key; keep the battery charged and avoid deep discharges to prolong its lifespan. Customize the cleaning duration to fit your schedule, and adjust the power settings if available, to improve cleaning performance. Properly setting these options helps your cleaner work smarter, reduces unnecessary wear, and keeps your pool sparkling clean with less effort.
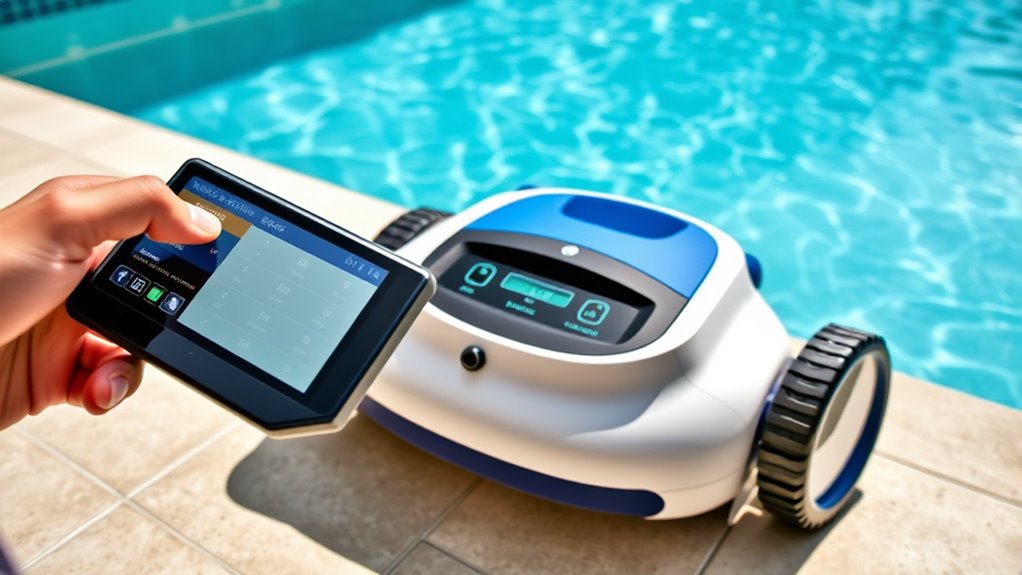
Setting Up Scheduling and Remote Operations

Once you’ve customized your cleaning settings for ideal performance, automating the process can save you time and guarantee your pool stays consistently clean. To do this, set up the scheduling feature via your robotic cleaner’s app, ensuring it runs during off-peak hours. Use wireless connectivity to easily connect your device to your home network, enabling remote control and adjustments. Keep an eye on battery management by scheduling sessions that match battery capacity, preventing overuse and extending the cleaner’s lifespan.
- Enable Wi-Fi or Bluetooth for seamless remote control
- Set cleaning times that suit your pool usage
- Monitor battery levels remotely for best performance
Troubleshooting Common Setup Issues
When setting up your robotic pool cleaner, you might encounter common issues like connectivity problems or unresponsive controls. If your cleaner displays error codes, consult the user manual to identify their meanings and follow recommended troubleshooting steps. Often, error codes point to specific issues with sensors or power supply. Troubleshooting sensors involves checking for obstructions, dirt, or misaligned parts that could interfere with proper operation. Ensure sensors are clean and positioned correctly, as dirty or blocked sensors can cause the cleaner to stall or behave unexpectedly. If the problem persists, resetting the cleaner or restarting your Wi-Fi connection may resolve connectivity issues. Addressing error codes and troubleshooting sensors promptly helps ensure your pool cleaner operates smoothly and effectively.
Maintaining and Updating Your Cleaner’s Software
Regularly maintaining and updating your robotic pool cleaner’s software is essential to keep it running efficiently and to prevent potential issues. Software updates often include bug fixes, new features, and performance improvements that enhance your cleaner’s functionality. To ensure smooth operation, check for updates regularly through the app or control panel. If you encounter troubleshooting connectivity problems, try restarting your device, checking Wi-Fi signals, or re-pairing the cleaner. Keep your software current to avoid glitches and maximize cleaning performance. Remember to:
- Download and install updates promptly
- Restart your cleaner after updates
- Troubleshoot connectivity issues as they arise
Staying on top of these tasks helps your robotic pool cleaner operate seamlessly, saving you time and ensuring a sparkling pool.
Frequently Asked Questions
How Do I Troubleshoot Connectivity Issues With My Robotic Pool Cleaner?
If you’re facing connectivity issues with your robotic pool cleaner, start by checking for Wi Fi interference from other devices or thick walls blocking the signal. Move your router closer or remove obstacles to improve connection. You can also try signal boosting by adding a Wi Fi extender or mesh network. Restart your cleaner and router, then reconnect to guarantee a stronger, more stable connection, making your pool cleaner work smoothly.
Can I Manually Override the Cleaning Schedule if Needed?
Did you know that 65% of pool owners prefer manual control during peak swimming times? You can easily override your robot’s cleaning schedule with a manual override feature, giving you instant control when needed. This allows you to make quick scheduling adjustments without reprogramming the entire system. Simply press the override button or use the app to pause, start, or change cleaning times, ensuring your pool’s always ready when you want it.
What Safety Precautions Should I Follow During Setup and Operation?
During setup and operation, you should prioritize electrical safety by keeping the robotic pool cleaner dry and away from water hazards. Always unplug the device before handling or cleaning its components. Use grounded outlets and avoid extension cords. Keep the power cord clear of the pool and walkways to prevent tripping. Regularly inspect for damage, and never operate the cleaner if you notice exposed wires or other electrical issues.
How Do I Replace Worn or Damaged Brushes on the Cleaner?
Imagine your robotic pool cleaner’s brushes like tiny sweepers on a dance floor, tirelessly spinning to keep your pool pristine. For brush replacement, start with a wear inspection—look for frayed bristles or uneven wear. Gently remove the worn brushes, then snap new ones into place, ensuring they’re secure. Regular wear inspection and timely brush replacement keep your cleaner performing like a well-choreographed performance, sparkling water every time.
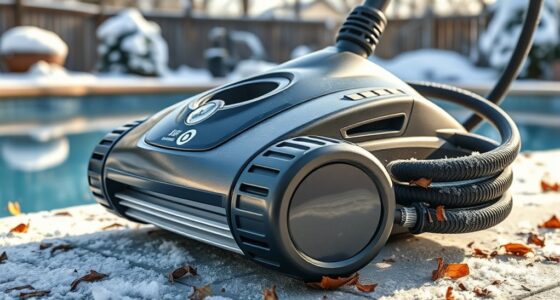
Is There a Recommended Storage Method for Off-Season Periods?
For seasonal storage and long-term maintenance, you should clean your robotic pool cleaner thoroughly and remove any debris. Store it in a cool, dry place away from direct sunlight, preferably in a breathable bag or container to prevent moisture buildup. Make sure to disconnect the power supply and check for any damage before storing. Proper seasonal storage guarantees your cleaner stays in good condition and ready for use when needed.
Conclusion
Once you’ve set up and programmed your robotic pool cleaner, it’s ready to keep your pool spotless effortlessly. Regular maintenance and software updates guarantee ideal performance, and scheduling your cleanings can save you time. Some believe these devices work best when integrated with smart home systems, enhancing convenience. While the technology is impressive, remember that occasional manual oversight can catch issues software might miss, making your pool cleaning truly seamless and efficient.