Decor
Creative Laundry Room Decorations to Brighten Your Space
Get ready to transform your laundry room into a stylish sanctuary with creative decorations that will make you want to do laundry – seriously!
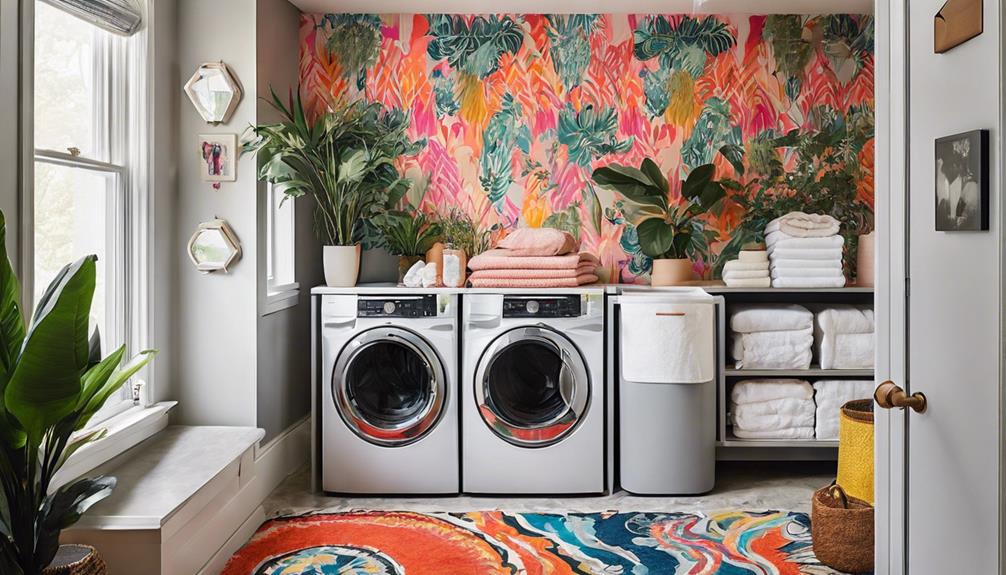
As we navigate the realm of creative laundry room decorations, envision your space as a blank canvas waiting to be infused with personality and charm.
From whimsical wall art to functional storage solutions, the possibilities are as vast as the laundry piles waiting to be tackled.
Let's explore how these elements can transform a mundane chore space into a haven of creativity and inspiration, making your laundry room a place you'll want to linger in.
Key Takeaways
- Incorporate wall art and gallery displays for an elevated look.
- Utilize functional storage solutions to optimize space and organization.
- Choose lighting fixtures and accents to enhance ambiance and functionality.
- Engage in DIY decor projects for personalized and creative touches.
Wall Art and Gallery Displays
When styling a laundry room, incorporating wall art and gallery displays can elevate the space by adding personality and visual interest. Gallery displays of artwork, photos, or prints can transform plain walls into captivating focal points. Mixing framed art, mirrors, and decorative items can enhance the room's overall aesthetic, creating a space that feels curated and stylish. Choosing artwork that complements your decor theme or color palette is key to achieving a cohesive look. A gallery wall, featuring a variety of sizes and shapes, can add depth and visual intrigue to an otherwise mundane area.
To create a visually appealing laundry room, consider arranging the wall art in a cohesive manner that reflects your personal style. Experiment with different layouts to find the one that best suits the space. Whether you opt for a symmetrical arrangement or a more eclectic mix, the key is to ensure that each piece contributes to the overall harmony of the room. By incorporating wall art and gallery displays thoughtfully, you can transform your laundry room into a stylish and inspiring environment.
Functional Storage Solutions
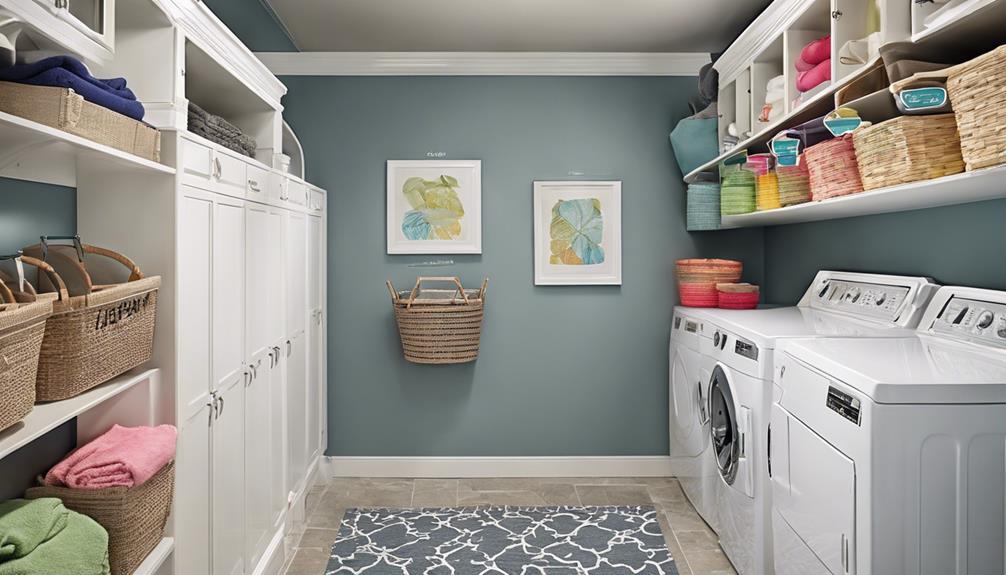
Maximizing vertical space through wall-mounted shelves and cabinets offers efficient storage solutions in a stylish and practical manner for a well-organized laundry room. Built-in storage baskets and hampers keep laundry essentials neatly arranged, while folding tables with storage underneath serve a dual purpose for folding and storing clothes. Pull-out drying racks are a space-saving innovation that provides a convenient solution for air-drying garments, adding functionality without sacrificing style. Hidden ironing boards ensure a clutter-free environment, allowing for essential ironing capabilities while maintaining a sleek look.
| Functional Storage Solutions | Details |
|---|---|
| Wall-mounted shelves | Maximize vertical space for efficient storage solutions |
| Built-in storage baskets | Keep laundry essentials organized and easily accessible |
| Folding tables with storage | Provide a multi-functional space for folding and storing clothes |
| Pull-out drying racks | Save space and offer a convenient air-drying solution |
| Hidden ironing boards | Ensure a clutter-free environment while maintaining essential ironing capabilities |
Lighting Fixtures and Accents
To enhance both the functionality and aesthetics of a well-organized laundry room, consider incorporating stylish pendant lights for focused illumination. Pendant lights not only provide practical task lighting above key areas like the folding table or sink but also add a touch of modern elegance to the space.
Complementing these with wall sconces can further enhance the ambiance by offering ambient lighting that creates a warm and inviting atmosphere. For a more energy-efficient and contemporary lighting solution, consider installing LED strip lights under cabinets, providing both functionality and a sleek look.
Adding a dimmer switch to your lighting fixtures allows you to easily adjust the brightness levels, setting the perfect mood for any laundry task. By combining task lighting, ambient lighting, and modern fixtures, you can create a well-lit and visually appealing laundry room that makes chores more enjoyable.
Creative Wall Paint Techniques
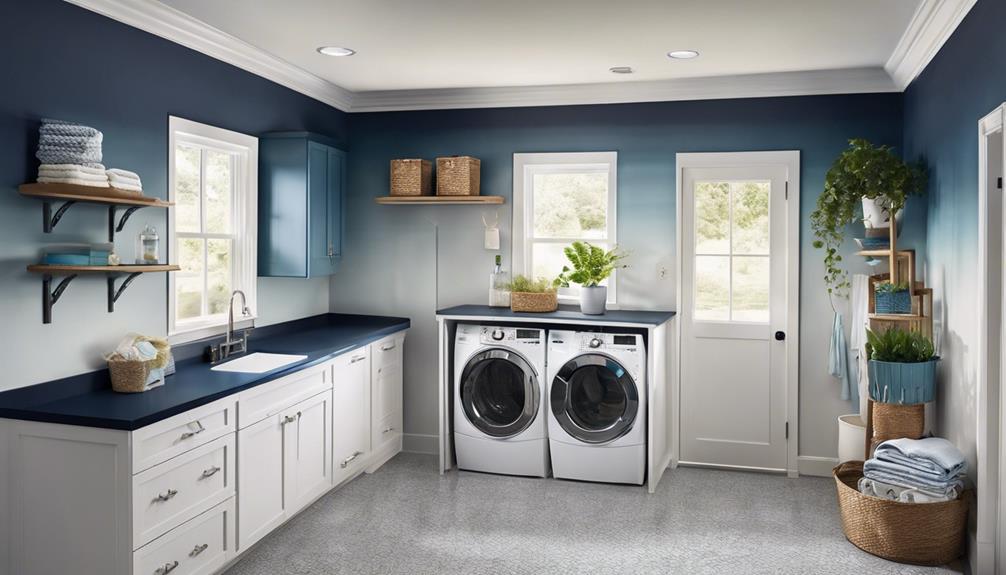
Considering various creative wall paint techniques can significantly elevate the visual appeal and ambiance of your laundry room space. Experimenting with different methods can transform your walls into stunning focal points.
Here are three innovative ideas to inspire your wall paint transformation:
- Ombre Painting: Create a subtle gradient effect by blending different shades of a color palette from light to dark. This technique adds depth and a touch of sophistication to your laundry room walls.
- Stenciling: Enhance the visual interest of your space by using stencils to add intricate patterns or designs. This method allows you to customize your walls with unique artwork or geometric shapes.
- Color Blocking: For a bold and modern look, consider painting geometric shapes or sections in contrasting colors. This technique can make a striking statement and add a contemporary flair to your laundry room design.
DIY Decor Projects
Our laundry room's ambiance can be enhanced through engaging in creative and personalized DIY decor projects. DIY decor projects offer an excellent opportunity for customization, allowing you to tailor the decorations to suit your style and preferences perfectly.
By creating handmade decorations, you can add a personal touch to your laundry room, making it unique and special. Not only do DIY projects enable you to unleash your creativity, but they can also be environmentally friendly and cost-effective.
Opting for DIY decorations is a fun and innovative way to enhance the look of your laundry space while ensuring that it reflects your personality and taste. Whether you choose to paint, upcycle, or craft new items, the satisfaction of adding your creative flair to the room is unmatched.
Embrace the world of DIY decor projects to transform your laundry room into a stylish and charming space that truly feels like home.
Frequently Asked Questions
How Can I Make My Laundry Room Brighter?
To make our laundry room brighter, we'll paint walls light shades, install bright LED lights, place mirrors strategically, opt for light flooring, and use sheer curtains for natural light. These adjustments will enhance the space's brightness effectively.
How Can I Make My Laundry Room Attractive?
To make our laundry room attractive, we focus on fresh colors, stylish decor like plants and art, functional storage solutions, unique textures, and personalized touches. By combining these elements, we create a space that is both visually appealing and practical.
How Can I Spruce up My Laundry Room?
To spruce up our laundry room, we'll add wall-mounted shelves for storage, cute decor for charm, and hanging lights for coziness. A hidden ironing board and pull-out racks offer practicality. Embracing subway tiles and farmhouse accents creates a fresh, stylish space.
How Can I Maximize My Laundry Room Space?
We can maximize our laundry room space by incorporating wall-mounted shelves and cabinets to free up the floor. Built-in storage baskets and hampers keep items organized. Pull-out drying racks and hidden ironing boards optimize functionality and efficiency.
How Can Sewing Projects Enhance Laundry Room Decor?
Sewing projects can completely transform a laundry room’s atmosphere. With the right materials and creativity, you can “stitch stunning room decorations” like elegant curtains, functional and stylish fabric baskets, or even personalized decorative wall art. These handmade touches can truly elevate the overall aesthetic and vibe of the space.
Conclusion
As we bid farewell to our laundry room makeover journey, we're left with a space that's both functional and aesthetically pleasing.
The combination of practical storage solutions and stylish decor elements has transformed our once mundane space into a cozy oasis.
By embracing creativity and attention to detail, we've successfully brightened our laundry room and made it a place we enjoy spending time in.
Cheers to a space that's both beautiful and practical!
- About the Author
- Latest Posts
Introducing Ron, the home decor aficionado at ByRetreat, whose passion for creating beautiful and inviting spaces is at the heart of his work. With his deep knowledge of home decor and his innate sense of style, Ron brings a wealth of expertise and a keen eye for detail to the ByRetreat team.
Ron’s love for home decor goes beyond aesthetics; he understands that our surroundings play a significant role in our overall well-being and productivity. With this in mind, Ron is dedicated to transforming remote workspaces into havens of comfort, functionality, and beauty.
Decor
Elevate Your Space With 10 Creative Coffee Bar Decorations
Ignite your coffee bar with 10 innovative decor ideas that blend style, storage, and aesthetics, making your space a must-see for coffee lovers.
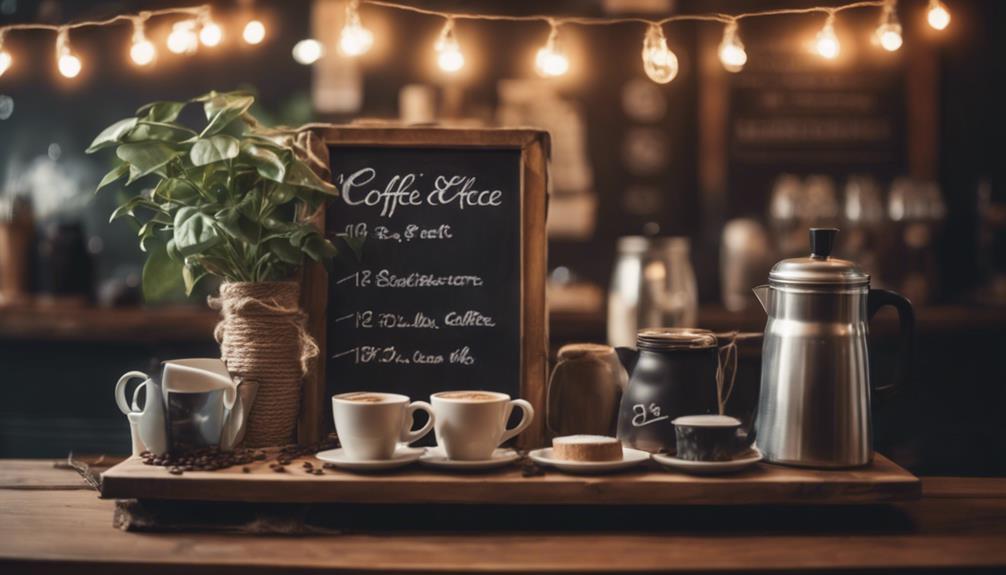
Elevate your coffee bar with innovative decor blending storage, aesthetics, and style. Organize with canisters, shelves, and cup holders for a sleek setup. Opt for open shelving to display mugs and makers, achieving a minimalist vibe. Personalize with artwork and themed décor for a cozy feel. Greenery like succulents adds nature's touch. Mix materials like wood and glass for a dynamic look. Lighting with pendants and LEDs sets a cozy mood. Wall-mounted shelves and hooks optimize space. Maximize efficiency with floating shelves and tiered trays. Create an inviting oasis for coffee lovers with personalized design.
Key Takeaways
- Incorporate personalized decor items like custom mugs and artwork.
- Utilize greenery and plants to add a touch of nature.
- Experiment with a mix of textures and materials for visual interest.
- Opt for creative lighting techniques like pendant lights or string lights.
- Create a dedicated coffee bar area as a sophisticated focal point.
Coffee Bar Storage Solutions
When setting up a coffee bar, we highly recommend incorporating canisters, box organizers, and floating shelves for efficient storage. These smart storage solutions not only keep your coffee essentials organized but also contribute to a clutter-free environment.
For organizing coffee pods, essential items like a Keurig storage drawer and a K Cup carousel are must-haves in your coffee bar. Additionally, wire baskets and cup holders can help you neatly organize and access your coffee supplies with ease.
Open Shelving Ideas
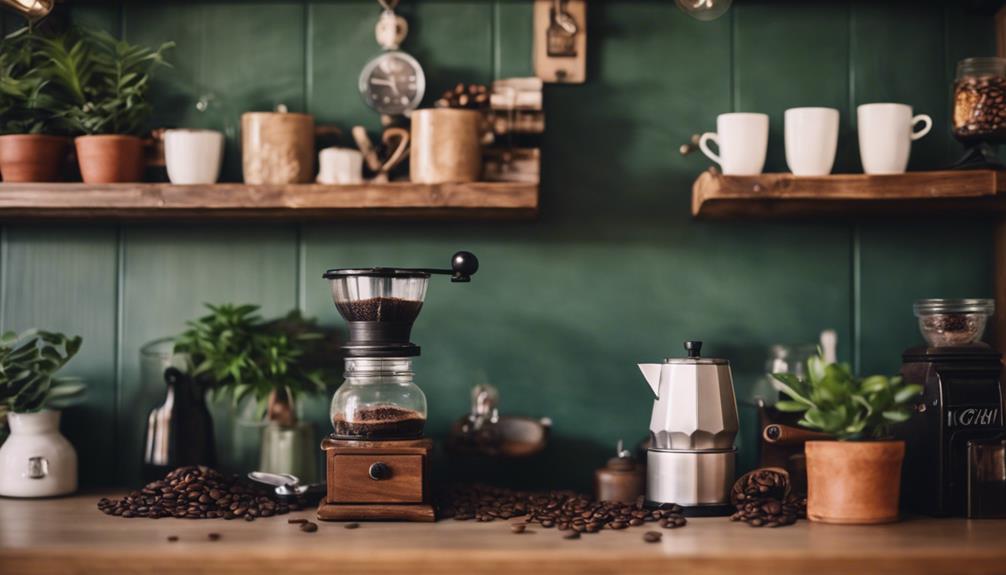
When considering open shelving ideas for your coffee bar, there are various options to explore. From a floating shelf display to wall-mounted storage solutions, these choices can enhance both functionality and aesthetics.
Additionally, organizing your mug collection can become a stylish focal point of the coffee bar.
Floating Shelf Display
Floating shelves offer a stylish and practical solution for showcasing coffee essentials in a creative coffee bar setup. These shelves provide an open shelving solution that maximizes vertical space, making them ideal for a small coffee bar area.
By utilizing floating shelves, coffee enthusiasts can easily access mugs, coffee makers, and other decorative items, creating a visually appealing display that promotes a minimalist and organized look. The beauty of floating shelves lies in their ability to showcase a curated selection of coffee bar decor and accessories while keeping the space looking neat and visually pleasing.
Whether you prefer a modern aesthetic or a more rustic charm, floating shelves can be customized to fit your style and enhance the overall ambiance of your coffee bar. Their versatility allows for endless possibilities in arranging and displaying your coffee essentials, making them a must-have in any coffee lover's home setup.
Wall-Mounted Storage Solutions
How can wall-mounted storage solutions enhance the functionality and aesthetics of your coffee bar setup?
Wall-mounted storage solutions, such as open shelving ideas and floating shelves, offer a practical way to maximize vertical space in your coffee bar area. By utilizing these storage options, you can easily access mugs, coffee makers, and other essentials, creating a more organized and visually appealing display. The use of floating shelves can contribute to a minimalist look, adding a touch of sophistication to your coffee bar setup.
One of the significant advantages of incorporating open shelving is the ability to declutter your countertop space. By moving items onto the wall-mounted storage solutions, you can free up valuable countertop space for preparing your favorite brews. This decluttering not only enhances the functionality of your coffee bar but also creates a more spacious and inviting atmosphere.
Organized Mug Collection
We find that organizing our mug collection on open shelving not only adds charm to our coffee bar but also provides convenient access to our favorite mugs.
Displaying mug collections on open shelves creates a visually appealing and personalized display, allowing for a variety of styles and colors to be showcased. This organized display not only enhances the aesthetic appeal of the coffee station but also serves as a practical and stylish storage solution. Open shelving offers easy access to mugs, making it effortless to choose the perfect one for your morning brew.
The open shelving concept provides a versatile way to store mugs while adding a touch of charm to the overall decor. By incorporating open shelving for mug storage, you can enhance the visual impact of your coffee bar and create a cozy ambiance. The structured layout of mugs on open shelves not only enhances the charm of the space but also ensures that your favorite mugs are always within reach.
Personalized Decor Elements
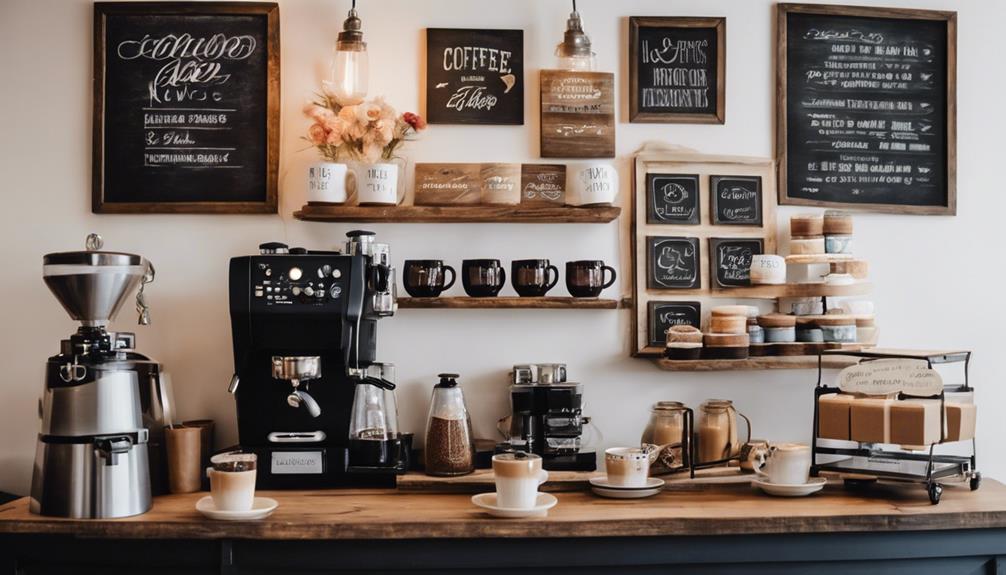
Personalized decor elements enhance the ambiance of a coffee bar by adding a touch of individuality and warmth. Customized artwork, signs, and mugs play a significant role in reflecting our unique style and personality.
By incorporating sentimental pieces like family photos or favorite coffee-related quotes, we can create a cozy atmosphere that feels inviting and personal. Choosing a theme or color scheme that resonates with us allows for a cohesive and customized look that ties the space together seamlessly.
A personalized coffee bar isn't just about serving great drinks; it's about curating an environment that speaks to our tastes and preferences. Whether it's displaying artwork that resonates with us or having customized mugs that make us smile, these small details can make a big difference in how we experience our coffee nook.
Ultimately, the key to creating a personalized coffee bar is infusing it with elements that speak to our individuality and make us feel at home.
Greenery and Plants
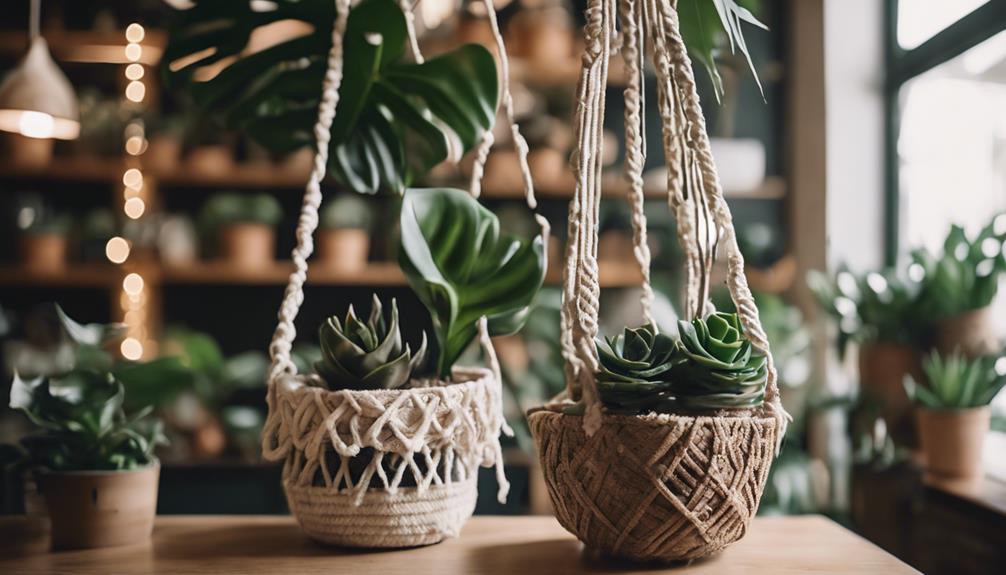
Adding greenery and plants to your coffee bar decor can bring a touch of nature and freshness to the space. Incorporating plants like succulents, herbs, or small potted flowers can greatly enhance the ambiance of your coffee station. Not only do these green elements add visual interest, but they also contribute to purifying the air and creating a more inviting atmosphere for your coffee rituals.
When considering how to display your plants, think about placing them on floating shelves, countertops, or even hanging planters to maximize space usage effectively.
The presence of greenery in your coffee bar can have a calming and relaxing effect, setting the perfect mood for enjoying your favorite brews. Whether you opt for low-maintenance succulents, aromatic herbs, or colorful potted flowers, adding these natural elements can elevate the overall aesthetic appeal of your coffee corner.
Embrace the beauty and benefits that plants bring to your space, making your coffee bar a rejuvenating oasis within your home.
Mix of Textures and Materials
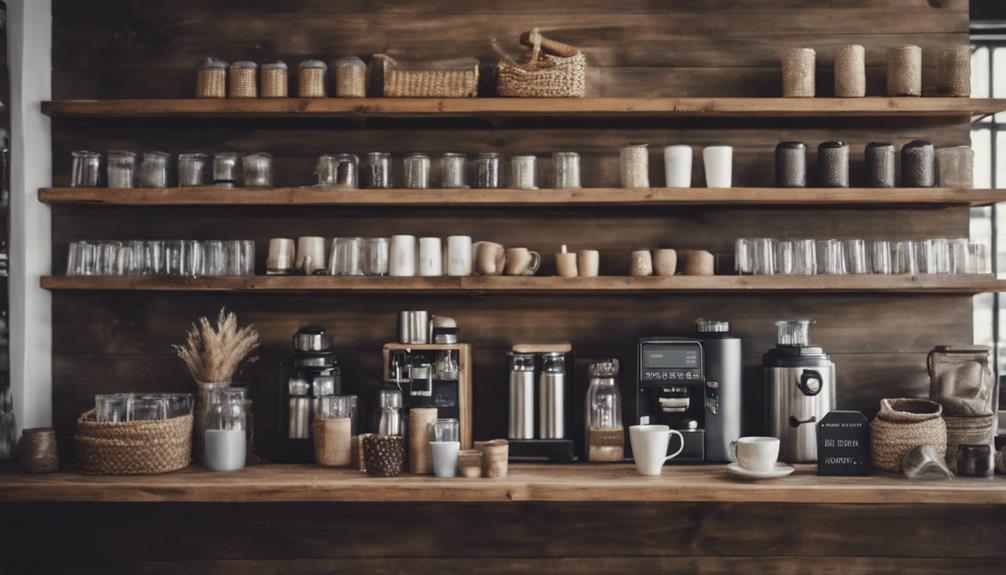
When it comes to coffee bar decorations, incorporating a mix of textures and materials is key to creating a visually engaging space. By combining materials like wood, metal, and glass, you can achieve a dynamic and appealing look that draws the eye.
Experimenting with different textures, such as smooth surfaces juxtaposed with rough finishes, can result in a unique aesthetic that elevates the overall style of your coffee station.
Textural Harmony
Mixing a variety of textures like wood, metal, and ceramics is key to achieving textural harmony in coffee bar decorations.
When it comes to kitchen coffee bars, incorporating different textures can elevate the overall aesthetic of the space.
Home coffee bars benefit from a thoughtful blend of materials such as marble, glass, and natural fibers to create a cohesive and balanced look.
This approach to texture harmony in interior design adds depth and dimension to your coffee station, making it visually appealing and inviting.
The use of varied textures not only enhances the design of your coffee bar but also adds layers of visual and tactile interest.
Whether through wall decor or countertop accessories, the strategic combination of materials plays an essential role in achieving textural harmony and creating a harmonious atmosphere for enjoying your favorite brews.
Material Contrast
Exploring a diverse array of textures and materials brings vibrant visual appeal to coffee bar decor. Material contrast in coffee bar decor involves mixing textures like wood, metal, and ceramics to create a visually interesting space.
By combining different materials, one can add depth and dimension to the coffee bar area. The juxtaposition of materials creates a dynamic and visually appealing aesthetic that draws attention and adds character. Mixing textures and materials can result in a modern and eclectic look for your coffee bar, offering a unique style that stands out.
This approach allows for the incorporation of a variety of materials, each contributing to the overall personality and charm of the decor. Whether it's the warmth of wood contrasting with the coolness of metal or the smoothness of ceramics complementing rough textures, material contrast plays a key role in elevating the visual interest of a coffee bar.
Visual Interest
To enhance the overall visual appeal of a coffee bar, incorporating a mix of textures and materials is important to create an alluring and engaging atmosphere. By combining various textures such as wood, metal, and ceramics, the coffee bar can exude a sense of warmth and sophistication.
Additionally, integrating different materials like glass, marble, and woven fibers adds a dynamic and visually stimulating aspect to the space, inviting customers to explore and linger in the cozy ambiance.
The mix of textures and materials not only brings depth and character to the coffee bar decor but also contributes to a harmonious and balanced look that's pleasing to the eye. Experimenting with different combinations of textures and materials allows for a personalized touch in the design, ensuring that the coffee bar stands out as a unique and inviting destination for coffee enthusiasts.
Dedicated Coffee Bar Area
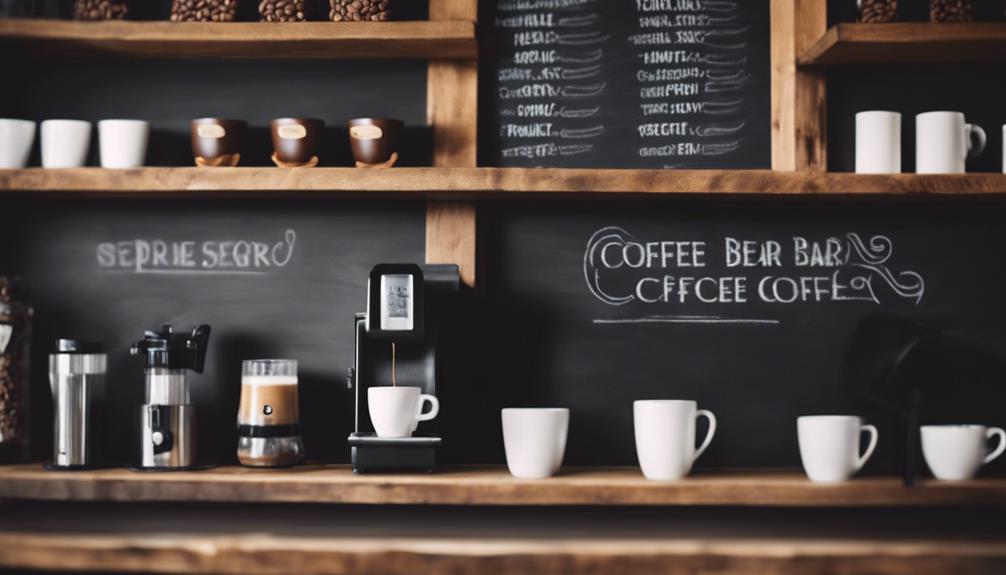
Having a dedicated coffee bar area in our home creates a designated space for all our coffee essentials. This coffee bar can serve as a focal point in our kitchen, adding a touch of sophistication and style to our home decor.
By centralizing all coffee-related items in one spot, this area helps us stay organized and efficient in our daily coffee routines. Customizable to reflect our personal taste and preferences, the coffee bar enhances the overall brewing experience at home by providing a functional and visually appealing space.
Whether it's a small corner dedicated to a few mugs and a coffee maker or a larger setup with shelves, cabinets, and decorative elements, the coffee bar area offers a dedicated space where we can enjoy our favorite brews in a cozy and inviting atmosphere.
It's not just about making coffee; it's about creating a special oasis within our home that celebrates our love for coffee.
Utilizing Wall Space
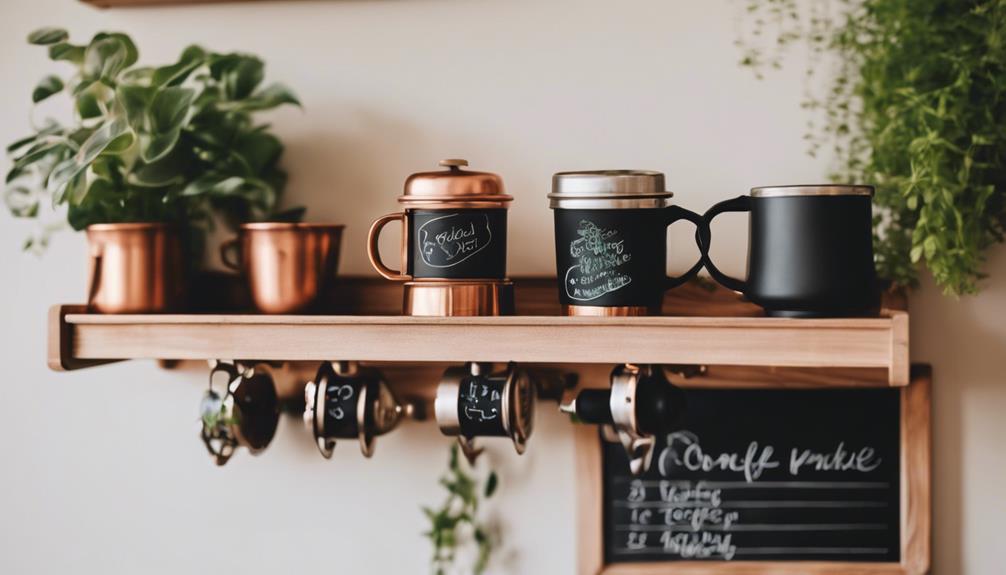
When designing a coffee bar, one effective strategy is to make the most of available wall space for best organization and aesthetic appeal.
Utilizing wall space in the home can provide a practical solution to maximize space efficiency. Wall-mounted shelves or racks are ideal for holding coffee essentials, mugs, and decor items, keeping them easily accessible while also adding a decorative element to the coffee bar.
Hanging coffee-related artwork or signs on the walls can inject personality into the space, creating a cozy and inviting atmosphere for coffee enthusiasts.
Additionally, wall hooks can be strategically placed to store mugs or utensils, reducing clutter on countertops and ensuring that everything is within reach when needed.
Floating Shelf Installation
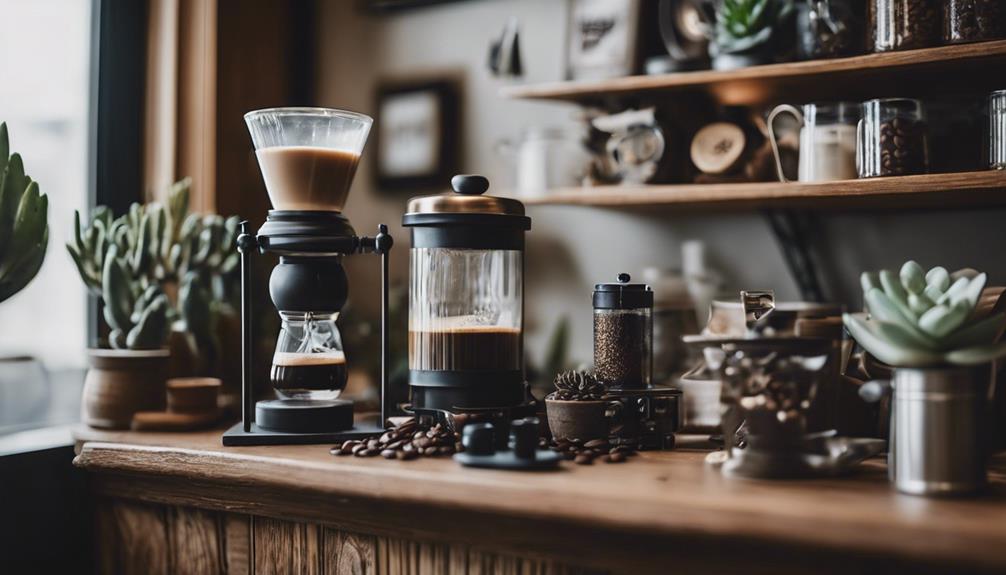
Installing floating shelves above our coffee bar allows easy access to mugs, coffee makers, and accessories, optimizing space and organization. Floating shelves are a fantastic addition to any kitchen design, especially for creating a stylish and functional coffee station.
Here are some ways floating shelves can enhance your coffee bar:
- Free Up Countertop Space: By utilizing floating shelves, you can declutter your kitchen countertops, providing a clean and organized area for your coffee essentials.
- Tiered Trays for Organization: Use tiered trays on the floating shelves to neatly arrange smaller coffee items like stir sticks, sweeteners, and flavor syrups, ensuring everything has its place.
- Maximize Vertical Space: Floating shelves not only offer storage solutions but also create an aesthetically pleasing display that maximizes vertical space, adding a touch of modern flair to your coffee bar design.
Incorporating floating shelves into your coffee station design is a practical and visually appealing way to organize your space efficiently.
Lighting Techniques
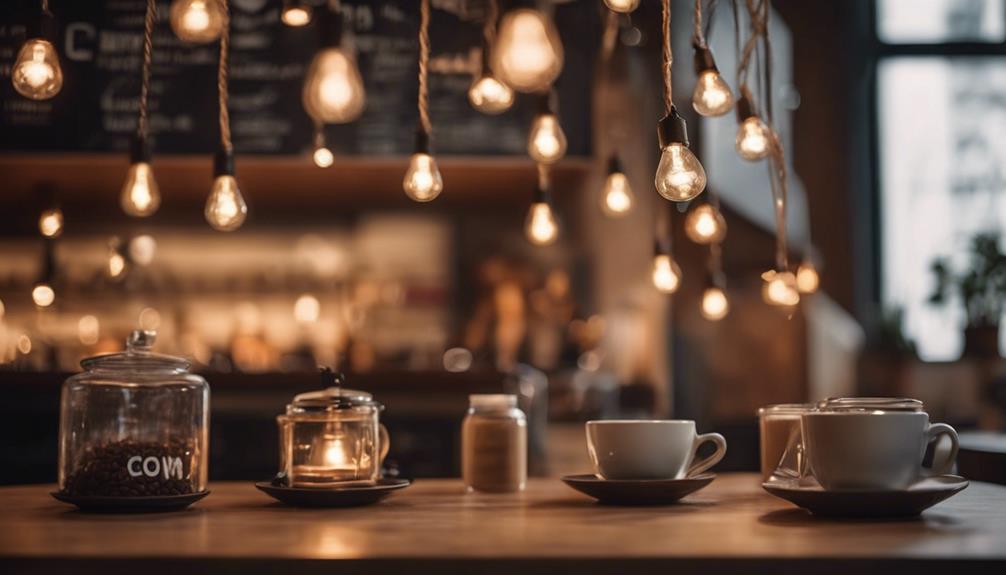
We can enhance our coffee bar with various lighting techniques to create the perfect ambiance and functionality.
From under-cabinet lighting to pendant lights, there are many options to explore for illuminating the workspace and adding style.
Additionally, LED light strips and natural light sources like windows can bring a modern and cozy feel to the coffee bar area.
Ambient Lighting Ideas
To enhance the cozy ambiance of your coffee bar, consider incorporating warm ambient lighting using pendant lights or string lights. These lighting options can add a decorative flair to your space while providing a soft glow that sets a relaxing mood for your customers.
Here are some ideas to help you create the perfect ambient lighting setup:
- Pendant Lights: Hang a few pendant lights above your coffee bar to provide focused lighting that also contributes to the overall aesthetic appeal of the space.
- String Lights: Drape string lights along the walls or ceiling to create a whimsical and inviting atmosphere that complements the warm tones of your coffee bar decor.
- Dimmable Lights: Opt for dimmable lights to adjust the brightness levels throughout the day, allowing you to customize the lighting to suit different occasions or preferences.
Task Lighting Tips
Enhancing the functionality of your coffee bar, task lighting illuminates specific areas for brewing coffee and other essential tasks.
When considering task lighting for your coffee bar, under-cabinet lighting is a popular choice as it provides focused illumination to the countertop where most coffee preparation occurs.
Adjustable task lights offer customization, allowing you to direct light precisely where needed, guaranteeing excellent visibility.
Opting for LED lights in your task lighting fixtures is a wise choice, as they're energy-efficient and have a longer lifespan, reducing maintenance needs.
The strategic placement of task lighting in your coffee bar enhances functionality by making it easier to prepare and enjoy your coffee.
Whether you're brewing a morning espresso or experimenting with a new pour-over method, having adequate task lighting ensures that you can see clearly and work efficiently in your coffee bar.
Consider these tips to elevate the functionality and aesthetics of your coffee bar with well-thought-out task lighting solutions.
Theme and Color Scheme Personalization
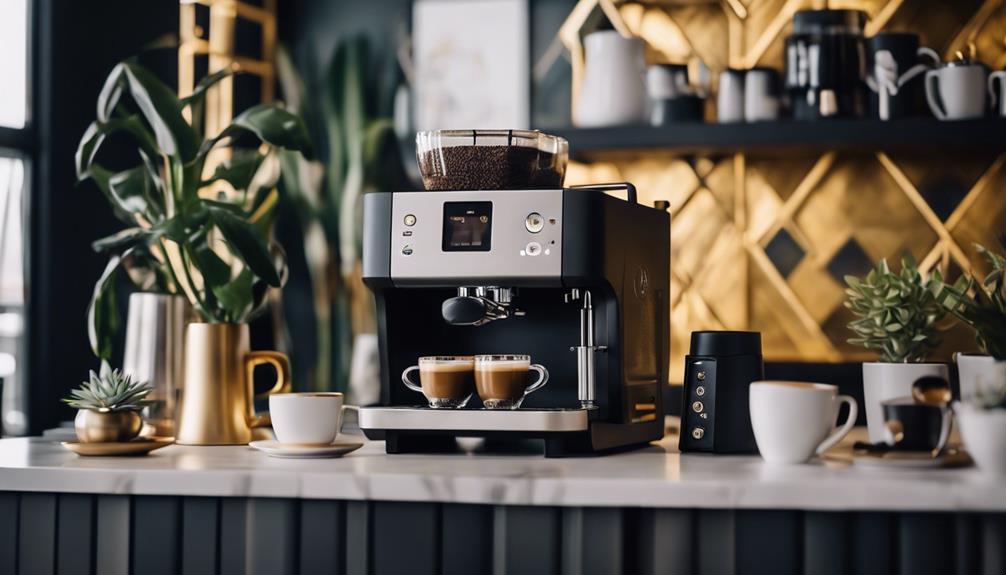
When personalizing a coffee bar, selecting a theme and color scheme is essential for creating a cohesive and visually appealing space. Here are some ways to personalize your coffee bar through theme and color scheme:
- Choose a Theme:
Selecting a theme such as farmhouse, modern, or minimalist can help establish a specific ambiance in your coffee bar. Whether you prefer a cozy rustic feel, sleek contemporary design, or simple and clean aesthetics, your theme sets the tone for the entire space.
- Coordinate a Color Scheme:
Incorporating a color scheme that complements your existing decor is vital for seamlessly integrating the coffee bar into your home. From neutral tones to bold pops of color, the right color palette can enhance the overall look and feel of your coffee bar.
- Reflect Your Style:
Themes and color schemes can reflect your personal style and preferences, allowing for creativity and customization in your coffee bar decor. By infusing your space with elements that resonate with you, your coffee bar becomes a true reflection of your taste and personality.
Frequently Asked Questions
Where to Put a Coffee Bar in a House?
When deciding where to place a coffee bar in a house, it's crucial to prioritize convenience and accessibility. Ideally, locate it near a sink for water access and close to a power outlet for equipment.
Optimizing vertical space with floating shelves above the coffee station can provide storage and display options. Choose a spot that enhances your daily coffee routine flow and creates a cozy atmosphere within the heart of your home.
What Should a Coffee Bar Include?
A coffee bar typically includes essential items like a coffee maker, organizing containers, and stylish mugs.
Depending on the chosen style, additional items such as artwork, signs, or decorative accents can be incorporated.
Storage solutions like canisters, wire baskets, and floating shelves are common for organization.
Enhancing functionality can involve accessories like frothers, syrup pumps, and unique kitchen tools.
Personalizing the coffee bar with meaningful decor items helps create a cozy and inviting atmosphere.
How Can I Decorate My Bar Area?
When decorating a bar area, we focus on creating a welcoming atmosphere. Coordinating color schemes and textures help establish a cohesive look.
Practical storage solutions like shelves and hooks are essential. Personal touches, such as unique mugs and accessories, reflect individual style.
Adding cozy lighting and greenery enhances the ambiance. With a thoughtful approach to decor elements, we can transform our bar area into a stylish and functional space that suits our taste.
How Do I Organize My Coffee Bar?
When organizing a coffee bar, drawer dividers and labeled containers help maintain supplies in order. Baskets and bins provide easy access to accessories, while hooks can hold mugs and utensils, freeing up counter space.
Regular decluttering and cleaning uphold a tidy area. To refresh the space, rotate seasonal decor items. These steps guarantee an organized and visually appealing coffee bar.
Conclusion
To sum up, by incorporating a blend of creative coffee bar decorations such as personalized elements, greenery, and a mix of textures, you can transform your space into a stylish and inviting oasis.
Just like a perfectly brewed cup of coffee, these decor ideas will elevate your coffee bar to new heights, creating a welcoming ambiance for you and your guests to enjoy.
So go ahead, let your creativity flow and create a coffee bar that reflects your unique style and personality.
- About the Author
- Latest Posts
Introducing Ron, the home decor aficionado at ByRetreat, whose passion for creating beautiful and inviting spaces is at the heart of his work. With his deep knowledge of home decor and his innate sense of style, Ron brings a wealth of expertise and a keen eye for detail to the ByRetreat team.
Ron’s love for home decor goes beyond aesthetics; he understands that our surroundings play a significant role in our overall well-being and productivity. With this in mind, Ron is dedicated to transforming remote workspaces into havens of comfort, functionality, and beauty.
Decor
Chalk Paint Looks Like Wood in 3 Easy Steps
Join us on a journey as we reveal how to transform furniture with chalk paint to create stunning wood-like finishes in just 3 easy steps!
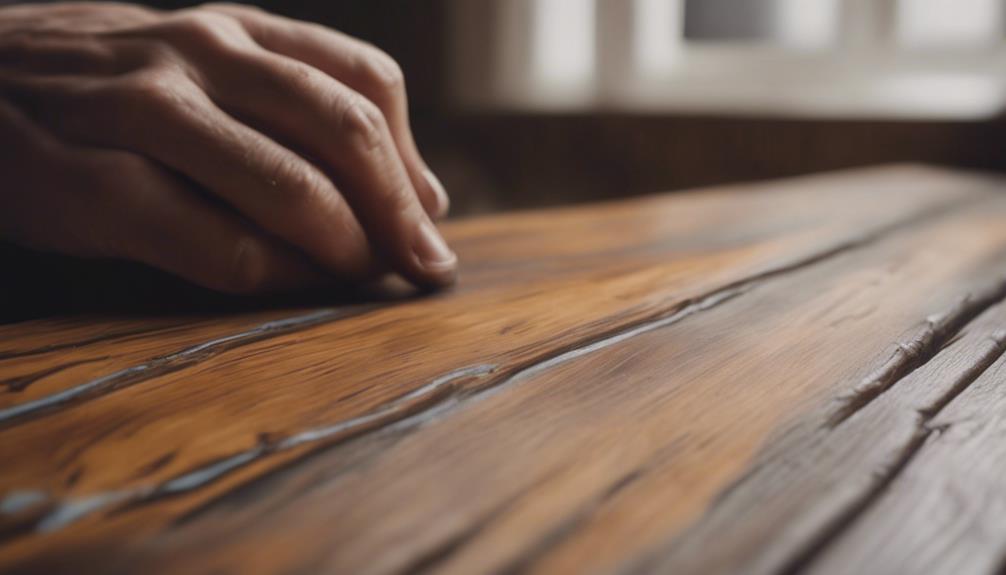
To transform furniture into wood-like finishes using chalk paint, begin by meticulously prepping the furniture through cleaning the surfaces, sanding rough spots, and ensuring dust-free surfaces. Next, apply the chalk paint evenly, considering layering for depth, and ensuring each coat dries thoroughly. Finally, enhance the wood effect by adding multiple coats of antiquing wax, using a chip brush for faux wood grain, and experimenting with layering and blending wax colors. By following these steps, you can achieve a stunning wood-like look on your furniture with chalk paint.
Key Takeaways
- Prep furniture by sanding and cleaning thoroughly.
- Apply chalk paint evenly with quality brush.
- Layer Valspar Antiquing Wax for depth.
- Use chip brush for faux wood grain effects.
- Experiment with layering and blending wax colors.
Prepping the Furniture
Before we begin the process of creating a faux wood finish with chalk paint, the furniture must be prepped thoroughly. This step is important to guarantee a successful transformation.
Start by removing any hardware and cleaning the surfaces meticulously. It's vital to rid the furniture of dust, dirt, and grease to promote better paint adhesion.
Next, sand down any rough spots or imperfections on the furniture using grit sandpaper. This will help achieve a smooth finish once the painting is complete. Consider using painter's tape to protect areas you don't want to paint or apply wax to for a clean look.
When prepping, choose the appropriate cleaning products and tools such as a chip brush, foam roller, or sanding equipment. Remember, prepping the furniture sets the foundation for the faux wood finish, ensuring the paint adheres well and the final result is stunning.
Applying Chalk Paint
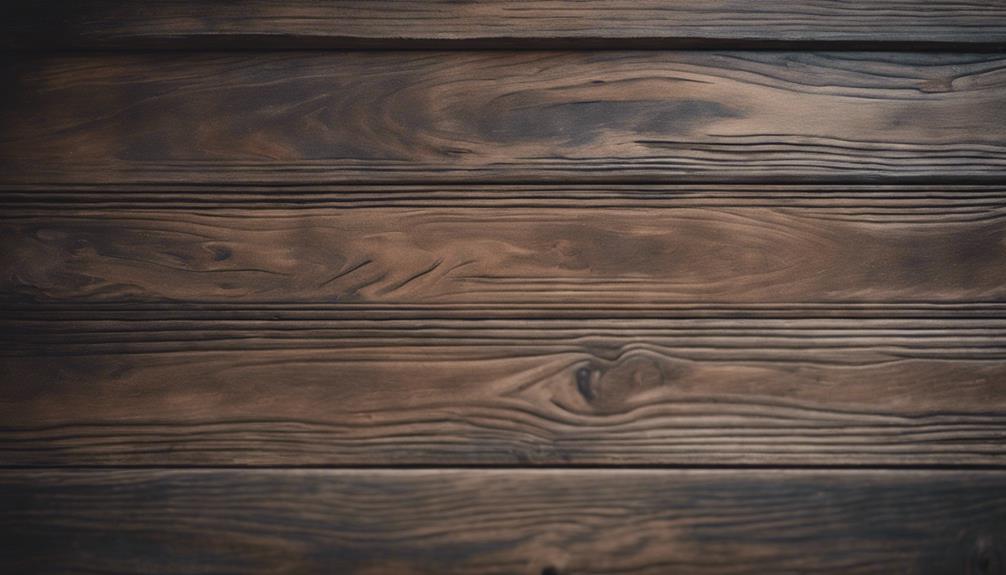
To achieve a stunning faux wood finish with chalk paint, we begin by applying the paint to the prepped furniture surfaces. When applying chalk paint, make sure to create an even coat to mimic the natural wood grain. Start by using a high-quality brush or roller to achieve smooth coverage.
For a more authentic look, consider layering the chalk paint to add depth and texture resembling real wood. Allow each layer to dry thoroughly according to the manufacturer's instructions. Once the final layer is dry, lightly sand the surface to enhance the wood-like texture.
Applying chalk paint is a simple and beginner-friendly process that allows for creativity and customization. The versatility of chalk paint makes it an ideal choice for transforming furniture into timeless pieces with a unique artistic flair.
Enhancing the Wood Effect
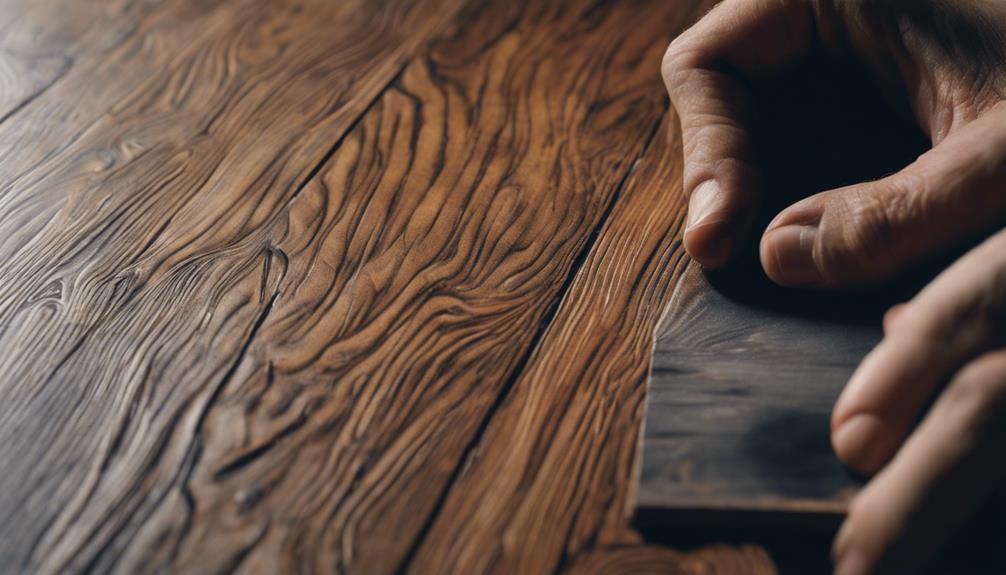
Let's elevate the faux wood effect created with chalk paint by introducing techniques to enhance its authenticity and depth. Start by applying multiple coats of Valspar Antiquing Wax to achieve the desired darkness and depth of color.
Use a chip brush to carefully create a faux wood grain effect, adding texture and realism to the finish. To guarantee a smooth surface, utilize a lint-free cloth to apply the wax evenly. Remember to tape off areas where you don't want the wax to be applied, maintaining clean lines and a professional look.
Experiment with different techniques such as layering the wax and blending colors to create a more realistic wood look. By taking the time to refine these details, you can enhance the overall appearance of the painted surface, making it closely resemble natural wood.
These steps will help you achieve a high-quality finish that mimics the beauty and warmth of real wood.
Frequently Asked Questions
How Do You Make Chalk Paint Look Like Wood?
To make chalk paint resemble wood, we employ techniques such as utilizing Valspar Antiquing Wax to recreate a realistic wood grain pattern.
By applying multiple layers of antiquing wax with a chip brush, we achieve depth and darkness in the finish.
Sealing the faux wood look with a clear polyurethane top coat guarantees enhanced protection and durability.
Experimenting with diverse chalk paint hues allows for mimicking various wood tones and textures to achieve a personalized appearance.
How to Make Fake Wood Look Real?
To make fake wood look real, we focus on enhancing texture and color. Using techniques like dry brushing or layering paints can add depth and dimension to mimic real wood grains.
Experimenting with different shades and finishes allows for a more authentic appearance. Additionally, incorporating details like knots or distressing can further elevate the realism of the faux wood.
What Paint Color Looks Like Natural Wood?
When seeking a paint color resembling natural wood, consider chalk paint options like 'French Linen' or 'Graphite.' These hues, when layered and applied skillfully, can emulate the tones found in wood.
To achieve a realistic wood appearance, experiment with techniques such as distressing, glazing, and waxing. Opt for earthy, warm tones in chalk paint to capture the essence of natural wood shades.
Enhance the faux wood finish by applying clear or dark wax for added depth and dimension.
How to Age Wood With Chalk Paint?
To age wood with chalk paint, you can achieve a genuine weathered effect by layering the paint and allowing each coat to dry thoroughly. Next, mimic the look of real wood by applying antiquing wax with a chip brush in a wood grain pattern. Seal the finish with clear polyurethane to safeguard and enhance the appearance. Experiment with different chalk paint colors to achieve a variety of wood tones and textures.
Enjoy the affordable elegance of this simple aging technique.
Conclusion
In just three simple steps, you can transform your furniture with chalk paint to achieve a stunning wood-like finish.
Prepping the surface, applying the paint, and enhancing the wood effect can easily be done by anyone looking to add a touch of rustic charm to their home decor.
Let your creativity shine as you bring new life to old furniture pieces with this easy and effective technique.
- About the Author
- Latest Posts
Introducing Ron, the home decor aficionado at ByRetreat, whose passion for creating beautiful and inviting spaces is at the heart of his work. With his deep knowledge of home decor and his innate sense of style, Ron brings a wealth of expertise and a keen eye for detail to the ByRetreat team.
Ron’s love for home decor goes beyond aesthetics; he understands that our surroundings play a significant role in our overall well-being and productivity. With this in mind, Ron is dedicated to transforming remote workspaces into havens of comfort, functionality, and beauty.
Decor
DIY China Cabinet Redo Guide
Hone your DIY skills and give your China cabinet a stunning makeover with our comprehensive guide, transforming it into a stylish focal point.
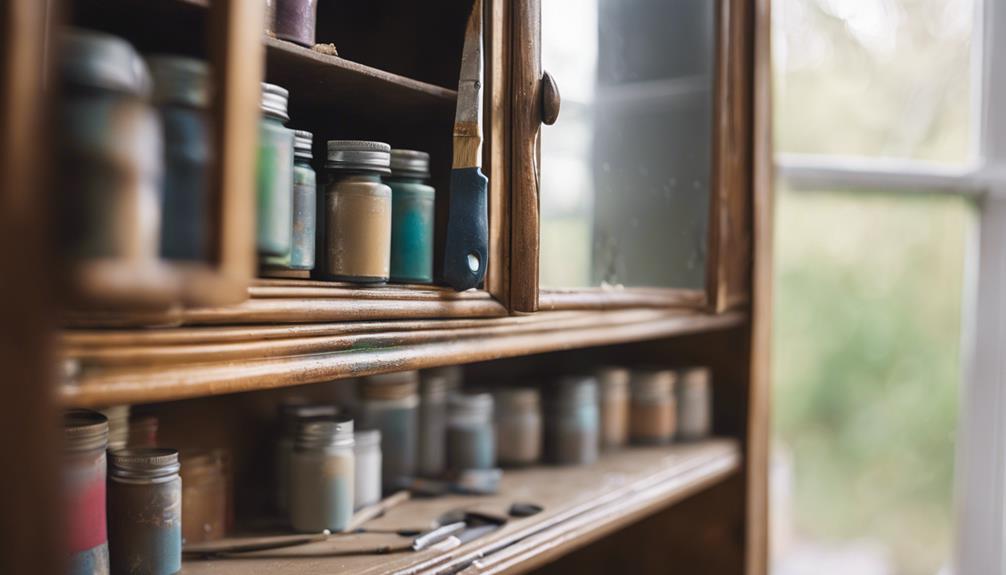
Transform your China cabinet with our detailed DIY guide. Begin by prepping the space, measuring the cabinet, and disassembling it for a thorough clean. Sand with 220 grit sandpaper, prime evenly, and experiment with painting techniques. Upgrade hardware for a modern touch, then reassemble securely. Consider repurposing ideas like a bathroom vanity for a fresh look. Enhance with lights, new hardware, or decorative trim. Try repurposing into a media console or bookcase for added functionality. This guide provides a step-by-step process for a successful cabinet redo.
Key Takeaways
- Measure cabinet dimensions and plan shelving needs.
- Disassemble, clean, and label hardware components.
- Sand, prime, and experiment with painting techniques.
- Upgrade hardware for a modern look with matte black.
- Consider repurposing ideas like a bathroom vanity or media console.
Prep and Measure
Let's begin by prepping and measuring the space where the china cabinet will be placed to guarantee a proper fit. Before diving into the project, it's important to measure the dimensions of the area where the cabinet will sit. Accurate measurements make sure that the cabinet won't only fit within the designated space but also complement the surrounding furniture and decor seamlessly.
When measuring, take into account the height, width, and depth of the cabinet. Consider any protruding elements like decorative moldings or legs that may affect the overall dimensions. Additionally, think about the shelving needs based on the layout of the cabinet. Planning for storage solutions early on will help in determining the best configuration for the shelves inside the cabinet.
Remember to keep these measurements handy while shopping for additional wood, countertops, sinks, and faucets. Having precise measurements at your disposal will enable you to make informed decisions and avoid purchasing incorrectly sized components.
Disassemble and Clean
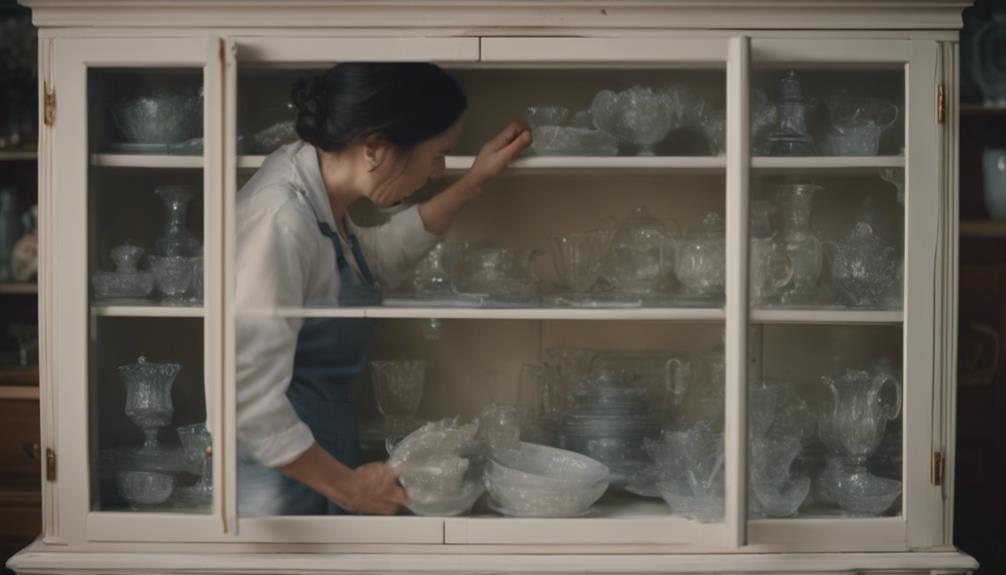
To begin the china cabinet redo project, disassembling the cabinet and thoroughly cleaning its components is important for a successful transformation. Start by carefully removing the doors, drawers, and any other removable parts to facilitate the cleaning process. It's essential to label and organize all hardware components to guarantee seamless reassembly later on.
Cleaning all parts of the cabinet is necessary to eliminate dust, dirt, and grime buildup that may hinder the redo progress. Select appropriate cleaning solutions and tools based on the material of the cabinet to prevent damage. Thoroughly clean each component, including hard-to-reach areas, to ensure a fresh canvas for the upcoming makeover.
Always remember to allow all parts to dry completely before proceeding to the next phase of the renovation. Following these steps diligently will set a solid foundation for the successful revamp of your china cabinet.
Sand and Prime
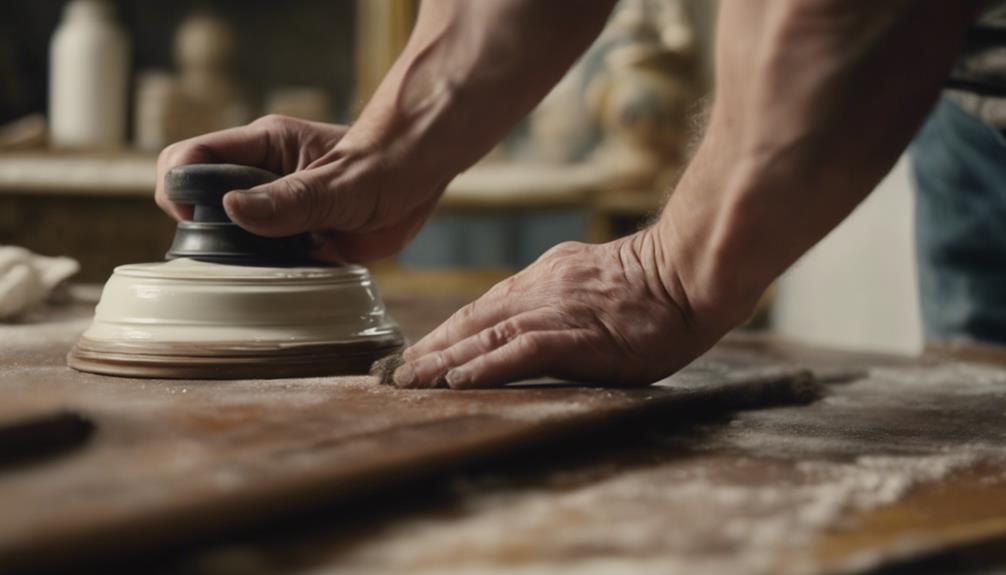
Sand the china cabinet thoroughly with 220 grit sandpaper to guarantee a smooth surface for painting. This step is crucial for ensuring the paint adheres well and results in a professional finish. After sanding, use a deglosser or TSP cleaner to remove any existing finish or residue on the cabinet before priming. Choosing a high-quality primer that suits the type of paint you'll be using is essential. Apply the primer evenly, making sure to cover all surfaces. Allow the primer to fully dry and adhere properly before moving on to the painting step. Properly sanding and priming the cabinet will help the paint adhere better and create a durable finish that lasts.
| Sanding Step | Primer Application | Drying Time |
|---|---|---|
| Use 220 grit sandpaper | Apply suitable primer | Allow primer to dry fully |
| Ensure smooth surface | Evenly cover all surfaces | Ensure proper adhesion |
| Remove all residue | Use deglosser or TSP cleaner | Check for dryness before painting |
Paint Techniques
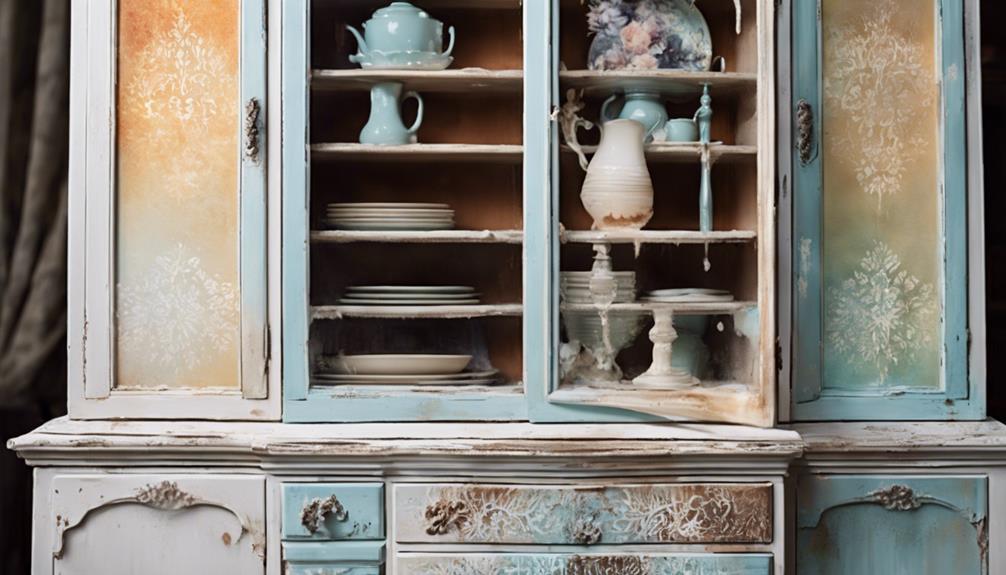
When it comes to revitalizing your china cabinet, the paint techniques play an essential role in achieving the desired aesthetic.
Two key aspects to take into account are the application method – whether to use a brush or a spray gun – and distressing tips for adding character and charm.
Brush Vs. Spray
Consider the type of paint and desired finish to determine whether to use a brush or spray when redoing a china cabinet. For intricate areas requiring a higher level of detail, brush painting is recommended. Brushes offer more control and precision, making them ideal for delicate sections of the cabinet.
On the other hand, spray painting can provide a smoother and more professional finish, particularly on larger surfaces where brush strokes might be more visible. When deciding between brush and spray techniques, it's essential to take into account the type of paint being used and the necessary ventilation requirements.
To determine the best method for your china cabinet redo, experiment with both brush and spray painting on test surfaces. This hands-on approach will help you evaluate which technique yields the desired results and suits the specific needs of your project.
Distressing Tips
To achieve a distressed look on your china cabinet, focus on using sandpaper or a palm sander to create texture on the painted surface. When distressing, pay special attention to edges, corners, and high-use areas to mimic a natural weathered appearance.
Experimenting with different sandpaper grits can yield varied levels of distressing, allowing you to customize the look to your preference. Before distressing, it's important to apply a deglosser to the cabinet. This step guarantees proper adhesion of the paint and promotes a more seamless distressing process.
Once the distressing is complete, consider applying a satin polycrylic or polyurethane finish to protect the distressed finish and enhance the durability of the cabinet.
Hardware Upgrade
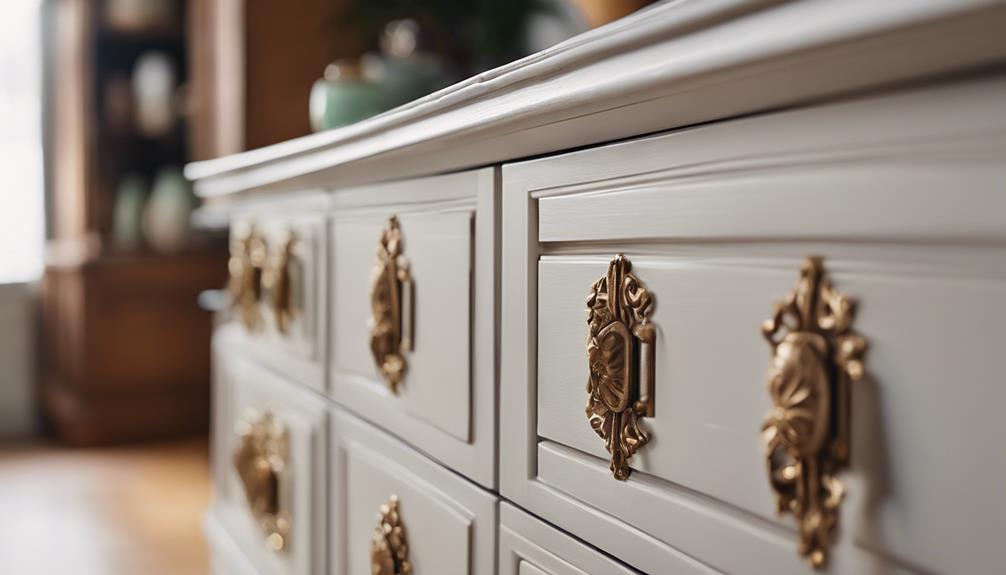
Upgrading the hardware on your china cabinet can effortlessly enhance its overall appearance and style. When revitalizing a painted china cabinet, opting for new hardware is a simple yet effective way to elevate its look.
Consider modern matte black hardware for a sleek and contemporary touch that can complement a variety of paint colors and styles. Swapping out old, worn hardware for new pieces can make a significant difference without breaking the bank.
Matte black hardware, in particular, offers a timeless appeal that can add a touch of elegance to your china cabinet makeover. Not only does updating the hardware provide a visual upgrade, but it also offers a cost-effective solution to refresh the appearance of your china cabinet.
Final Assembly

When reassembling your china cabinet after the hardware upgrade, make sure all parts are securely attached and aligned to complete the final assembly. Reattach doors, drawers, and shelves in their designated spots following the labeled markings to guarantee proper placement. It's essential to secure hardware such as screws, hinges, and knobs tightly to prevent any potential issues with functionality later on. Check that all components are aligned correctly and that doors open and close smoothly. Once all parts are back in place and securely fastened, the final assembly is almost complete. Below is a table to guide you through the reattachment process:
| Component | Action Required |
|---|---|
| Doors | Reattach hinges |
| Drawers | Align on slides |
| Shelves | Insert in grooves |
| Hardware | Tighten screws |
| Alignment | Check for straightness |
Completing these steps will ensure your china cabinet is fully assembled and ready for use.
Styling and Repurposing
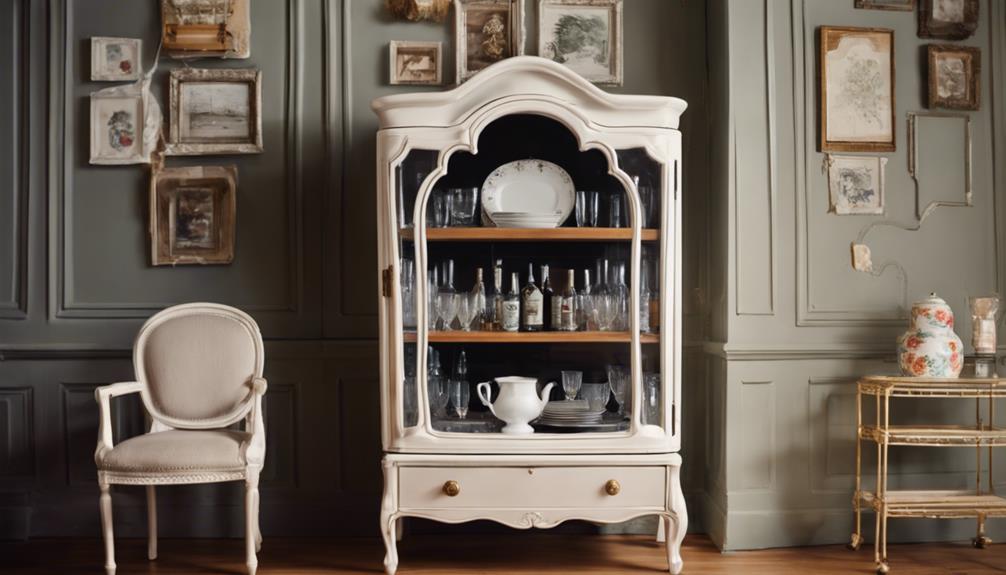
When it comes to restyling a china cabinet, we've an array of possibilities to explore. From turning it into a bathroom vanity to repurposing it as a media console or a stylish bookcase, the options are plentiful.
In the upcoming discussion, we'll share styling tips and repurposing ideas to help you make the most out of your china cabinet redo project.
Styling Tips
Consider repurposing your china cabinet as a bathroom vanity or above a buffet in a dining room for a fresh and stylish update. When styling your china cabinet makeover, here are some tips to help you achieve a polished look:
- Repurpose Doors: Utilize the cabinet doors creatively by repurposing them as decorative elements such as wall art or room dividers. This adds a unique touch and enhances the character of the space.
- Secure Attachment: Guarantee the cabinet is firmly attached to the wall to ensure safety and stability, especially when repurposing it for different uses. This step is essential for preventing accidents and ensuring longevity.
- Makeover Ideas: Explore various makeover ideas like adding lights, changing hardware, or installing decorative trim to further enhance the aesthetic appeal of the china cabinet. These simple additions can make a significant difference in the overall look.
- Creative Furniture Use: Encourage creativity by thinking outside the box and considering alternative uses for furniture pieces. For example, transform the bottom section of the cabinet into a media console or a stylish bookcase for a functional twist.
Repurposing Ideas
Repurposing a china cabinet offers endless possibilities for transforming your space with style and functionality. One creative idea is to repurpose the cabinet as a bathroom vanity by adapting the top to accommodate a sink and plumbing, adding a unique touch to your bathroom decor.
For a different look, consider transforming the bottom half into a buffet or media console, providing both storage and a stylish focal point in your living area.
The top portion of a china cabinet can be utilized as a standalone display piece by adding feet for support, enhancing the elegance of the room.
Get even more creative by repurposing the cabinet as a bookcase, sofa table, or a distinctive storage solution that suits your needs.
Additionally, using the bottom section as a bathroom storage unit or vanity can bring a functional and unique element to your space.
With these repurposing ideas, you can transform your china cabinet into a versatile and eye-catching piece that fits your style and home decor needs.
Frequently Asked Questions
How Do I Modernize My China Cabinet?
To modernize your china cabinet, consider painting it in sleek colors like navy blue, charcoal gray, or matte black.
Update the hardware with modern metallic knobs or handles in brushed nickel or matte black finishes.
Replace outdated glass doors with open shelving for a contemporary look.
Illuminate the display items with LED strip lighting inside the cabinet.
Incorporate geometric or abstract wallpaper on the back panel for a stylish touch.
How to Sand an Old China Cabinet?
When sanding an old china cabinet, start by using 120 to 220 grit sandpaper to remove the old finish. Remember to sand in the direction of the wood grain to guarantee prevention of damage.
Wipe away any dust with a tack cloth before applying primer or paint. This process guarantees the new finish adheres well and creates a polished look.
Consider using a palm sander for quicker results on larger areas.
Are China Hutches Outdated?
China hutches have fallen out of favor in modern interior design due to their traditional and bulky nature, often not aligning with current minimalist trends. Many consider them outdated, especially in smaller or contemporary homes.
However, with creative refurbishing like a fresh coat of paint or updated hardware, these pieces can be transformed into stylish and functional additions to modern interiors. Repurposing a china hutch allows for a contemporary appeal that breathes new life into these pieces.
How Do You Reuse a China Cabinet?
When reusing a china cabinet, multiple options exist for repurposing its design. Convert the bottom section into a bathroom vanity, adapting drawers for plumbing needs.
Utilize the top portion as a display case for collectibles or dishes.
Alternatively, transform it into a bar by integrating wine glass racks, a wine bottle holder, and liquor shelves.
For a different approach, repurpose the cabinet as a bookcase with adjustable shelves and backing for books.
Conclusion
To sum up, redecorating a china cabinet can be a fun and rewarding DIY project that can completely transform the look of a room. By following the steps outlined in this guide, you can easily give new life to an old piece of furniture.
For example, Sarah from Ohio used this guide to update her grandmother's china cabinet, turning it into a modern statement piece that now serves as a stylish bar cabinet in her dining room.
- About the Author
- Latest Posts
Introducing Ron, the home decor aficionado at ByRetreat, whose passion for creating beautiful and inviting spaces is at the heart of his work. With his deep knowledge of home decor and his innate sense of style, Ron brings a wealth of expertise and a keen eye for detail to the ByRetreat team.
Ron’s love for home decor goes beyond aesthetics; he understands that our surroundings play a significant role in our overall well-being and productivity. With this in mind, Ron is dedicated to transforming remote workspaces into havens of comfort, functionality, and beauty.
-
 Vetted4 weeks ago
15 Best Tile Sealers for Long-Lasting Protection and Shine
-

 Vetted4 weeks ago
15 Best Printers of 2024: Top Picks and Expert Reviews
-
 Vetted1 week ago
15 Best Leather Restorer Products to Revive Your Furniture and Accessories
-
 Vetted2 weeks ago
15 Best Leg Massagers to Relieve Tension and Improve Circulation – Ultimate Guide
-

 Vetted3 weeks ago
14 Best Lawn Tractors of 2024 – Ultimate Guide for Your Yard Maintenance
-
 Vetted4 days ago
15 Best Contact Paper for Kitchen Cabinets to Elevate Your Home Decor
-

 Vetted3 days ago
15 Best Drain Snakes to Unclog Your Pipes Like a Pro
-

 Vetted3 weeks ago
15 Best Evergreen Plants for Shade Gardens: A Complete Guide


