Decor
Can You Bake Acrylic Paint in the Oven
Hoping to elevate your acrylic paint projects? Discover the surprising answer to whether you can bake acrylic paint in the oven.

While we’re in the kitchen, imagining the vivid hues and sleek surface of our acrylic painting endeavor, we’re faced with a curious inquiry – is it possible to harden acrylic paint by baking it in the oven? This concept is captivating, yet there are several aspects we need to think about before moving forward.
Safety precautions, suitable surfaces, temperature and time adjustments, and the benefits versus risks of baking acrylic paint all play a crucial role in the outcome of our artistic endeavor.
Let’s explore the intricacies of this process and uncover the tips and tricks for achieving professional results with our baked acrylic paint projects.
Key Takeaways
- Proper ventilation is essential to prevent inhalation of toxic fumes when baking acrylic paint.
- Using a dedicated oven for baking acrylic paint helps avoid cross-contamination.
- It is important to choose suitable surfaces like ceramics, glass, and certain types of clay for baking acrylic paint.
- Following the recommended baking temperature and time provided by the paint manufacturer ensures the best results.
Safety Precautions When Baking Acrylic Paint

When baking acrylic paint, it’s imperative to ensure proper ventilation in the area to prevent inhalation of fumes. Toxic fumes can be released during the baking process, so it’s crucial to work in a well-ventilated space or use a fume hood.
Additionally, using a dedicated oven for baking acrylic paint is essential to prevent the release of harmful chemicals into an oven used for food. This precaution helps to mitigate the risk of cross-contamination and exposure to toxic substances.
Furthermore, wearing oven mitts when handling hot items is crucial to prevent burns or injuries. The high temperatures required for baking acrylic paint can result in severe burns if proper protective gear isn’t used.
It’s also important to allow the painted items to cool completely before handling them to avoid burns or damage to the paint.
Checking the label of the acrylic paint to ensure it’s suitable for baking and following the manufacturer’s instructions carefully is fundamental to guaranteeing a safe and successful baking process.
Suitable Surfaces for Baking Acrylic Paint
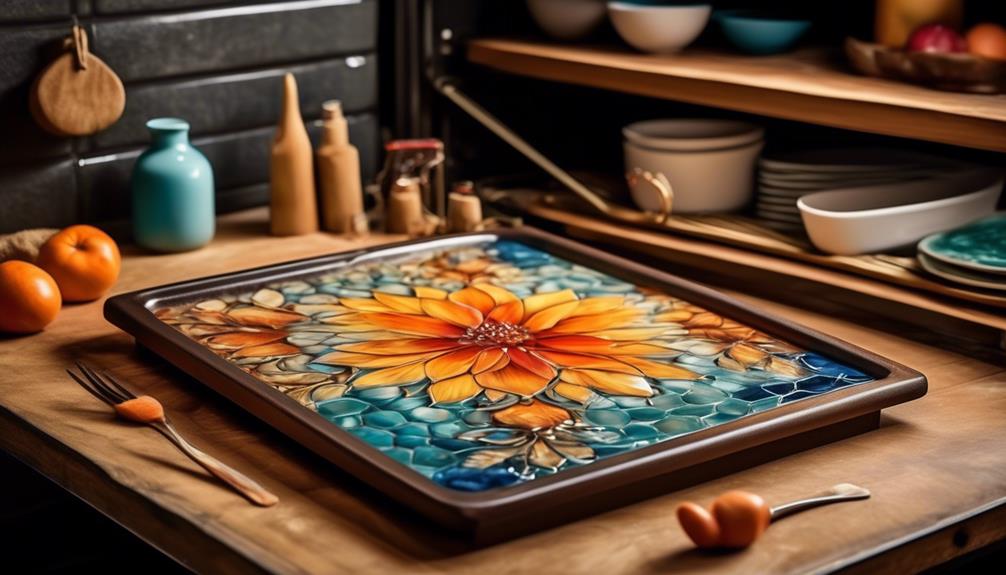
When considering suitable surfaces for baking acrylic paint, it’s important to choose heat-resistant painting bases such as ceramics, glass, and certain types of clay. These surfaces are designed to withstand the high temperatures involved in the baking process, ensuring that the paint adheres properly and maintains its durability.
Additionally, ensuring that the surface is clean and free from any contaminants before applying and baking acrylic paint is crucial for achieving the best results.
Safe Surfaces for Baking
Ceramics and pottery surfaces, as well as certain types of glassware, are suitable for baking acrylic paint. These surfaces produce a durable, dishwasher-safe finish when baked properly. It’s important to ensure that the chosen surface is labeled as oven-safe and does not release toxic chemicals when heated. Non-porous surfaces, such as ceramics and certain types of glass, are best for proper adhesion and durability. Selecting heat-resistant materials that can withstand high temperatures is crucial. Always follow the manufacturer’s instructions for the specific type of paint being used, as different acrylic paints may have varying heat requirements. The general baking process involves placing the painted item in a cold oven, setting the temperature to around 275 degrees F, and allowing it to bake for approximately 30 minutes.
Heat-Resistant Painting Bases
Safe surfaces for baking acrylic paint include ceramics, glassware, clay pots, oven-safe dishes, and heat-resistant tiles, all of which provide durable and long-lasting results when used properly.
- Ceramic and porcelain: Suitable for baking acrylic paint, creating durable and dishwasher-safe finishes.
- Glassware: Can be baked with acrylic paint, providing a permanent and heat-resistant finish.
- Clay pots and pottery: Ideal for baking acrylic paint, ensuring long-lasting and weather-resistant results.
- Oven-safe dishes: Suited for baking acrylic paint, offering a durable and heat-resistant surface for everyday use.
These surfaces can withstand the heat required to bake acrylic paint, typically around 275 degrees Fahrenheit, allowing the paint to cure and form a strong bond to the base. When using these heat-resistant bases, it’s essential to follow proper baking instructions for optimal results.
Baking Temperature and Time for Acrylic Paint
To ensure optimal results when baking acrylic paint, it’s essential to adhere to the recommended temperature and time parameters provided by the paint manufacturer. When using an oven for the bake method, the baking temperature for acrylic paint typically ranges between 300 to 350 degrees Fahrenheit. It’s crucial to note that this temperature range may vary slightly based on the specific instructions provided by the paint manufacturer.
Additionally, the recommended baking time for acrylic paint generally falls within the range of 30 to 45 minutes. However, it’s important to refer to the instructions on the acrylic paint label or packaging for the exact baking temperature and time, as these may differ based on the type of acrylic paint being used.
Furthermore, after the baking process is complete, it’s imperative to allow the baked acrylic paint to cool completely before handling or using the painted item. Adhering to these specific temperature and time parameters is vital for achieving the best results when using the bake method for acrylic paint projects.
Benefits of Baking Acrylic Paint

Baking acrylic paint in an oven offers several advantages, including speeding up the drying process and ensuring a strong bond with the surface for long-lasting results.
- Strong Bond: Baking acrylic paint helps it form a strong bond with the surface, ensuring durability and longevity.
- Faster Drying: Speeds up the drying process, preventing bubbles and cracking, and allowing for painting on a perfectly dry surface.
- Coat Application: Baking between coats of paint can speed up the process, allowing for painting on a perfectly dry surface without waiting for it to dry naturally.
- Versatile Usage: Any acrylic paint can be used, but heavy body acrylic paint is recommended for vibrant colors and better coverage.
Risks of Baking Acrylic Paint
When baking acrylic paint, it’s crucial to be aware of the potential risks involved. High temperatures can lead to the release of toxic fumes, posing health hazards that must be mitigated through proper ventilation.
Additionally, prolonged or excessive heating may cause undesirable changes to the paint’s properties, impacting its appearance and durability.
Paint Fumes
In assessing the risks associated with baking acrylic paint, it’s crucial to acknowledge the potential release of harmful fumes and the precautions necessary to mitigate any health hazards. When baking acrylic paint in the oven, the following considerations are essential:
- Ensure proper ventilation to minimize the inhalation of paint fumes.
- Use a well-ventilated area or a respirator to protect against harmful fumes.
- Test a small sample of acrylic paint before baking a larger piece to observe any color changes or brittleness.
- Ventilate the oven after baking to release any lingering fumes, and refrain from using it for cooking immediately to avoid exposure to harmful chemicals.
It is important to consider the type of oven used for baking acrylic paint, and if unsure, consult the manufacturer or an experienced artist for guidance.
Toxic Fumes
Considering the potential release of harmful fumes and the necessary precautions, it is imperative to address the risks associated with the toxic fumes emitted when baking acrylic paint in the oven. Baking acrylic paint can lead to the release of toxic fumes, posing health risks when inhaled. The chemicals in acrylic paint can vaporize at high temperatures and release toxic fumes, causing dizziness, headaches, nausea, and respiratory irritation. To minimize exposure to these toxic fumes, proper ventilation or air extraction systems are advisable when baking acrylic paint. It’s crucial to carefully consider the potential health risks and take necessary precautions. The table below summarizes the risks and precautions associated with baking acrylic paint in the oven.
Risks Precautions Release of toxic fumes Use proper ventilation or air extraction systems Health risks when inhaling toxic fumes Avoid baking acrylic paint in an enclosed space Chemical vaporization at high temperatures Consider using a dedicated oven for art projects
Steps for Baking Acrylic Paint
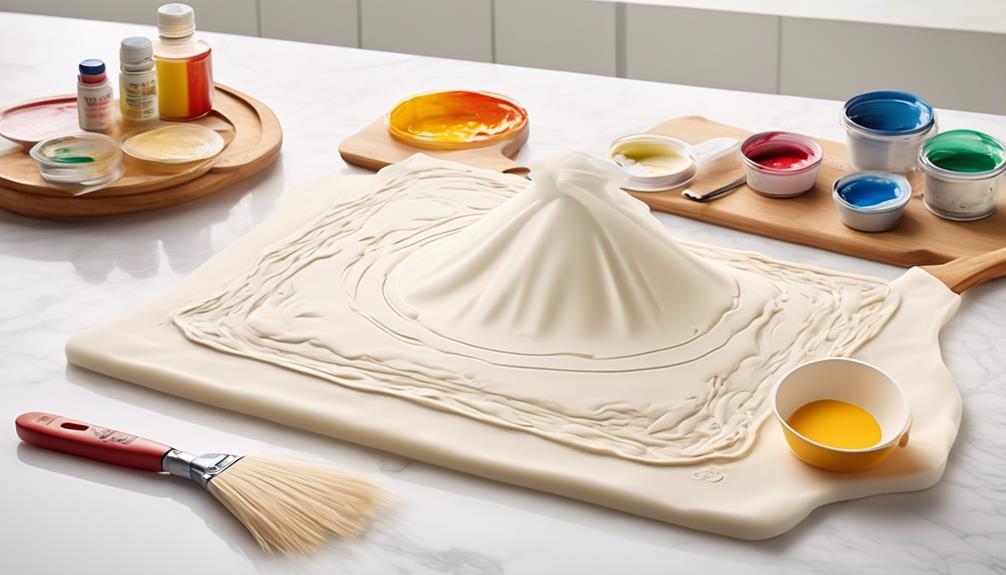
To begin the process of baking acrylic paint, ensure that the painted item is thoroughly dry and has been allowed to air cure for at least 24 hours.
When baking acrylic paint in the oven, follow these steps:
- Preheat the oven to the temperature recommended by the acrylic paint manufacturer, typically between 275°F and 350°F.
- Place the painted item on a lined baking sheet, ensuring that there’s enough space between items for proper heat circulation.
- Bake the item for the specified time, usually around 30 minutes, to allow the acrylic paint to cure and form a strong bond with the surface.
- After baking, allow the item to cool in the oven before removing it to prevent sudden temperature changes that could affect the paint’s finish.
Following these steps for baking acrylic paint will ensure a durable and long-lasting finish on your painted items.
Always remember to maintain proper ventilation and safety precautions when using a household oven for this purpose.
Testing Acrylic Paint Before Baking
Before baking acrylic paint on ceramics or glass, it’s essential to ensure that the material is oven safe and doesn’t release toxic chemicals. To test the suitability of the paint for baking, a small sample can be painted onto a heat-resistant surface, such as a ceramic tile, and allowed to dry thoroughly.
Once dried, the sample can be baked in the oven according to the recommended temperature and duration. After baking, observe the sample for any changes in color, texture, or adhesion to the surface. If the dried acrylic paint exhibits any adverse effects, such as discoloration or brittleness, adjustments to the baking temperature or duration may be necessary.
It’s crucial to conduct this test before applying the paint to a larger surface to avoid compromising the final result. Additionally, different types of acrylic paint, such as heavy body acrylic paint, may require specific baking methods to achieve the best outcomes.
Baking Acrylic Paint With Multiple Layers
When baking acrylic paint with multiple layers, it’s crucial to ensure that each layer is fully dry before applying the next one. This helps to prevent any potential smudging or blending of colors.
Additionally, heat setting the layers between coats can expedite the drying process, leading to a more durable and vibrant final result.
Layering Acrylic Paint
Layering acrylic paint with multiple coats can enhance the depth and richness of the colors while also strengthening the bond between the paint and the surface. When layering acrylic paint, it’s important to consider the following:
- Use high-quality acrylic paint for the best results.
- Allow each layer to fully dry before applying the next coat to prevent cracking or lifting.
- Consider the viscosity of the paint and adjust it by adding water or a medium to achieve the desired consistency.
- Experiment with different techniques such as dry brushing or glazing to create interesting textures and effects.
Heat Setting Acrylic
To achieve optimal results when heat setting acrylic paint with multiple layers, consider using a heavy body acrylic paint to ensure vibrant colors and better coverage. Heat setting acrylic paint with multiple layers involves a precise process to ensure the layers properly dry and bond. Baking acrylic paint between layers can significantly speed up the drying process, preventing smudging or blending of the paint layers. The table below outlines the recommended steps for heat setting acrylic paint with multiple layers in the oven.
Step Description 1. Apply the first layer of paint 2. Bake the first layer 3. Apply subsequent layers 4. Bake the final layers
Following these steps ensures each layer dries thoroughly and forms a strong bond with the surface, resulting in a professional and long-lasting finish.
Curing Acrylic Paint for Durability
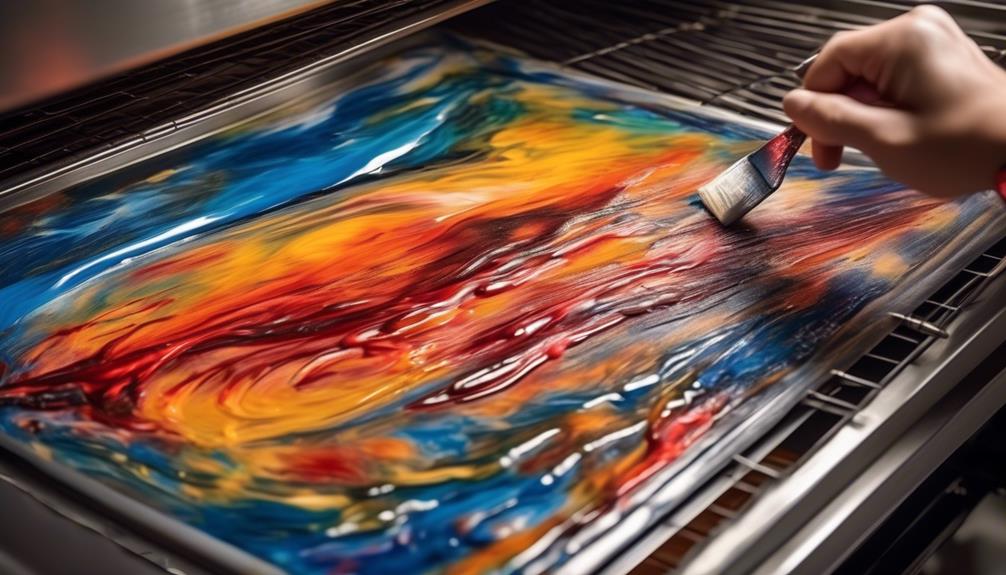
Using a heavy body acrylic paint for baking can significantly enhance the durability of the painted surface. When considering curing acrylic paint for durability, it’s vital to understand the process and its impact. Here are key points to consider:
- Baking acrylic paint helps it form a strong bond with the surface, ensuring long-lasting results.
- Any type of acrylic paint can be used for baking, but heavy body acrylic paint is recommended for vibrant colors and better coverage.
- Baking between coats of paint speeds up the process, allows for painting on a perfectly dry surface, and prevents smudging or blending of paint layers.
- A regular household oven can be used for baking acrylic paint, but it’s important to avoid using the oven for cooking immediately after baking to prevent the release of harmful chemicals, and to air it out before cooking food.
Curing acrylic paint for durability is a crucial step in ensuring the longevity of the painted surface. By following the appropriate guidelines for baking acrylic paint at temperatures suitable for the specific type of paint, the durability and quality of the painted item can be significantly improved.
Cleaning Baked Acrylic Paint

When cleaning baked acrylic paint on ceramics or glass, mild soap and water can be used effectively. It’s important to gently scrub the surface with a soft sponge or cloth to avoid scratching the paint. Rinse the item thoroughly to remove any soap residue and allow it to air dry completely.
Harsh chemicals or abrasive scrubbers should be avoided as they can damage the painted surface. Always handle baked acrylic painted items with care to maintain the quality of the artwork. For glass items, it’s crucial to use a non-abrasive cleaner to prevent scratching. Additionally, consider using a squeegee or a lint-free cloth to ensure a streak-free finish on glass surfaces.
When cleaning ceramics, be mindful of any delicate or intricate areas, and use a soft-bristled brush if necessary. By following these cleaning guidelines, the integrity and longevity of the baked acrylic paint on ceramics and glass can be preserved, allowing the artwork to remain vibrant and durable.
Frequently Asked Questions
How Do You Heat Set Acrylic Paint in the Oven?
We heat set acrylic paint in the oven by following these steps:
- Preheat the oven to 300 degrees Fahrenheit.
- Place the painted item inside the oven.
- Set a timer for 30 minutes.
After baking, we need to let the item cool inside the oven for an hour. This process accelerates drying and helps prevent smudging or blending of paint layers.
It’s important to note that using the appropriate type of acrylic paint suitable for baking is essential. If unsure, it’s always a good idea to consult the manufacturer or experienced artists for guidance.
Can Acrylic Paint Go in the Oven With Polymer Clay?
Yes, acrylic paint can be baked in the oven with polymer clay. By using the oven to cure both the clay and the paint, a strong bond between the two is achieved. This process is essential for creating durable and long-lasting designs on polymer clay surfaces.
However, it’s crucial to follow safety guidelines and ensure proper ventilation when baking acrylic paint in the oven.
Can You Bake All Acrylic Paint?
Yes, all acrylic paint can be baked in the oven. Baking acrylic paint helps ensure a strong bond with the surface. It’s essential for long-lasting results.
Using heavy body acrylic paint is recommended for vibrant colors and better coverage. Baking between coats can speed up the process and prevent smudging.
However, caution is necessary to avoid harmful fumes. Proper ventilation is crucial when using a regular household oven for this purpose.
What Temperature Can You Bake Paint?
We can bake acrylic paint in the oven at 275-300 degrees Fahrenheit, but higher temperatures may cause color changes or make the paint brittle.
It’s crucial to follow the manufacturer’s instructions for the specific acrylic paint being used.
Baking times may vary, but generally, 30 minutes is a good starting point.
After baking, allow the painted item to cool completely before handling.
It’s a delicate process that requires precision to ensure the best results.
Conclusion
In conclusion, baking acrylic paint in the oven is a safe and effective method for achieving vibrant and long-lasting results.
However, it’s essential to exercise caution and ensure proper ventilation to avoid any potential health risks.
Remember, a well-baked acrylic masterpiece isn’t only a work of art, but also a testament to your dedication to the craft.
Happy baking!
- About the Author
- Latest Posts
Introducing Ron, the home decor aficionado at ByRetreat, whose passion for creating beautiful and inviting spaces is at the heart of his work. With his deep knowledge of home decor and his innate sense of style, Ron brings a wealth of expertise and a keen eye for detail to the ByRetreat team.
Ron’s love for home decor goes beyond aesthetics; he understands that our surroundings play a significant role in our overall well-being and productivity. With this in mind, Ron is dedicated to transforming remote workspaces into havens of comfort, functionality, and beauty.
Christmas Decoration
How to Decorate Home For Christmas in Illinois
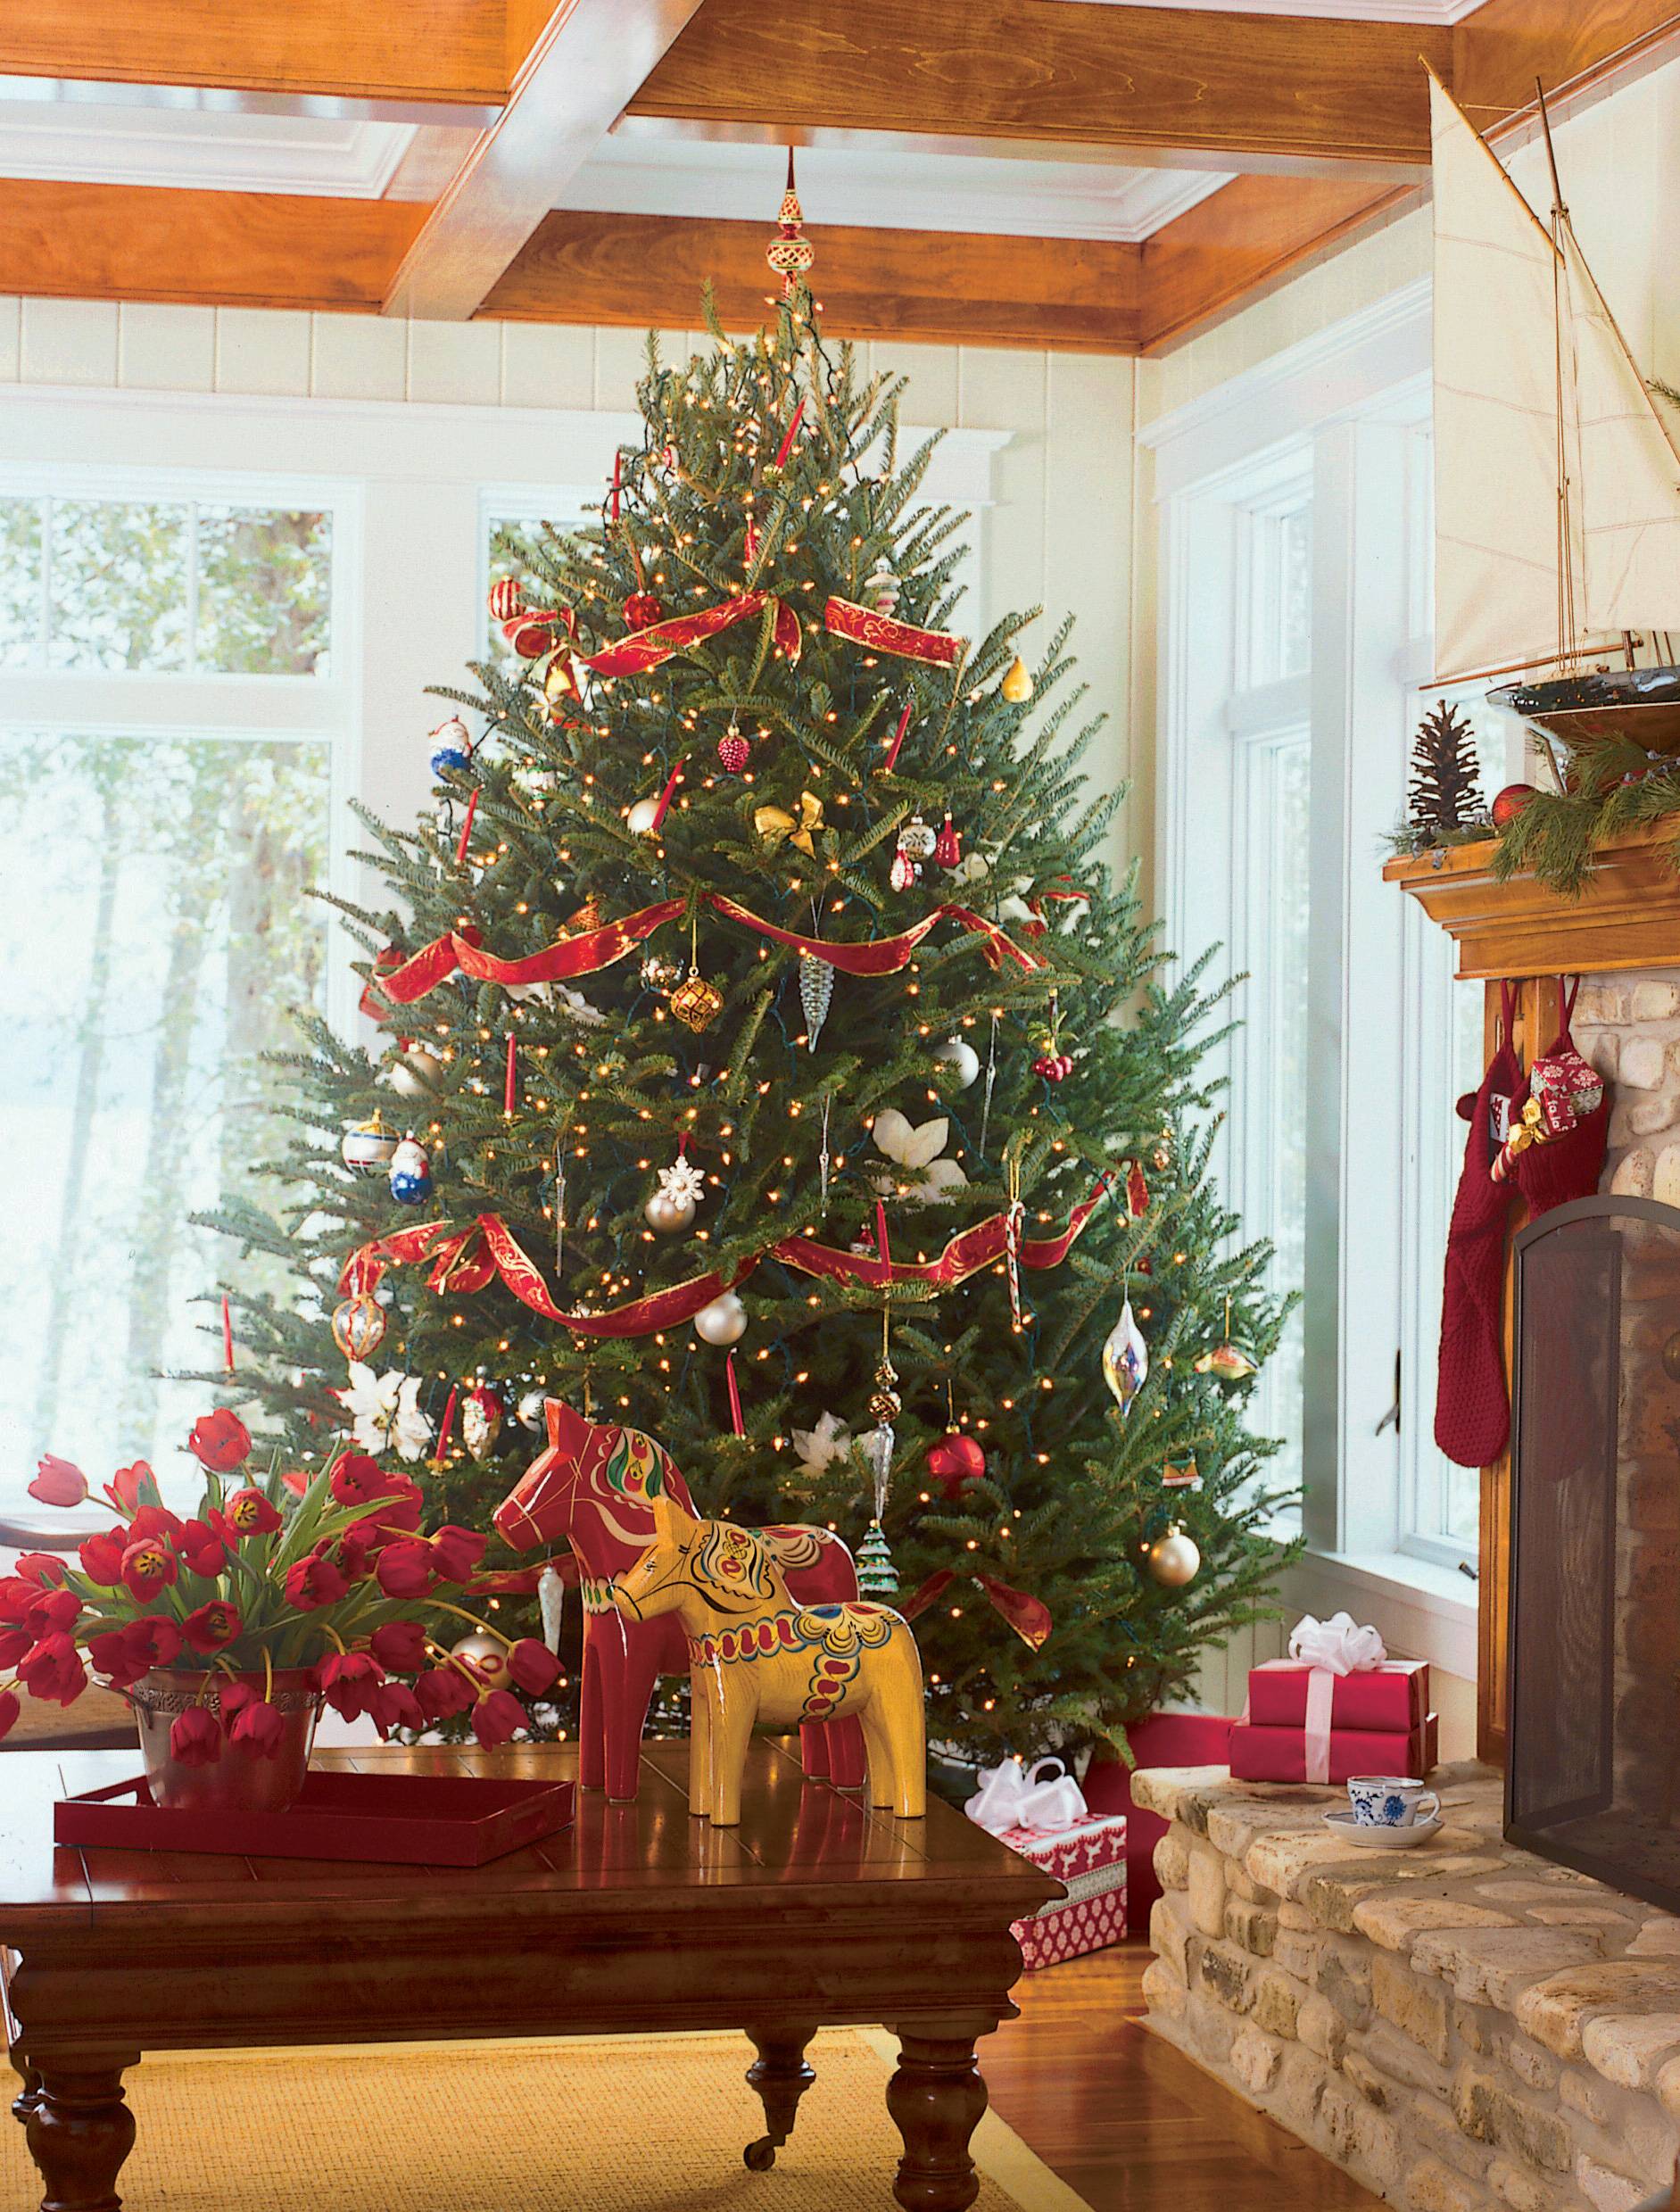

There are numerous ideas available to assist you in decorating your home for the holiday season. Illinois homeowners have plenty of fantastic options that can make the decorating process a breeze. Ambrose Christmas in Loves Park is just one of the many excellent Christmas décor options in the Rock River Valley area. With 30 years of experience, this store offers a wide selection of theme trees and holiday decorating ideas. In addition, their highly skilled staff is available to assist you in creating the perfect holiday décor for your home.
Decorate your home for Christmas
Add Christmas decor to your home to make it festive this holiday season. It is not only beautiful, but can help create a magical holiday season. However, you should remember that too many holiday decorations can be a safety hazard. Luckily, there are several ways you can make your home look festive and inviting.
Before you put up your Christmas decorations, think about where they will be placed. Placed too close to a source of heat, they can catch fire. The National Fire Protection Association states that about two-thirds of all home decoration fires are caused by decorations placed too close at a source heat source. One-third of these fires are lit by candles. Fire departments in the United States responded annually to 780 home structure fires between 2013 and 2017.
Ambrose Christmas
Decorating your home for the holidays can be an art form. There are many creative ways to decorate your Illinois home. Some people use a synchronized lighting system to create stunning displays. You can even drive through some neighborhoods to see the different light displays. You can even see homes that are decorated like “Frozen” characters.
Kathy Christmas
You are not the only one looking for ideas on how to decorate your Illinois home for Christmas. Many people have enjoyed the joy of decorating their homes for the holidays. One family decorated their Tinley Park, Illinois home for 25 years. Their home looks like a winter wonderland.
- About the Author
- Latest Posts
Introducing Charles, the Editor in Chief at ByRetreat, whose passion for interior design and editorial excellence elevates every remote workspace to new heights. With his keen eye for detail, impeccable taste, and expertise in design, Charles brings a wealth of knowledge and creativity to the ByRetreat team.
As the Editor in Chief of a renowned lifestyle blog, Charles has honed his skills in curating captivating content and staying up-to-date with the latest trends in interior design. His deep understanding of aesthetics and the power of storytelling through design enables him to create remote workspaces that are not only visually stunning but also rich in personality and meaning.
Decor
5 Reasons Why You Should Decorate Your Home
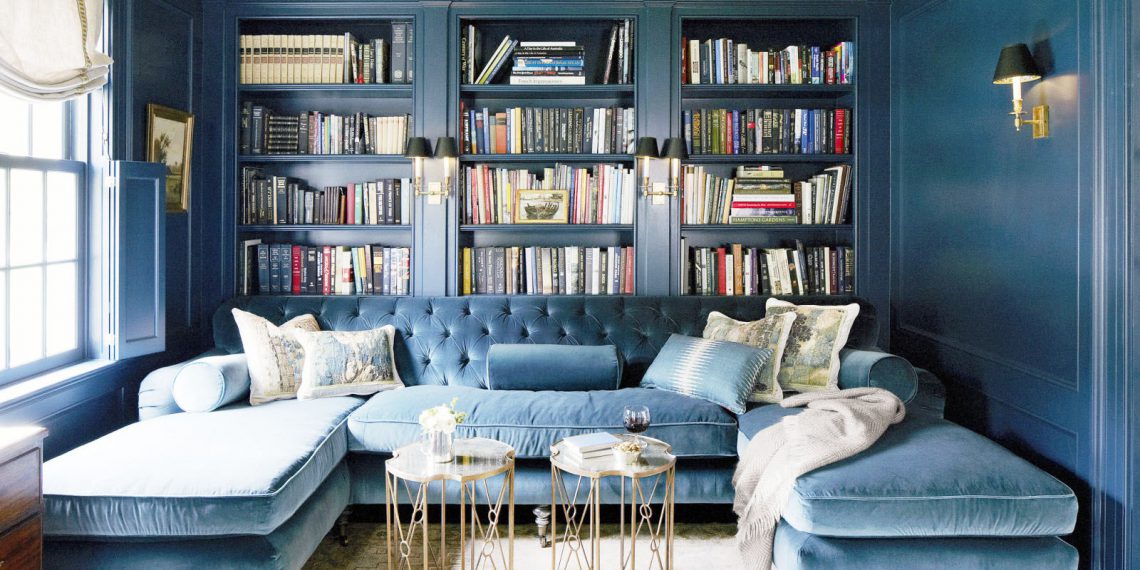

Decorating your home is a fantastic way to showcase your unique personal style. It is a crucial task that should be at the top of your priority list if you aim to establish a welcoming atmosphere. Decorating your home can bring happiness and warmth. The initial step in decorating your home is to carefully plan out your decorating style.
Natural home decor
Natural decor can make your home feel more natural. You can start small with a natural textile or wall hanging. Natural materials can be used in light fixtures and furniture. To create a relaxing space, choose a natural color scheme. Natural materials are a great backdrop for your favorite colorful items.
It will create a more peaceful environment and add a personal touch to your home. Decorative pieces from nature can include dried flowers, houseplants, and natural materials such as wood. These natural elements can be used in any room to add texture, warmth, and rustic charm. These elements will also help city dwellers to connect with Mother Nature.
Natural elements come in many sizes and shapes. Natural home decor can be as small as a vintage bowl or as large as a large piece of furniture. For example, a wooden dining table can add warmth and texture to any room. However, a black set of chairs can instantly transform the room’s look from rustic to industrial. Natural elements can also be found in smaller items, like a wicker basket or a ceramic plate.
Natural home decor can also add the finishing touches to your interior design. A wooden coffee table or wooden shelving unit can add warmth and character to traditional interior designs. No matter what your style, a natural accent to your home can add the finishing touch.
Reflecting your personality
If you have decided to redecorate your house, you should make sure that it reflects your personality. Home decor is one way to express yourself and show your individual style. Personal touches such as yellow cushions or a floral tablecloth in the kitchen can reflect your personality and outlook on life. You can also reflect your love of animals through pictures and curtains on the walls. It is important to inject your personality into these small details, because they can add to the overall feel of your home.
Your furniture choice can reflect your personality. Make sure you have a variety. If you have hand-me-down furniture, consider replacing it with pieces that reflect your personality. You can also add your own personal touches with throw pillows, throw blankets, and other decor items. Ensure that the colors you choose go together well, and appeal to your personal taste. To create a new look, you can move furniture around in the room. The amount of furniture that you have in a room can also have a large impact on how cozy the room feels.
Adding a “wow” factor
A wow factor is the ability to draw people into a room. In order to create a wow factor, you can add architectural molding, feature walls, or contrasting colors to the walls. You can also use natural stone tiles, barnwood, or shiplap to cover the walls. You can even wallpaper one or more walls to add interest and personality. A gallery wall with an eclectic mix can add a wow factor.
It doesn’t have to be difficult to add a wow factor in your home. Consider some tips from real estate agents. A contemporary sculpture or art gallery can add interest to a space and be a conversation starter. You can also add vignettes to highlight unusual objects or features. For example, you can place a display case with amertrine crystals and light it to highlight the beautiful crystals.
Plants will give your home a unique look. You can also mix leaves from different plants to add contrast to your room. You can also hang plants in the corners of rooms to create an urban jungle indoors. Adding a wow factor to your home will help you attract buyers.
Another way to create a wow factor is to use artwork. Using oversize art can instantly change the mood of a room. It makes a big statement when displayed in a large room. Choose artwork that is meaningful to you when choosing artwork.
The right lighting and paint colors are another way to add wow factor to your home. The right lighting can make a room look beautiful and can also increase the value of the home. To give the room an extravagant look, you can install feature lamps. If you don’t have the skills to decorate a home, hiring a professional is a great option.
How Can Decorating My Home Reflect My Personal Aesthetic?
Decorating your home is a way of expressing and understanding your decor aesthetic. Whether you prefer minimalist, eclectic, or cozy styles, your home decor choices reflect your personal taste and personality. By curating your space with pieces that resonate with you, you can create a home that truly feels like your own.
What Are the Benefits of Decorating Your Home with Plants?
Decorating with plants at home can bring numerous benefits. They can improve air quality, reduce stress, and boost productivity. Plants also add a touch of natural beauty to any space and can help create a calming and peaceful environment. Additionally, they are a cost-effective way to enhance the overall aesthetic of your home.
– Why is Decorating Your House Important?
Decorating your house with style is important because it helps create a warm, inviting atmosphere for you and your guests. A well-decorated home reflects your personality and interests, making it a comfortable space to relax and unwind. It also adds visual appeal and enhances the overall ambiance of your living space.
Planning ahead
Planning ahead can save you time and stress, whether you are decorating for holidays or other occasions. This allows you to spread the tasks out so you can have more fun. You can choose the best time of year for you and your family. Some people like to decorate before Thanksgiving while others prefer to wait until after.
- About the Author
- Latest Posts
Introducing Charles, the Editor in Chief at ByRetreat, whose passion for interior design and editorial excellence elevates every remote workspace to new heights. With his keen eye for detail, impeccable taste, and expertise in design, Charles brings a wealth of knowledge and creativity to the ByRetreat team.
As the Editor in Chief of a renowned lifestyle blog, Charles has honed his skills in curating captivating content and staying up-to-date with the latest trends in interior design. His deep understanding of aesthetics and the power of storytelling through design enables him to create remote workspaces that are not only visually stunning but also rich in personality and meaning.
Christmas Decoration
How to Decorate Home for Christmas in Arizona


There are numerous ways to adorn your home for the holidays. Professionals specializing in Christmas decorations can assist you in turning your home into a Winter Wonderland. Some suggestions include utilizing Mason jars, primitive decorations, colored garland, and ornaments.
Mason jars
Mason jars make a great way decorate your home for the holidays. They look great and can be used for many purposes. Some people fill them with holiday scene decorations and use them as centerpieces. There are many other ways to use them. For example, you can make hot cocoa bars. You can make a holiday treat by filling Mason jars full of marshmallows and cocoa powder. Another fun idea is to paint the jars to make cute holiday characters.
Mason jars can be used as candleholders. You can add a few pieces of holiday greenery to each jar. This faux greenery can be purchased at most craft shops during the holiday season. Or, you can decorate your jars with fresh greenery. Lastly, wrap twine around the mouth of the jar and tie it off with a bow. To add some festive color, you can place a tealight inside.
Mason jars can be used to add a festive touch in your kitchen or bathrooms. Make sure to find a decoration that can withstand moisture. Also, make sure that the liquid soap you use is clear, and that the pump fits in the top of the jar.
Another way to decorate mason jars is to use the lids as ornaments. You can fill the lids with glitter or other decorations to make them look more festive. You can decorate the whole jar with ornaments or glitter to create a cute Christmas scene. For a more elaborate look, you can even add a ribbon across the top.
Colored garland
Use colorful garland to decorate your home for the holidays. You can decorate your home with colorful garland, no matter where you live. This type of garland is easy to make and can be personalized to add a special touch.
You can also use garland to accent a traditional mailbox, which will make a charming display for the season. The garland can be draped around the mailbox and secured with thin, flexible wire. You can also add a cluster of bright Nandina berries and a large bow of sheer ribbon. The bright berries can be toxic to grazing animals and birds so make sure they are kept out of reach of pets.
If you don’t want to spend a lot of money on a traditional Christmas tree, use fake fruit wreaths instead. You can add a rustic touch to your home by using fruit or pears. Garland can also be used to decorate your bookshelves, pantry, and kitchen cabinets. In addition, you can use fragrant greenery to add a festive scent to the bathroom.
Using colored garland is a fun and affordable way to decorate for the holidays. Fresh or faux Christmas garlands can be used around the mantel, windows, and doors. It can be a fun family activity to make together. You can even make candy cane garland.
Primitive decorations
Primitive Christmas ornaments look great on a rustic Christmas tree. These ornaments look great as accents or gifts. Some have personalized tags on the back, while others can be customized with hand-painted details. These are perfect for a country primitive-style tree or a fall theme. These ornaments are wrapped with red striped fabric and glitter for a country-chic look.
You can decorate a Christmas tree with flowers that reflect the theme. Choose Southern favorites such as crocosmia pods and pinecones for your centerpiece. Adding ornaments can also add a touch of glamour.
Ornaments
Before you start decorating your house, think about the kind of vibe you want to create. For example, do you want your home to look warm and cozy, or festive and fun? You may choose to decorate your house with holiday trees or wreaths or both. You can also make ornaments yourself or use other DIY Christmas decorations.
Bright and bold colors can be used to decorate your home. Bright colors are timeless and great for window decoration. You can even use these colors on your icicle lights or ornament wreaths. Hang dried shelf mushrooms or crocosmia seeds to make your Christmas decorations look more natural. Ornaments can add glamour to your Christmas tree.
To protect your ornaments, keep them in a cool and dry place. You can also store your wreaths in hat boxes and put them in a closet. Wrap your wreaths with florist wire before hanging them. If you don’t have enough space to hang your ornaments, you can use valet rods. You can also invest in ornament storage boxes or trays that have lids and separate compartments. This way, you won’t be overwhelmed by the amount of ornaments you have.
Another option for holiday decorations is to use Christmas tree ornaments that have a special meaning to your family. A tree ornament that is meaningful to you and your family is the best way for a memorable holiday. These unique ornaments can be used in a variety of ways and can be a conversation piece at holiday gatherings.
Lights
There are thousands of lights to choose from as you decorate your home for the holiday season. While most people opt for a simple string of holiday bulbs, some people go all out with hundreds of thousands of bulbs, giant inflatables, and custom-built displays. From single residences to entire neighborhoods, Phoenix residents have an abundance of options for holiday cheer.
Arizona’s holiday season is known for its extravagant light displays. While the state does not get much snow, its residents have always found innovative ways to celebrate Christmas. Tucson is known for its Christmas lights, and Tucson is known as the Winter-haven. However, before you get started, you should be aware of the Christmas light laws in your area.
You can visit the famous Christmas display by the Birkett Family if you aren’t sure how to decorate your home. The holiday display features animated figures and hundreds of thousands of lights. The lights of the Birkett Family are well-known for their whimsicality. You can also stop by the Milky Way Lights in Scottsdale. The lights of this giant tree and garden are synchronized to music and are lit at night.
- About the Author
- Latest Posts
Introducing Charles, the Editor in Chief at ByRetreat, whose passion for interior design and editorial excellence elevates every remote workspace to new heights. With his keen eye for detail, impeccable taste, and expertise in design, Charles brings a wealth of knowledge and creativity to the ByRetreat team.
As the Editor in Chief of a renowned lifestyle blog, Charles has honed his skills in curating captivating content and staying up-to-date with the latest trends in interior design. His deep understanding of aesthetics and the power of storytelling through design enables him to create remote workspaces that are not only visually stunning but also rich in personality and meaning.
-

 Vetted21 hours ago
15 Best Plants to Thrive on the North Side of Your House – A Gardener's Guide
-

 Vetted1 week ago
15 Best Boxwood Varieties for Thriving in Full Sunlight
-

 Vetted2 weeks ago
15 Best Ways to Label Clothes for Nursing Home Residents – Stay Organized and Efficient
-

 Decor3 days ago
Are Home Decor Stores Profitable?
-

 Vetted1 week ago
15 Best Dryer Vent Hoses to Keep Your Laundry Room Safe and Efficient
-
 Vetted1 week ago
14 Best Cleaners for Aluminum Surfaces – Shine Bright Like a Diamond
-

 Vetted1 week ago
15 Best Spider Sprays to Keep Your Home Arachnid-Free
-

 Vetted1 week ago
15 Best Nightstand Charging Stations to Keep Your Devices Organized and Ready to Go


