To paint a plastic frame, start by removing the backing and glass. Clean it well with soap and water, then use a plastic primer for better paint adhesion. Choose a plastic-friendly paint and apply in thin, even coats from about 8-12 inches away, allowing each layer to dry fully. You can use a brush or spray paint for a smoother finish. After painting, inspect for any imperfections and touch up as needed. Finish with a clear sealant for durability. Want to discover more tips to enhance your project? You're in for some great insights ahead!
Key Takeaways
- Disassemble the frame and clean it thoroughly to remove any dirt or grease for better paint adhesion.
- Apply a plastic-specific primer to enhance adhesion before painting the frame.
- Use thin, even coats of paint, allowing each layer to dry completely for a smooth finish.
- Consider applying a clear sealant for added durability and protection after painting.
- Regularly inspect and touch up any imperfections to maintain the frame's appearance over time.

Simpson 3400 PSI Gas Pressure Washer, 2.5 GPM Residential Power Washer, Cold Water, 25' Hose, Clean Machine, 49-State Compliant (CM61083)
SIMPSON PRESSURE WASHER FOR HOMEOWNERS: The Simpson Clean Machine gas power washer cleans decks, driveways, siding, fencing, patio...
As an affiliate, we earn on qualifying purchases.
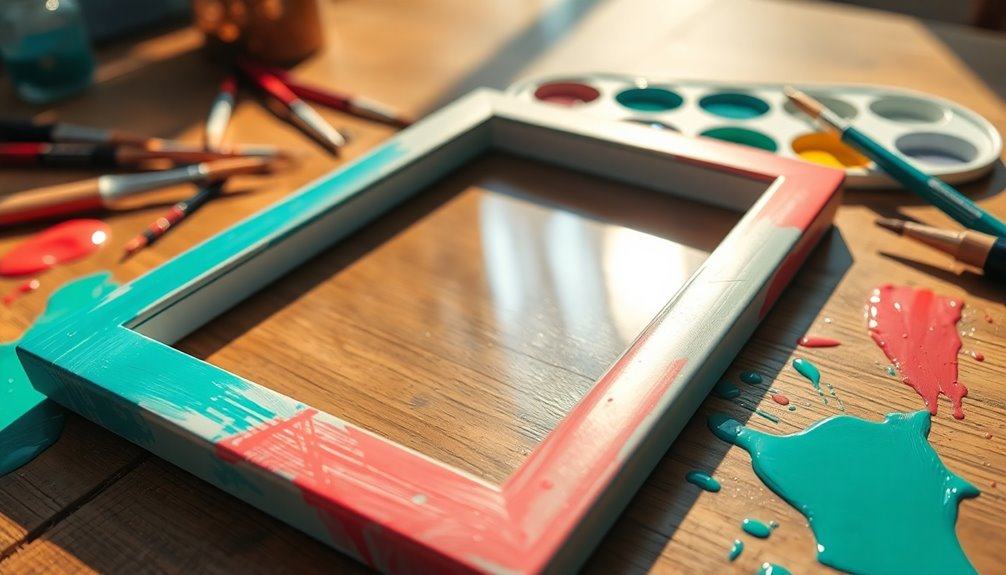
Materials Needed
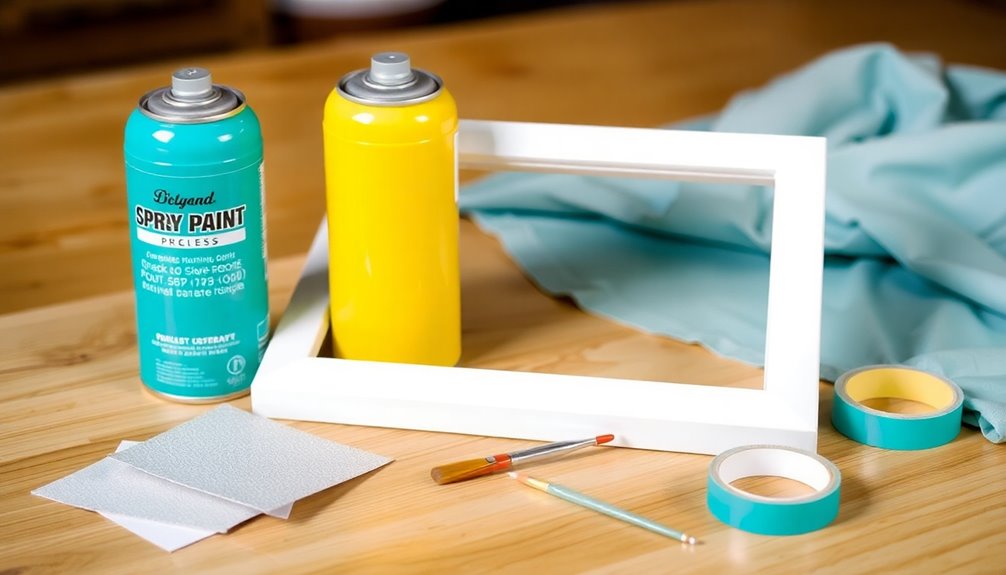
When you're ready to tackle painting your plastic frame, gather a few essential materials. Start with a plastic picture frame, ideally one from a dollar store to keep costs low.
You'll need DecoArt paint in a color like "Primitive" or any plastic-friendly option that suits your style. Choose between a paintbrush or a spray nozzle for applying the paint, depending on your preference and the paint type.
Optional materials include Ultra Matte Varnish from DecoArt or a clear sealant to protect your finished paint job from wear and tear.
To guarantee a smooth application and even coverage, prepare your workspace with two pots to elevate the frame while you paint plastic. Additionally, consider using an airless paint sprayer for a more efficient and consistent finish on your project.
Happy crafting!

Westinghouse WPX3400 Gas Pressure Washer, 3400 PSI and 2.6 GPM, Onboard Soap Tank, Spray Gun and Wand, 5 Nozzle Set, for Cars/Fences/Driveways/Homes/Patios/Furniture
3400 PSI and 2.6 GPM of Powerful, Deep-Cleaning Water Pressure Perfect for Decks, Sidewalks, Siding, Fences, Railings, Garage...
As an affiliate, we earn on qualifying purchases.
Preparation Steps
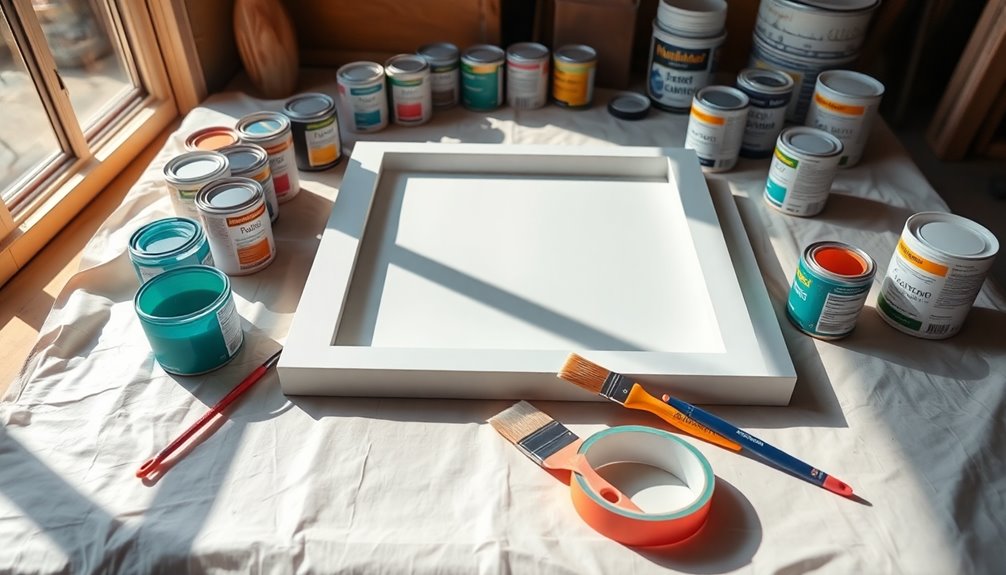
To guarantee a successful painting experience, start by carefully removing the back, glass, and picture from your plastic frame. This creates a clean working surface for the preparation steps.
Next, thoroughly clean the frame with mild soap and water to eliminate any dirt, grease, or residues that could affect paint adhesion. While you're at it, inspect the frame for any cracks or damage, and repair them as necessary for a smooth painting surface.
Elevate the frame using two pots or a similar setup to make the painting process easier and prevent direct contact with surfaces.
Finally, choose a well-ventilated workspace and cover the area to protect against paint overspray and fumes as you prepare to paint a new plastic frame.

DeWalt 3300 PSI Gas Pressure Washer, 5 Nozzles, Spray Gun, Wand, 25-ft. Hose, DXPW3300-S, 49-State
PREMIUM RESIDENTIAL PERFORMANCE: Easy-to-start with a DeWalt 208cc engine, perfect for cleaning decks, patios, siding, and prepping exteriors...
As an affiliate, we earn on qualifying purchases.
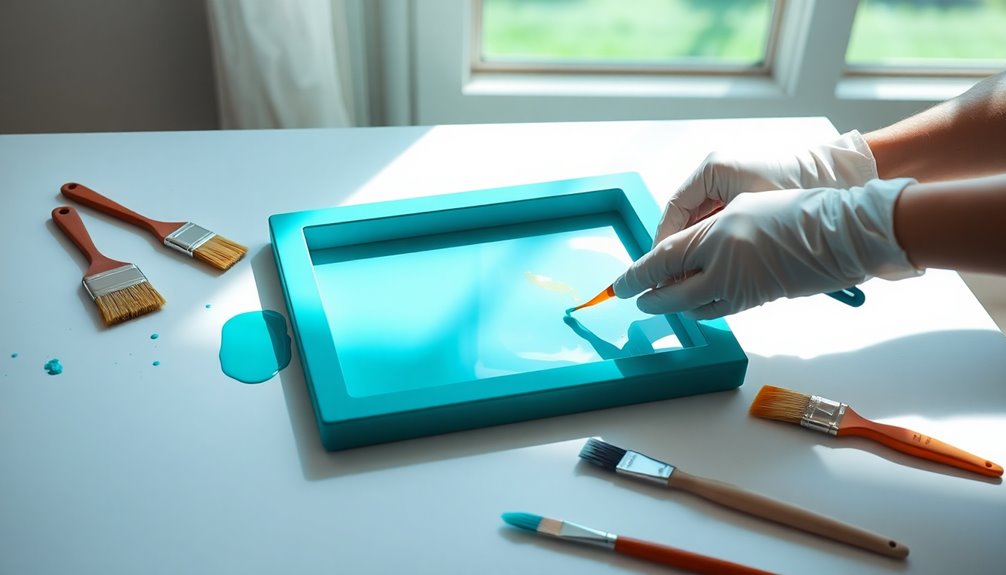
Painting Process
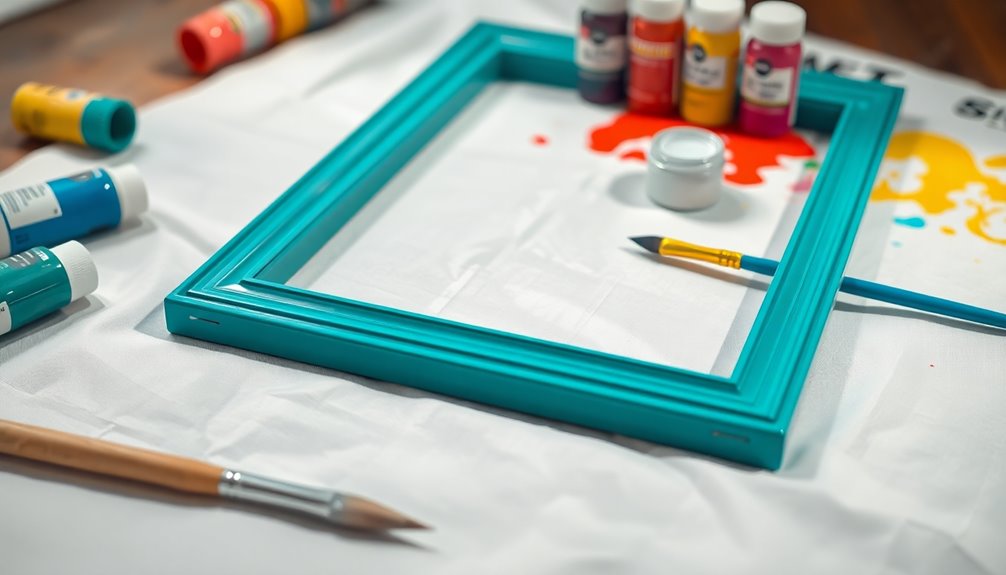
Start by applying a plastic-specific primer to your clean and sanded frame. This step enhances paint adhesion and durability.
Once the primer's dry, grab your paint and apply it in thin, even coats. Keep a distance of 8-12 inches from the surface to prevent drips and guarantee a smooth finish.
Allow each coat to dry completely, following the manufacturer's recommended drying times. For a professional look, use long strokes or a circular motion to achieve even coverage, and touch up any missed spots as you go.
If you want to protect your new paint job, consider sealing the frame with a clear coat, following the drying or curing instructions on the sealant product.
Happy painting!

Greenworks Pro Brushless 3000 PSI (CSA Certified) 2.0 GPM Max / 1.1 GPM Electric Pressure Washer (Foldable Handles, Rugged Steel Frame, 25 FT Hose, 35 FT GFCI Power Cord)
TRUBRUSHLESS MOTOR : Powerful 14 Amp TruBrushless motor generates 3000 PSI and 2.0 GPM for maximum cleaning power.Cleaning...
As an affiliate, we earn on qualifying purchases.
Finishing Touches

Once you've finished painting, it's time to add the finishing touches.
Start by inspecting your frame for any imperfections and apply a protective sealant for added durability.
Finally, reassemble the frame and get ready to display your beautifully transformed piece!
Inspect for Imperfections
After letting your paint dry, take a moment to carefully inspect the frame for any imperfections. Start by wiping away any dust or debris with a soft cloth. Pay close attention to the corners and edges, as these areas often reveal missed spots or uneven areas. If you spot any imperfections, use the same paint for touch-ups, ensuring a seamless blend with the rest of the frame. Once you've made the necessary adjustments, allow the touch-up paint to dry completely. Re-inspect the frame to confirm that the finish meets your expectations before final assembly.
| Area to Inspect | Common Imperfections | Touch-up Tips |
|---|---|---|
| Corners | Missed spots | Use a fine brush |
| Edges | Uneven paint | Apply thin layers |
| Surface | Dust particles | Wipe before checking |
| Overall | Color mismatch | Blend carefully |
Apply Protective Sealant
To finish off your project and guarantee lasting protection for your newly painted plastic frame, applying a protective sealant is a must. Choose an Ultra Matte Varnish or a clear sealant compatible with your paint for the best results.
Here are some tips to confirm a successful application:
- Use a clean brush or spray nozzle for even coverage.
- Avoid drips by applying the sealant in thin layers.
- Allow the sealant to cure fully, typically for at least 24 hours.
- Regularly inspect the frame for wear and consider touch-ups as needed. Additionally, ensuring the frame is free from airborne pollutants will help maintain its appearance over time.
Reassemble and Display
Now that the paint and sealant have dried completely, you can carefully reassemble your plastic frame.
Start by placing the picture and backing back into the frame. Before you hang or display it, inspect for any imperfections or missed spots; touch up with paint if necessary.
Choose a display location that complements your frame's new look, enhancing your room's overall decor. Consider using wall hooks or stands that match the frame's aesthetic to maintain a cohesive style in your display.
Finally, make it a habit to regularly dust the frame with a soft cloth. This simple step will help maintain its appearance and prevent dirt buildup on your freshly painted surface.
Enjoy your beautifully updated frame!
Benefits of Painting
Painting plastic frames offers numerous benefits that can elevate your home decor without breaking the bank.
With just a little effort, you can achieve a new look that reflects your style. Here are some key advantages:
- Cost-effective: Transform inexpensive decor into stylish pieces.
- Personalization: Choose colors that align with current decor trends.
- Quick process: Complete the task in under an hour for an instant upgrade.
- Durability: Use paint designed for plastic to guarantee better adhesion and longevity.
These benefits of painting not only enhance the aesthetic appeal of your frames but also provide a sustainable option for revitalizing your space.
Maintenance Tips
To keep your painted plastic frame looking its best, make sure you dust it regularly with a soft cloth.
Avoid harsh chemicals that can damage the finish, and stick to mild soap and water for cleaning.
Don't forget to touch up any chips or scratches as they appear to maintain a fresh appearance.
Regular Dusting Practices
Maintaining the appearance of your painted plastic frame requires regular dusting practices. By incorporating these simple habits into your routine, you can keep your frame looking fresh and new:
- Dust the frame weekly with a soft, lint-free cloth.
- Use a microfiber cloth to effectively trap and hold dust particles.
- For spots or fingerprints, slightly dampen the cloth with water and gently wipe; verify you dry it afterward to avoid water spots.
- Avoid harsh chemicals and abrasive materials that can damage the paint finish.
Adhering to these regular dusting practices will help prevent dirt buildup and extend the life of your beautiful frame.
A little effort goes a long way in maintaining its charm!
Avoiding Harsh Chemicals
While you want your painted plastic frame to look its best, using harsh chemicals can do more harm than good. Instead, focus on avoiding harsh chemicals by using mild soap and water for cleaning. This approach protects the paint finish and prevents premature wear. Here's a quick reference table for what to avoid:
| Chemical | Effect on Paint | Recommendation |
|---|---|---|
| Bleach | Strips paint | Avoid |
| Ammonia | Causes discoloration | Avoid |
| Alcohol | Deteriorates finish | Avoid |
| Strong Solvents | Requires stronger touch-ups | Avoid |
Regularly dust your frame with a soft cloth and store it in a cool, dry place to maintain its appearance while avoiding harsh chemicals. Additionally, maintaining indoor air quality is important, as it can influence the longevity of your paint finish.
Periodic Touch-Up Recommendations
Regular touch-ups can keep your painted plastic frame looking its best. To maintain that fresh appearance, follow these periodic touch-up recommendations:
- Regularly inspect for scratches or chips and address them promptly.
- Use a small brush or touch-up pen with the same paint color for blemishes.
- For frames in high-traffic areas, perform touch-ups every six months.
- Clean the frame with a soft cloth and mild soap solution before touching up.
Reader Engagement

How can you make your DIY experience even more rewarding? By embracing reader engagement!
Start by sharing your before-and-after photos of your plastic frame makeovers. This not only showcases your hard work but also inspires others to replicate your project.
Encourage fellow DIYers to ask questions or share their own tips; this creates a collaborative atmosphere that enriches everyone's experience.
Consider highlighting reader success stories in follow-up posts to showcase the effectiveness of your painting techniques and motivate others to try it out.
Finally, invite readers to participate in DIY challenges on social media. This fosters a supportive community around crafting, making your DIY journey even more enjoyable and interactive.
Frequently Asked Questions
What Is the Best Way to Paint Plastic Picture Frames?
To paint plastic picture frames effectively, start by cleaning them with soapy water to remove any dirt.
Once dry, lightly sand the surface to help the paint stick better.
Apply a primer made for plastic and let it dry completely.
Afterwards, use thin coats of acrylic or spray paint, keeping a distance of 8-12 inches.
Finally, seal the frame with a clear coat for added durability, especially if it'll be in a busy area.
What Kind of Paint Is Best for Plastic Frames?
Imagine your plastic frames as blank canvases waiting for vibrant stories.
To bring them to life, you'll want to choose paints designed specifically for plastic. Acrylic and spray paints formulated for this material are your best bets. If you're after a vintage vibe, DecoArt Americana Decor Chalky Finish Paint works wonders.
Always test a small area first, and remember to keep the spray can 8-12 inches away for a smooth, even finish!
What Kind of Paint Will Stick to Plastic?
To get paint that sticks to plastic, you'll want to use acrylic or spray paint specifically made for plastic surfaces.
Look for labels that mention "plastic" or "vinyl" for the best adhesion. Using a primer designed for plastic beforehand can really help the paint bond better and last longer.
Non-toxic options are great for indoor projects, especially in kids' spaces, and finishes like matte or satin can give a more natural look.
What Paint Stays on Plastic the Best?
They say, "A stitch in time saves nine," and that rings true for painting plastic.
To guarantee your paint stays on plastic the best, opt for acrylic or spray paints formulated for plastic, like Krylon Fusion or Rust-Oleum Specialty.
Don't skip the primer designed for plastic, as it enhances adhesion.
Remember, a matte finish usually hides imperfections better than glossy options, giving you a more uniform and lasting result.
Always test first!
Conclusion
Now that you've transformed your plastic frame, you can proudly display your refreshed piece. With just a little effort, you've turned something ordinary into a true standout. Remember, a fresh coat of paint can work wonders and breathe new life into your decor. So, don't hesitate to roll up your sleeves and try it out! After all, you've taken the bull by the horns, and the results are definitely worth it. Enjoy your beautifully painted frame!